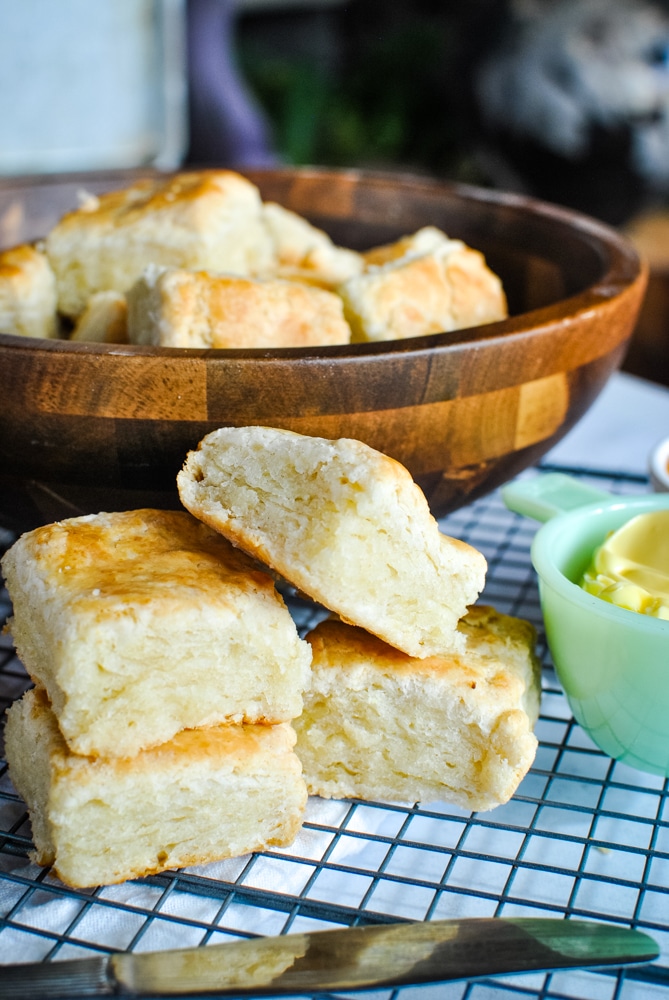
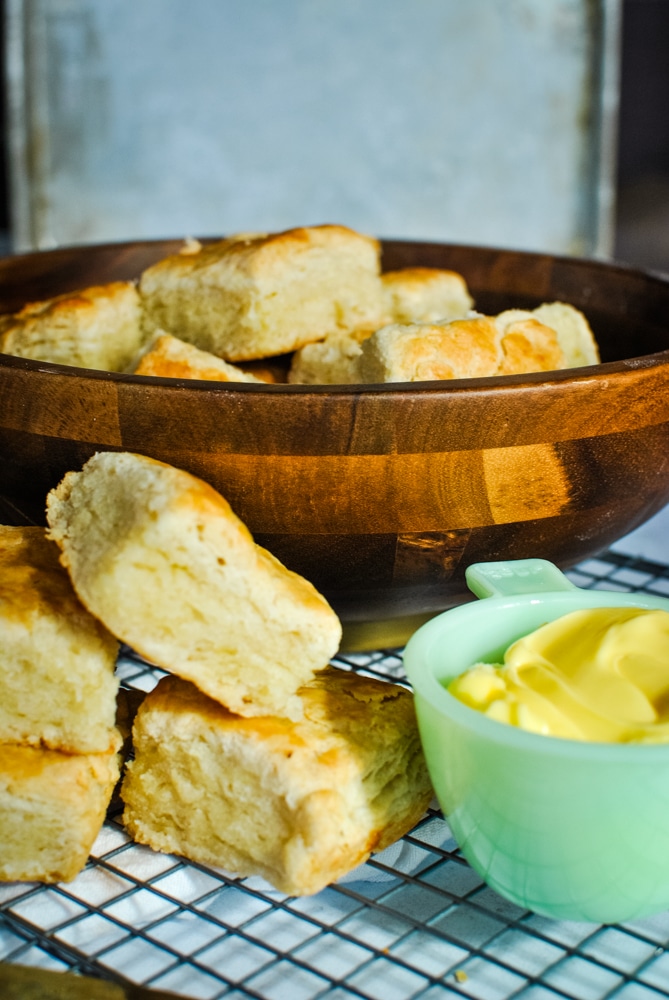
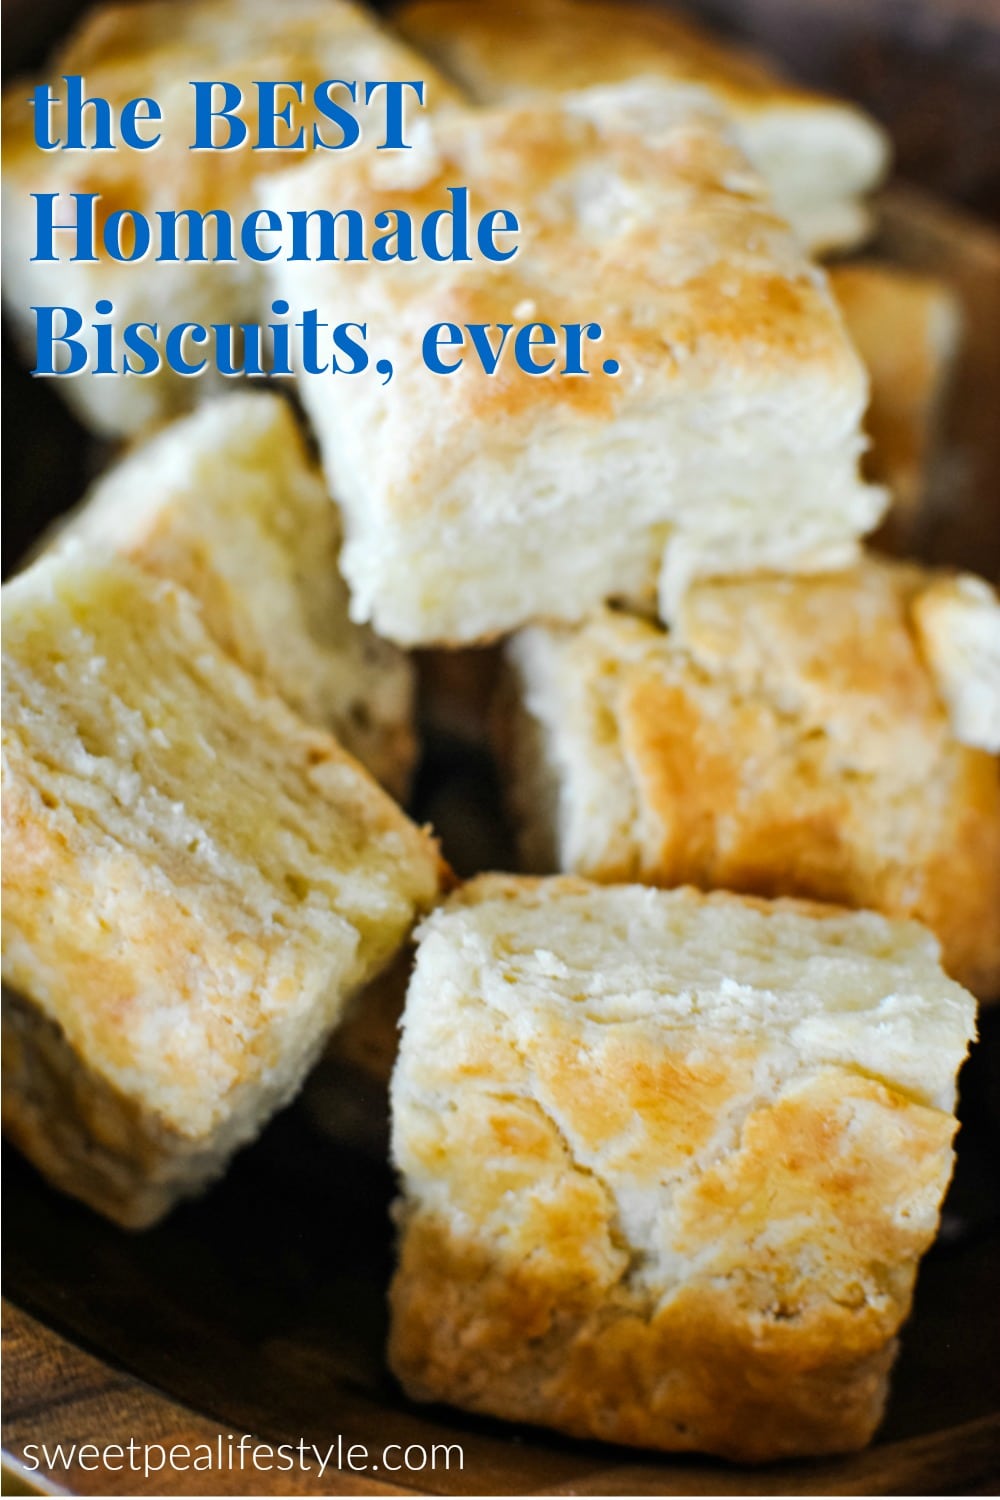
The BEST Homemade Biscuits, Ever.
These are the best homemade biscuits, ever.
They may be the luckiest biscuits when you snap butter
into them and create all the flaky layers your heart could ever want.
Growing up, Saturdays were for letting Mother Mary sleep in.
Danny Boy either took us out to breakfast at the Mickey D’s or we stayed home and made biscuits and eggs.
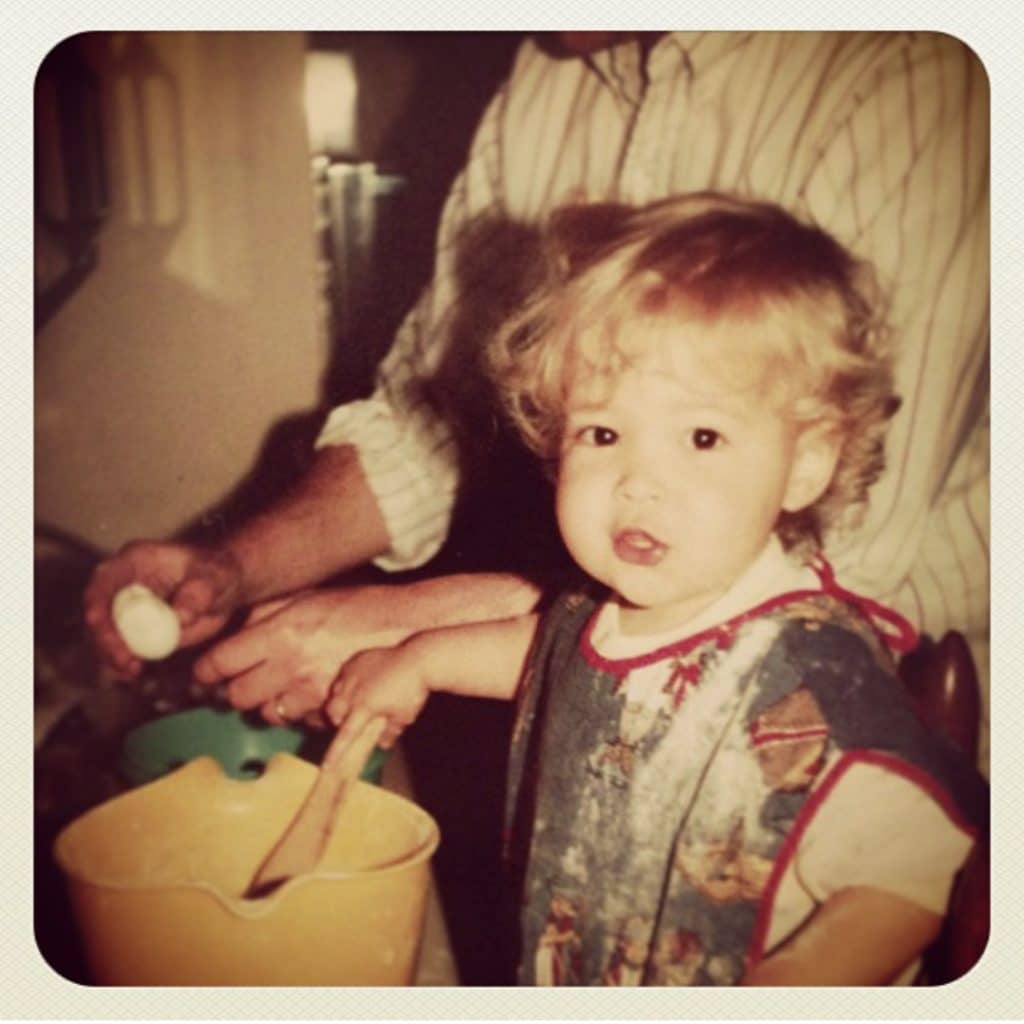
Here I am at the counter with my dad making biscuits at probably 1.5 years old.
Maybe 2?
As you can see, I’ve loved cooking for a very long time!
You may be wondering how you make fluffy biscuits from scratch.
If you’ve ever wanted to make or struggled to make flaky biscuits, today is your day!
The best homemade biscuits start with a few ingredients:
- Dry Ingredients (baking powder AND baking soda, sugar, salt, and flour)
- Cold Butter
- Buttermilk
Kitchen Tools You’ll Need:
I’ll walk you through each step, and give you some tips along the way.
First, you’ll need the dry ingredients.
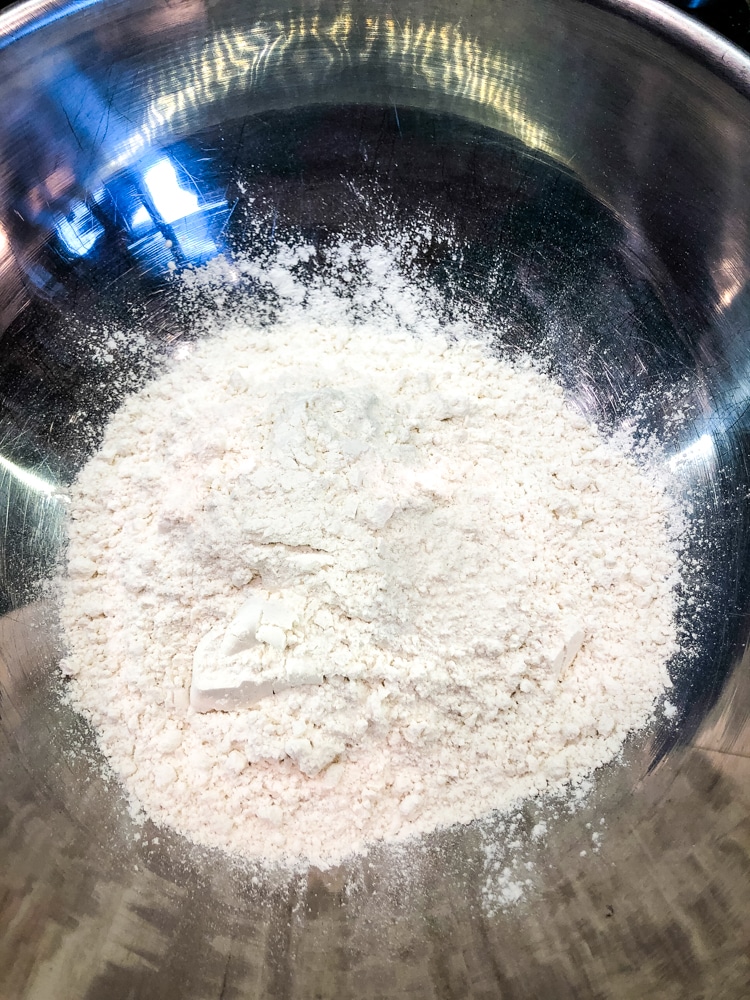
Add all your dry ingredients to a big bowl.
Now, you’ll need to sift this. You want no lumps, bumps, or clumps.
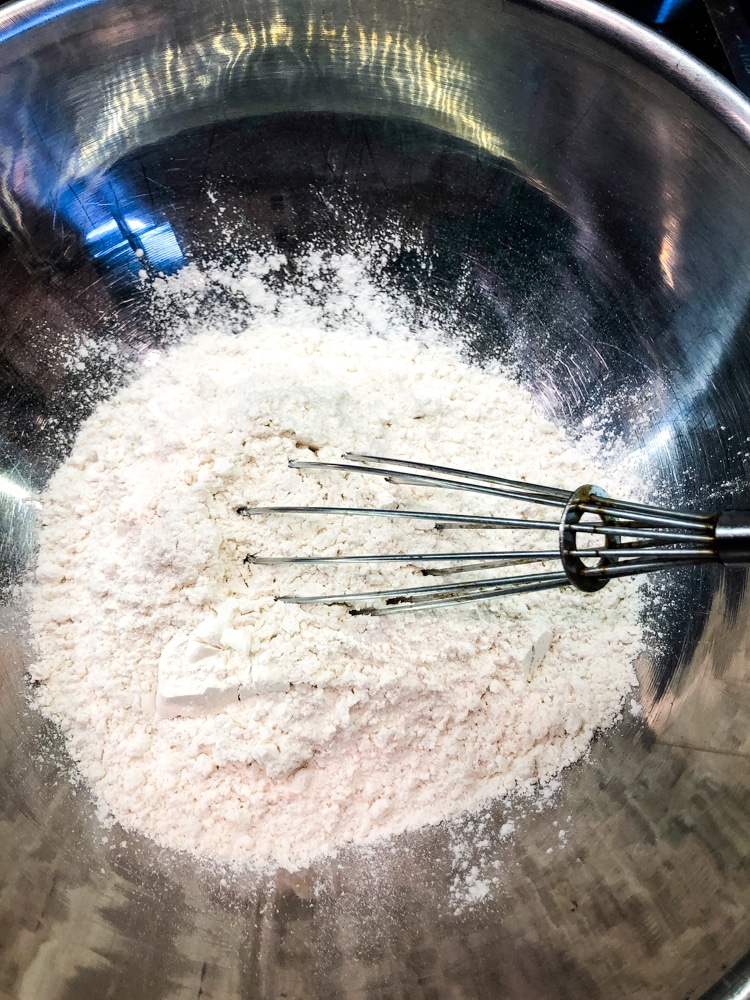
I just use a whisk and give it a good fluff! Or, you could use a fine-mesh sieve like this one and tap it into your bowl after you’ve measured it out.
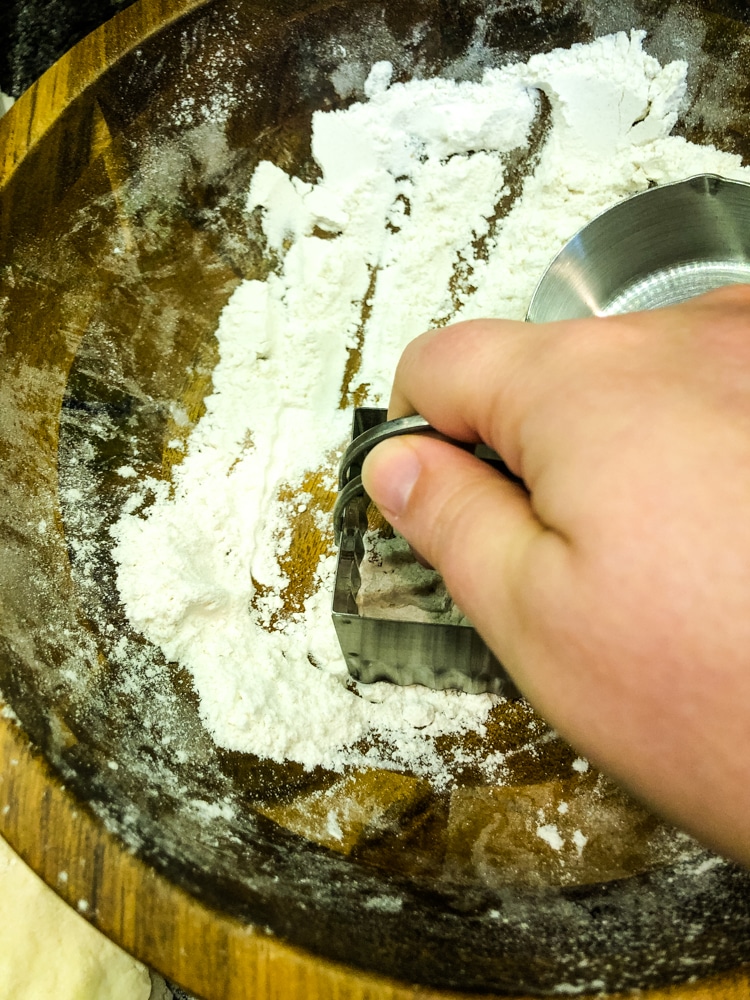
Secondly, you’ll need to grate a couple of sticks of butter.
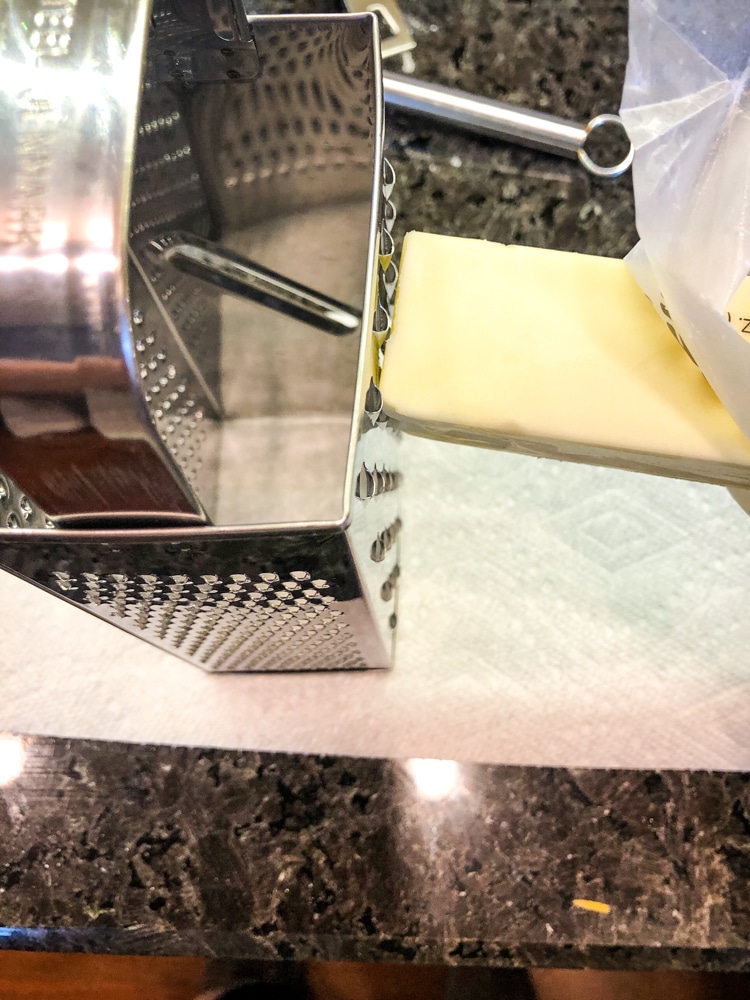
Yep! Get out your box grater and go to town.
Watch your fingers + knuckles! No one wants grated fingers with their biscuits…?
If you are really nervous about making southern homemade biscuits, you can pop this grated butter into the freezer before you measure out your flour and sift it.
Giving it a few minutes in the freezer will keep everything super duper cold <<< which is exactly what you want when making biscuits!
Some people even freeze everything they are using. That’s slightly on the drastic side, just saying. ?
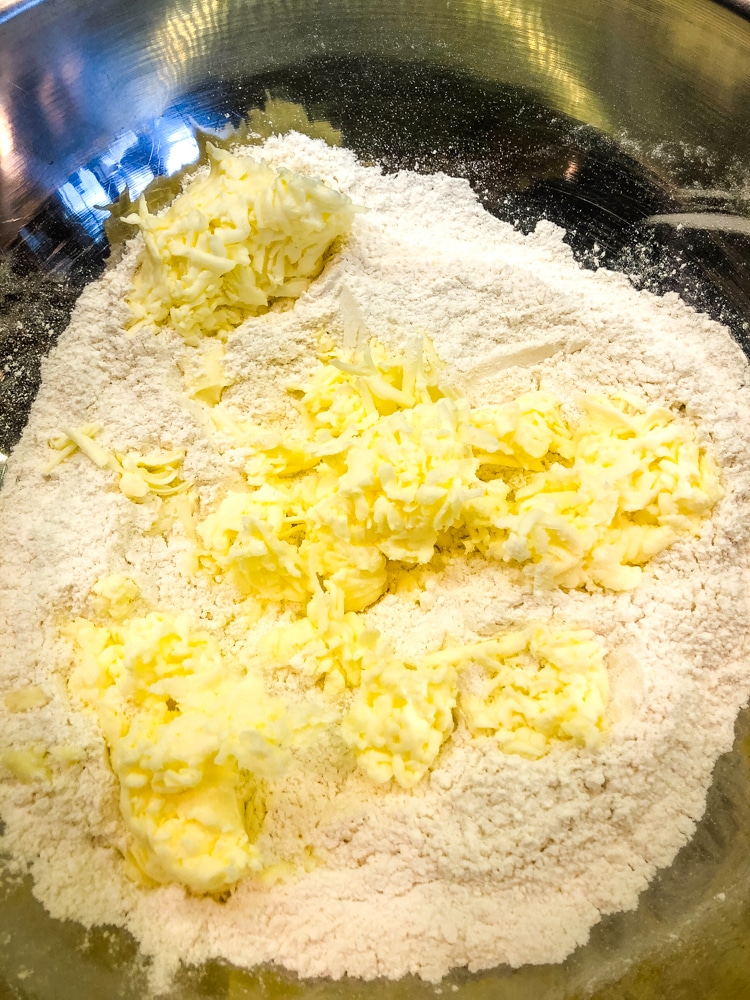
Plop all that butter into your flour.
Now, comes the fun part…
This is where you determine your biscuit-making prowess…
Third, you’ll want to SNAP the butter into the flour.
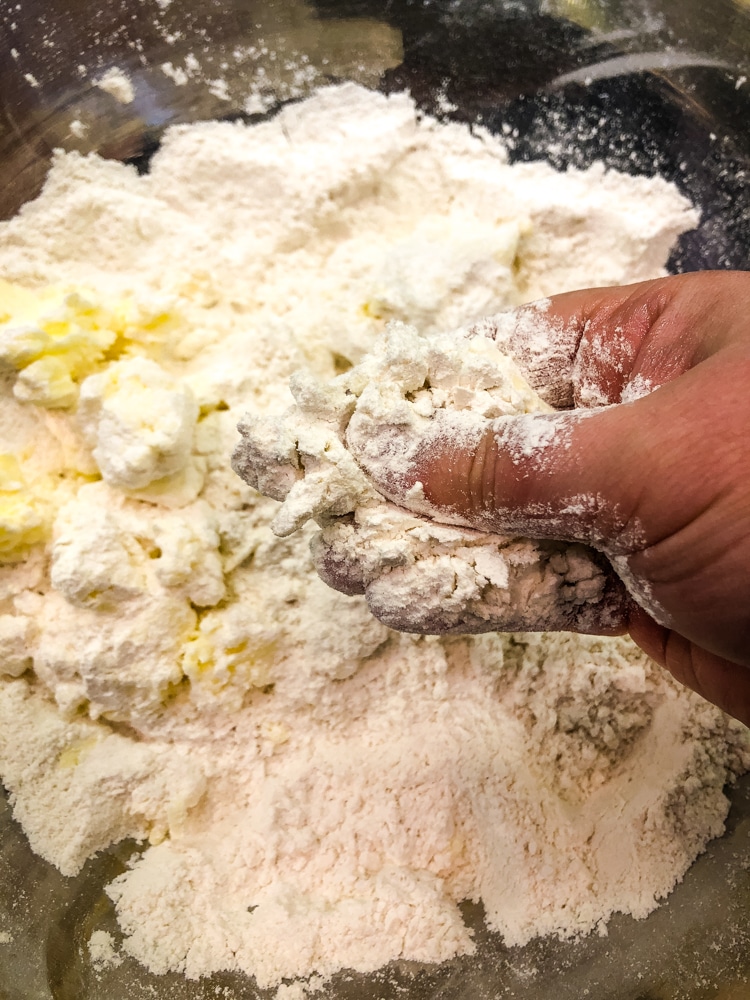
Literally, snap the butter shreds into the flour. With a big clump of the butter and flour, run your thumb across your four fingers in a snapping motion.
You read lots and lots of recipes where the instructions tell you to “cut in butter until it resembles peas.”
Well, I like flat pieces of butter — so balls. So, when you snap the shreds you end up with FLAKY layers because you’ll see why/how in a second.
Fourth, add your buttermilk to the flour and gently toss it around.
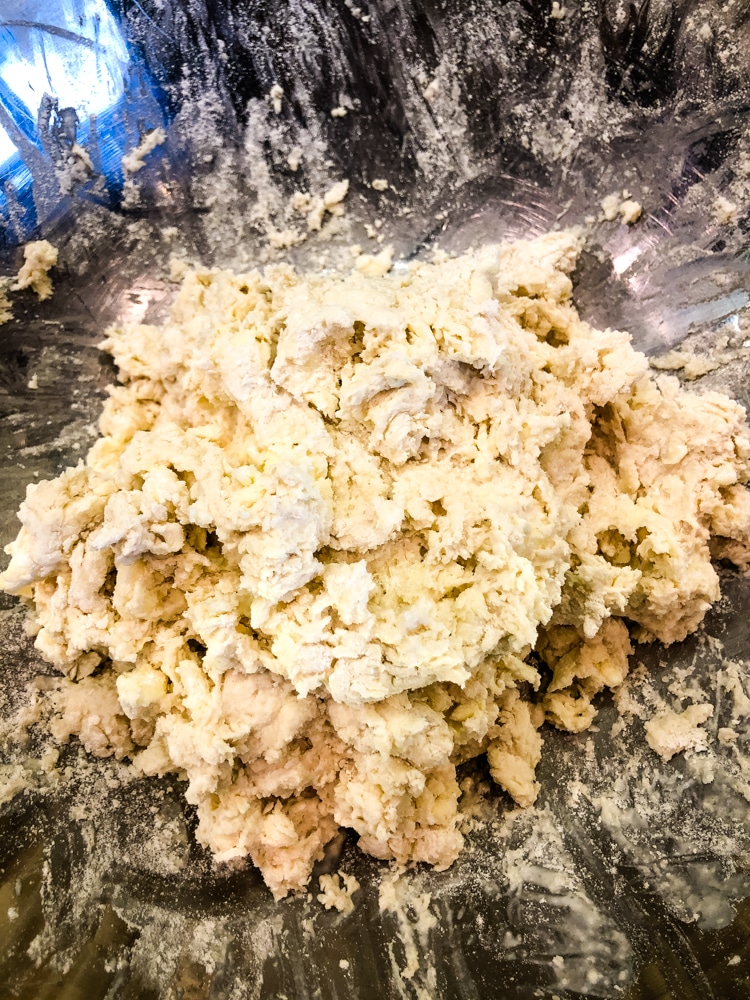
This is where you’ll read lots and lots about not overmixing — and they are right! Just flip and flop the flour and buttermilk around until it gets to this point.
It’s kind of a folding motion. With your palm facing up, dig deep down to the bottom of the bowl, pull up, and fold over.
Do this over and over until the dough feels very shaggy, but incorporated.
It should feel very shaggy, almost like you don’t think it will stick together.
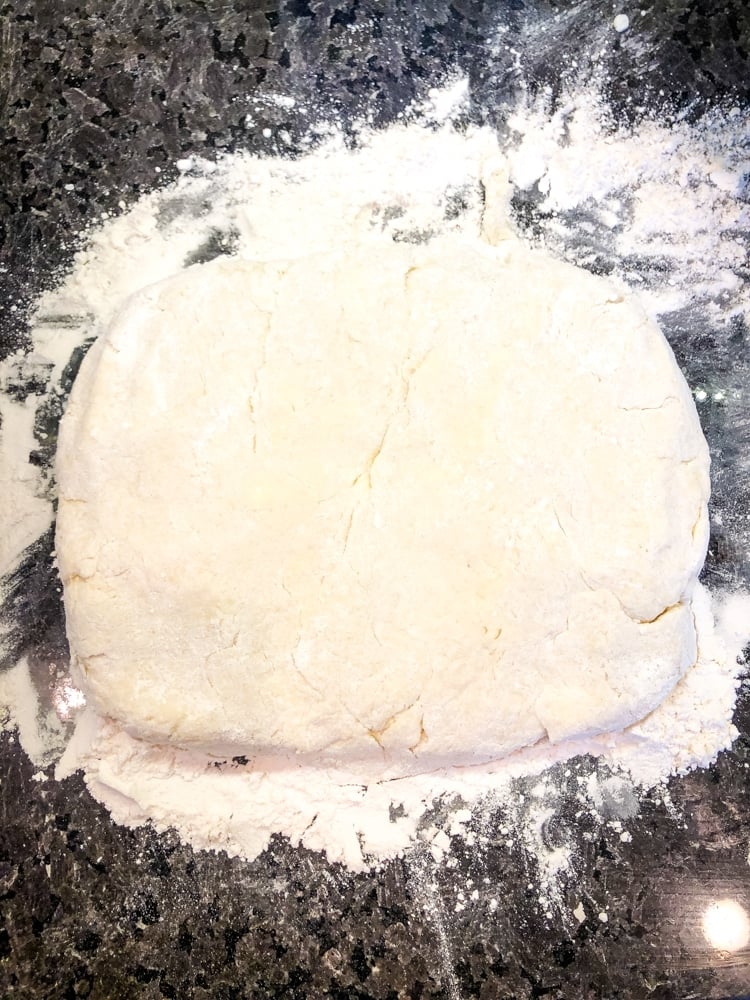
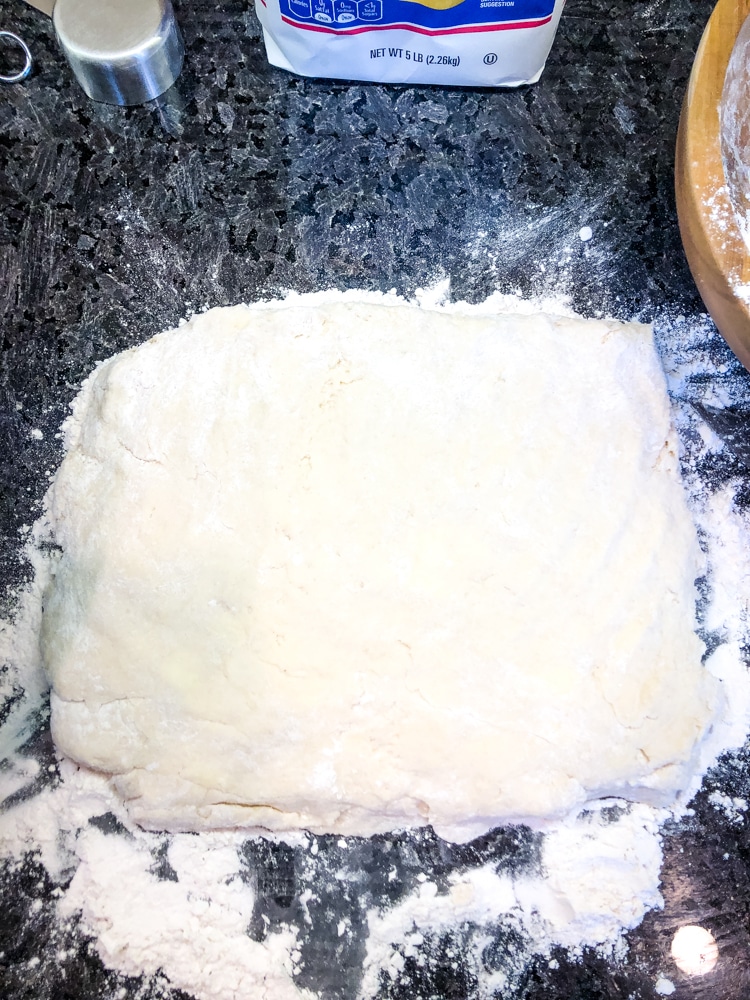
Fifth, dump and roll
Dump the entire lot out onto a floured surface, then gently fold and knead a little to actually bring it together.
Roll this out a rectangle, about 1 inch thick.
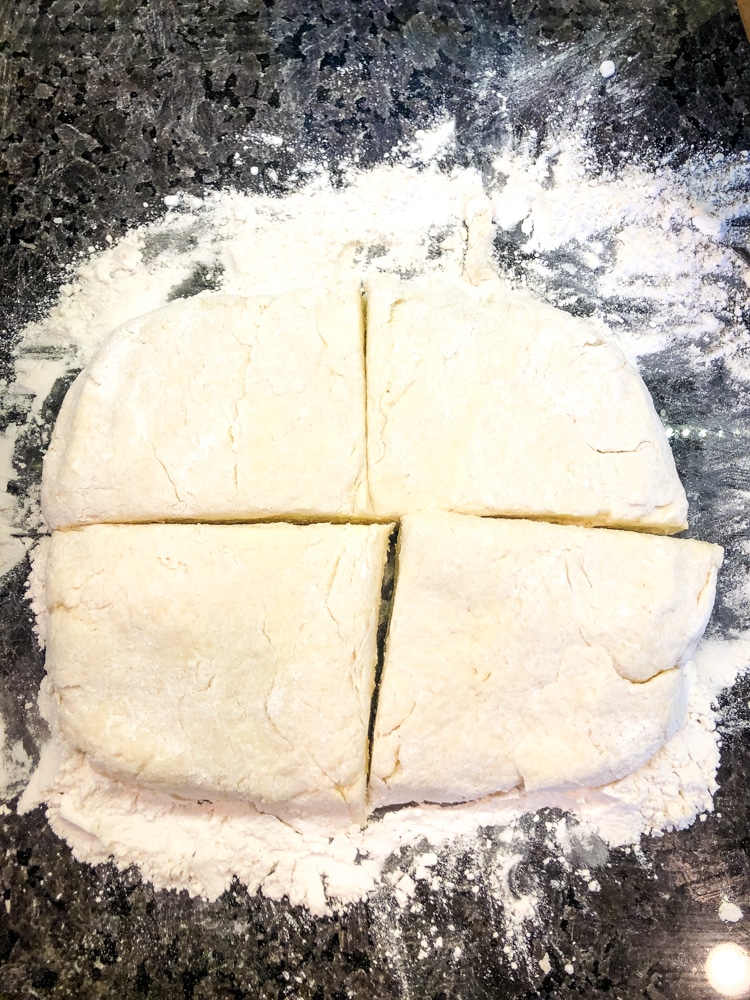
Cut the rectangle into fourths.
Stack the four layers on top of each other…
Then, press them down altogether. <<< This is the *real key* to Flaky Layer Town!
When you layer the dough and then smush it down, you are ensuring you have layers in your biscuits.
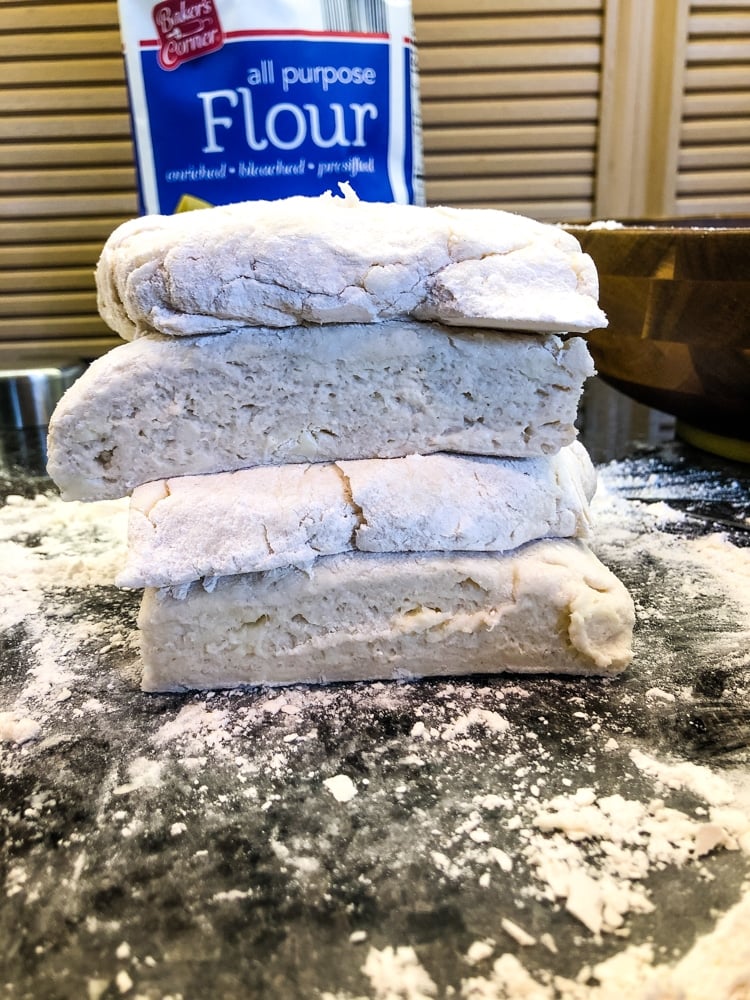
Sixth, roll the dough and cut
Roll this whole thing out until about 3/4″ thick, and cut your biscuits.
I like to use square biscuit cutters since they make the optimal biscuit sandwich.
But, they also cut out well. You don’t end up with scraps that you have to re-roll. I’ll show you what we’ll do with the scraps.
Also, a square biscuit cutter ensures you don’t accidentally do the push-and-twist method you see some people doing.
When you push down with a biscuit cutter and twist, you are locking in those layers. And they can’t rise up, or expand like you want them too!
However, when you push down and pull up, you give room for the layers to be able to puff up really well.
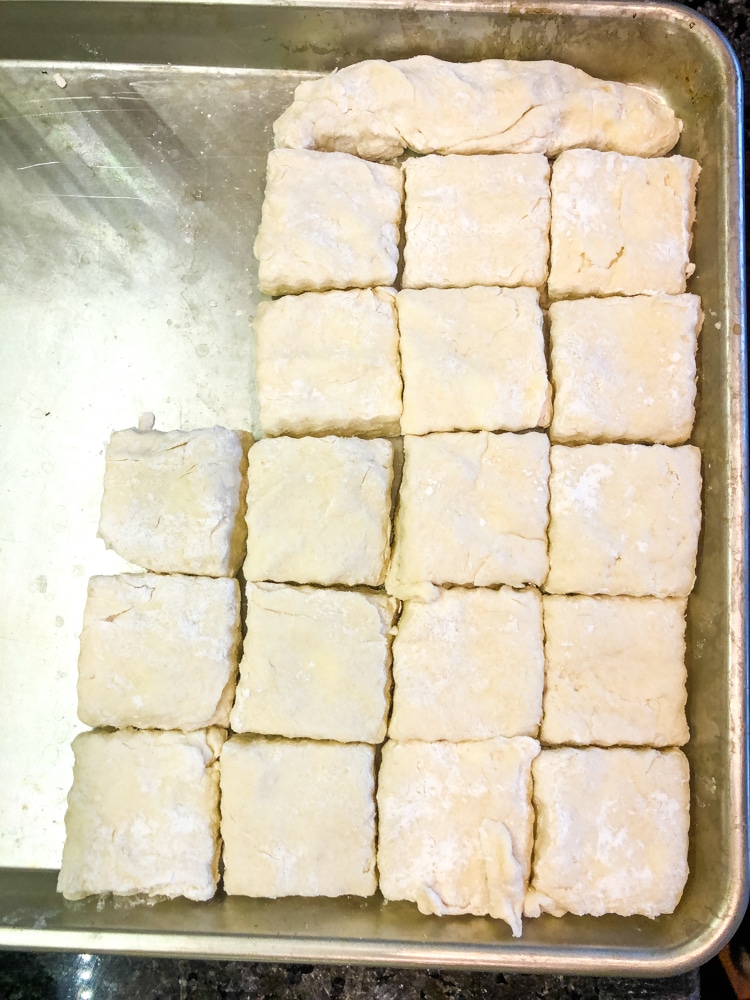
As you cut your biscuits, line them up against the lip of a half-sheet pan.
Like humans all around, we need each other to raise us up. Biscuits need each other too!
They need their neighbors to help lift them up in the baking process.
So, after you’ve cut your biscuits out, you’ll end up with some scraps.
Take those and create a snake.
I ended up with a very small snake, so I nestled him into the top side (you’ll notice in the picture).
Before you think you’re about to start baking, put the whole tray in the freezer for 10 minutes.
Can you freeze unbaked biscuits?
Yes! You sure can!
If you are a think-ahead kind of person, you could flash-freeze your biscuits separated on this sheet pan, and then store them in an air-tight bag to use when you are ready.
Follow the same baking instructions as below, no need to thaw.

After the biscuits have gotten nice and cold, take a little half-and-half and use your fingers to wash it over the top of each biscuit.
Seventh, bake your biscuits
Pop this entire tray into a 425˚ oven and bake for 20-25 minutes. Until the tops are perfectly golden brown.
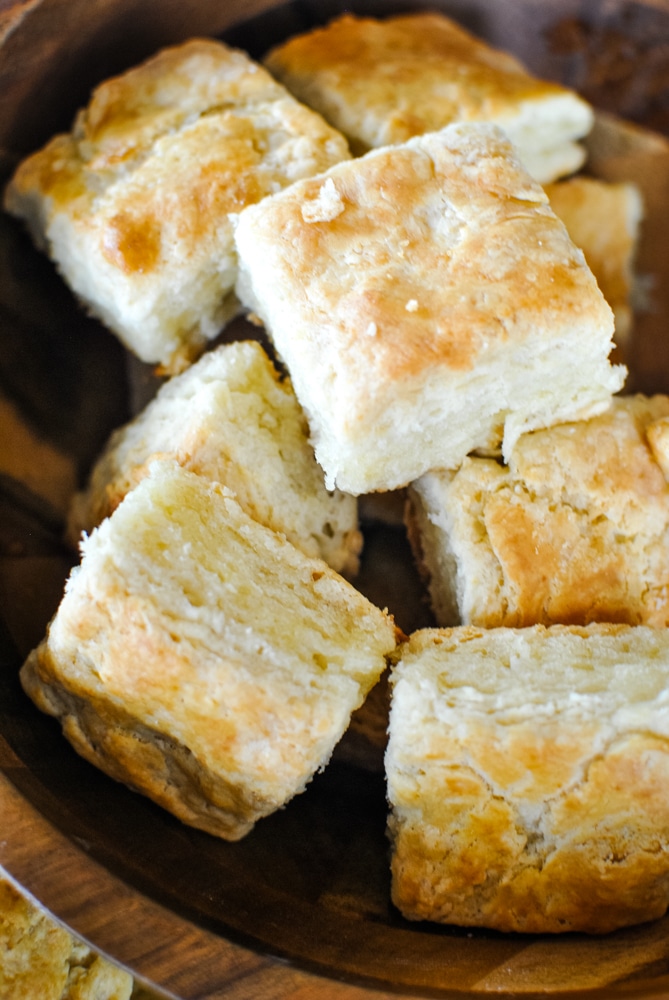
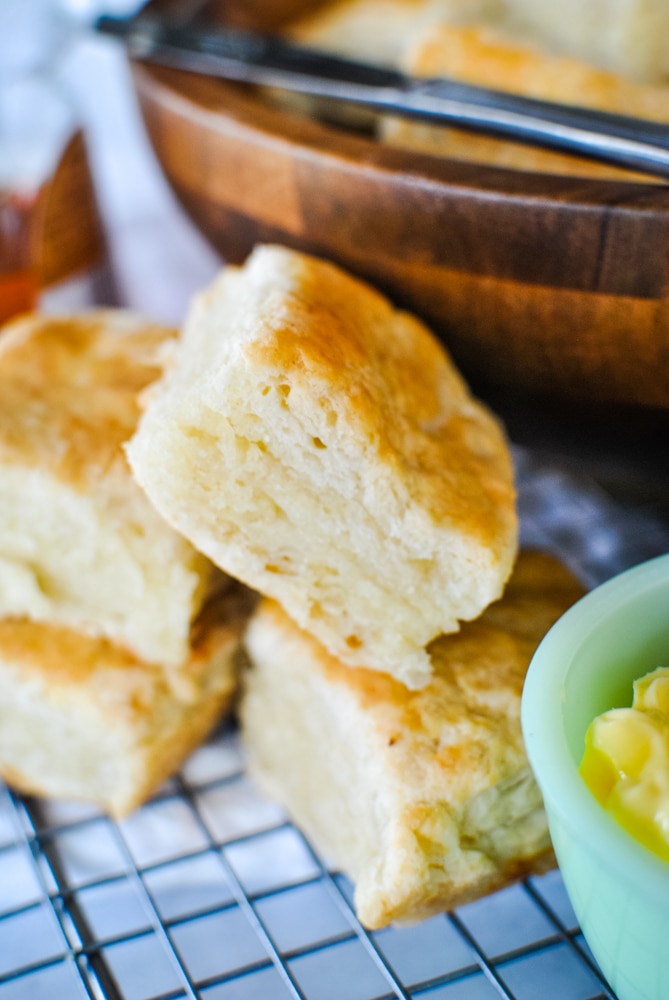
Y’all! Look at all those LAYERS!
I mean, this is a party waiting to happen!
If you are now thinking you need to host an Easy Biscuit Bar Brunch, you would be correct. Call up your pals, and invite them over!
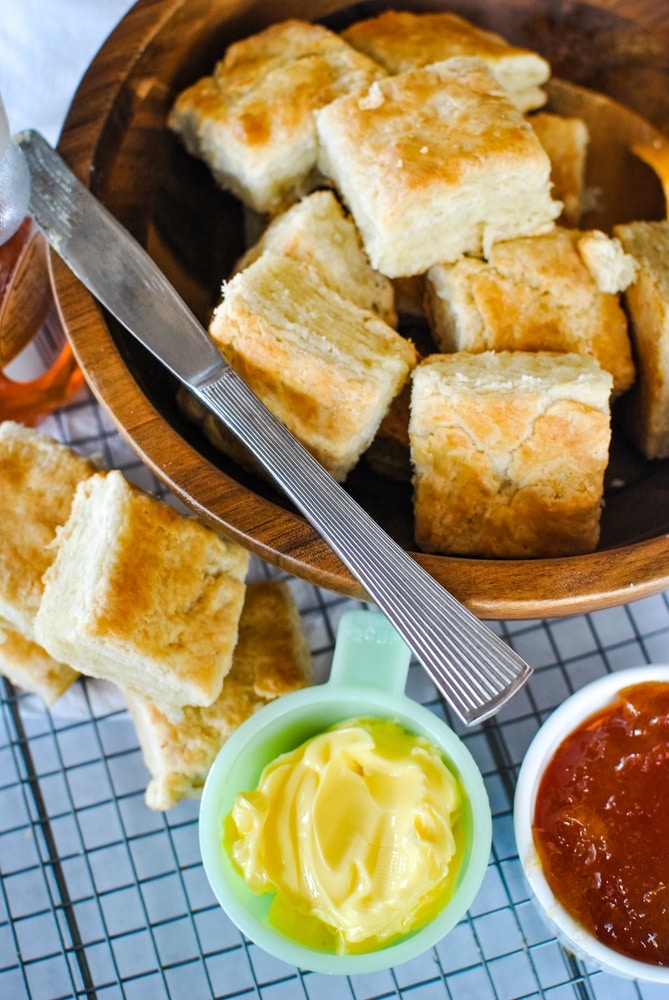
When serving the best homemade biscuits, put out lots of butter and jam. I prefer apricot preserves, in case you wondered.
So, what does baking powder do for biscuits?
The baking powder is the magical chemical agent that gives the lift you need in any baking recipe.
Can your use shortening instead of butter?
You can, I just prefer the taste of butter instead of shortening.
What else should you serve with biscuits?
Easy Keto Egg Bake goes very well.
The BEST Homemade Biscuits, Ever.
- Prep Time: 15
- Cook Time: 20
- Total Time: 35 minutes
- Category: breakfast
- Method: baking
- Cuisine: southern
Description
These are the best homemade biscuits, ever. They may be the luckiest biscuits when you snap butter into them and create all the flaky layers your heart could ever want.
Ingredients
-
2½ teaspoons baking powder
-
2 teaspoons kosher salt
-
2 teaspoons sugar
-
¼ teaspoon baking soda
-
3½ cups all-purpose flour, plus more for surface
-
1 cup (2 sticks) chilled unsalted butter, cut into ½-inch pieces, plus more, melted, for brushing
-
1 cup chilled buttermilk
Instructions
- Preheat your oven to 425°F with a rack in the upper portion. Get out a baking sheet; there’s no need to grease it. Line it with parchment if you like, for easiest cleanup.
- Measure out baking powder, salt, sugar, baking soda, and flour into a big bowl.
- Whisk these ingredients or sift to remove any lumps and make sure everything is equally incorporated.
- Grate 2 sticks of butter on a box grater.
- Snap the butter into the dry ingredients. Until it resembles
- Make a well in the center of the butter + flour mixture, and pour in the buttermilk.
- Fold the flour + butter and buttermilk all together until it becomes a very shaggy dough.
- Flour your work surface, and dump the dough on to the board.
- Fold onto itself a few times, and then roll out to a rectangle, about 1″ thick.
- Cut this rectangle into fourths, and stack on top of each other.
- Smoosh the entire stack down, and roll out to 3/4″ thick rectangle.
- Cut out biscuits and place on an ungreased half sheet pan, starting against the lip of the pan.
- With the scraps, create a dough snake and place against the biscuits who need something to help them rise up.
- Bake at 425˚ for 20-25 minutes, or until perfectly golden brown.
Notes
You can freeze unbaked cut out biscuits and bake later with a few extra minutes on the timer.
If you do not have buttermilk, add a couple of tablespoons to whole milk and let it sit for a few minutes.


Homemade biscuits are the best and these look perfectly flakey and buttery. Great job!
Biscuits are a totally different thing over here in the UK, but I really want to try these.
These homemade biscuits are the best! So flavorful and perfect texture.
First, your biscuits are the best: I made them this morning, and they were gone once I served. Second, I love your lovely picture taken during your childhood. So cute and adorable:)
Homemade is the best. These biscuits look perfectly flaky and delicious.
These biscuits are so moist and delicious! I love them.
Yay! Thank you!
Mmmm. There’s nothing quite like buttery southern biscuits. I was always afraid to make them myself, but you all your tips make me feel like I can actually do it. (Also, super cute toddler pic! ?)
Oh yeah!! You can do it!!!
I usually try every biscuit recipe I come across looking for a good one. I love the stacking tip. This recipe is a keeper!
The stacking is the *best* part about the recipe! It’s the winning secret!
Oh wow! Love that photo with all the grated butter. Wish I was starting the day with homemade biscuits. Yum.
It’s the best way to start the day, huh?!
This recipe was fabulous! So fluffy and delicious! I’ll definitely be making again!
Yay!! Love hearing that!