Do It Yourself: Old Window to Magnetic Chalkboard!
Who doesn’t love a good craft???? Who doesn’t love FUNCTIONAL craft???!
I love multi-use items. And, I love repurposing an item!
This Magnetic Chalkboard is the best of both worlds. Though I have yet to hang it and use it as a magnetic board, I have loved using it so far!
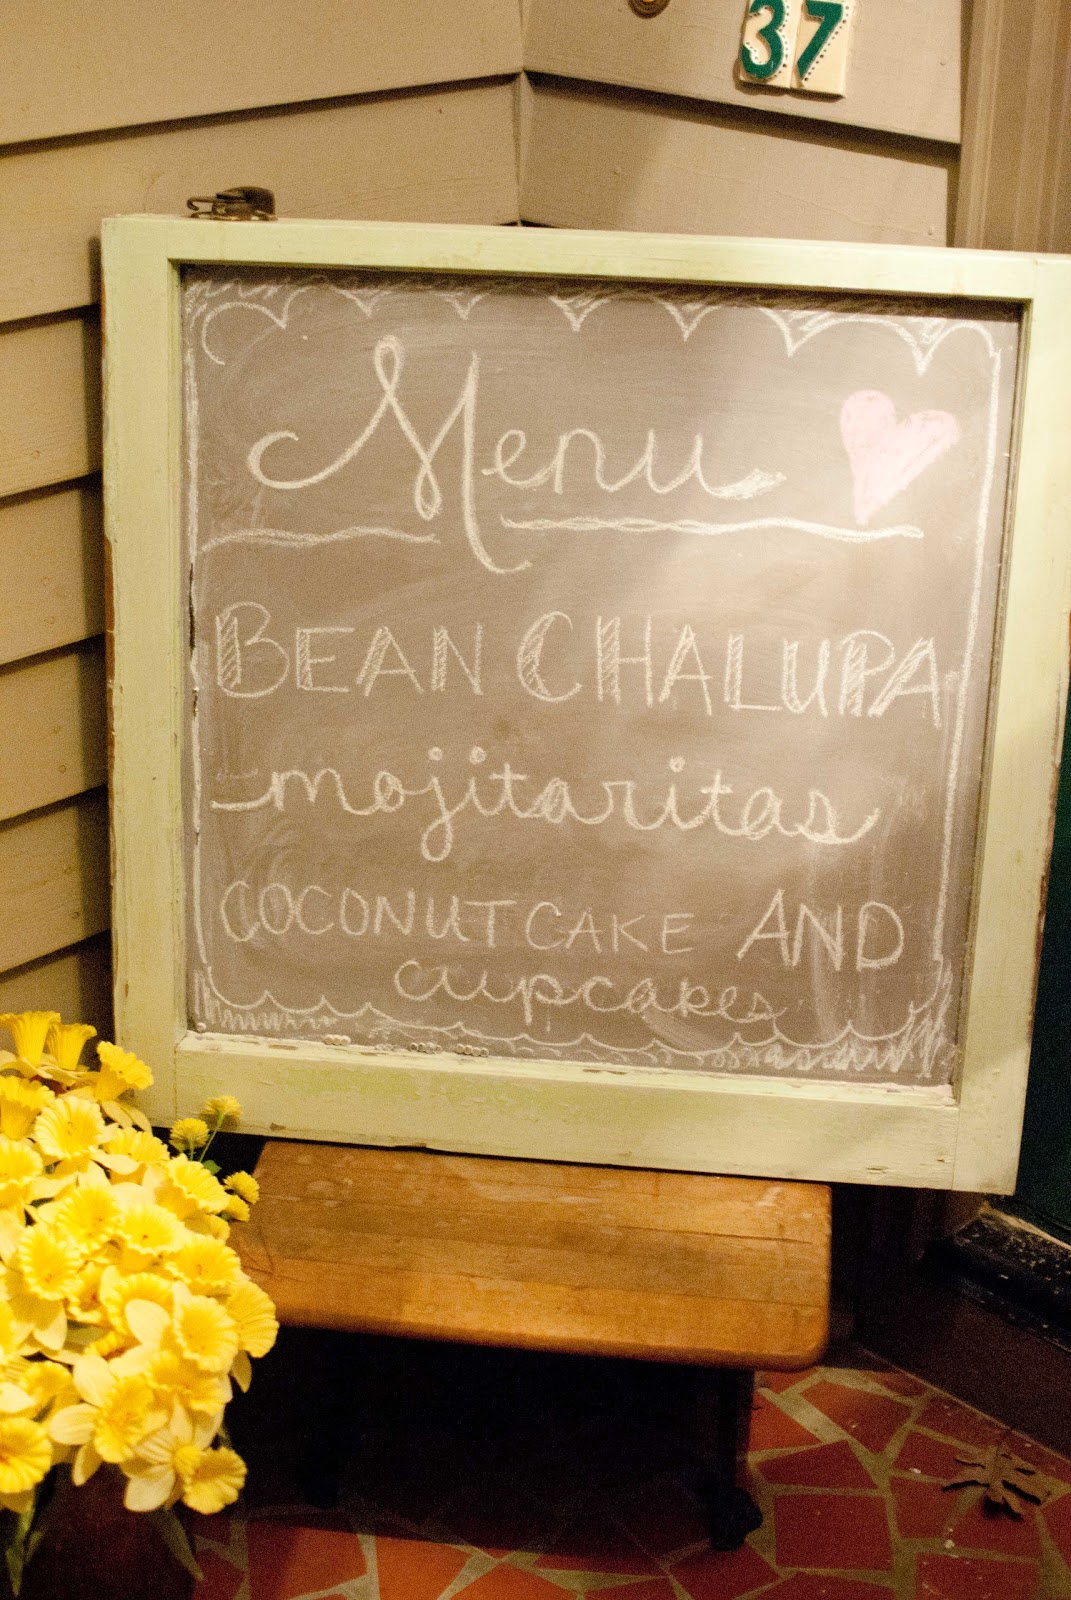
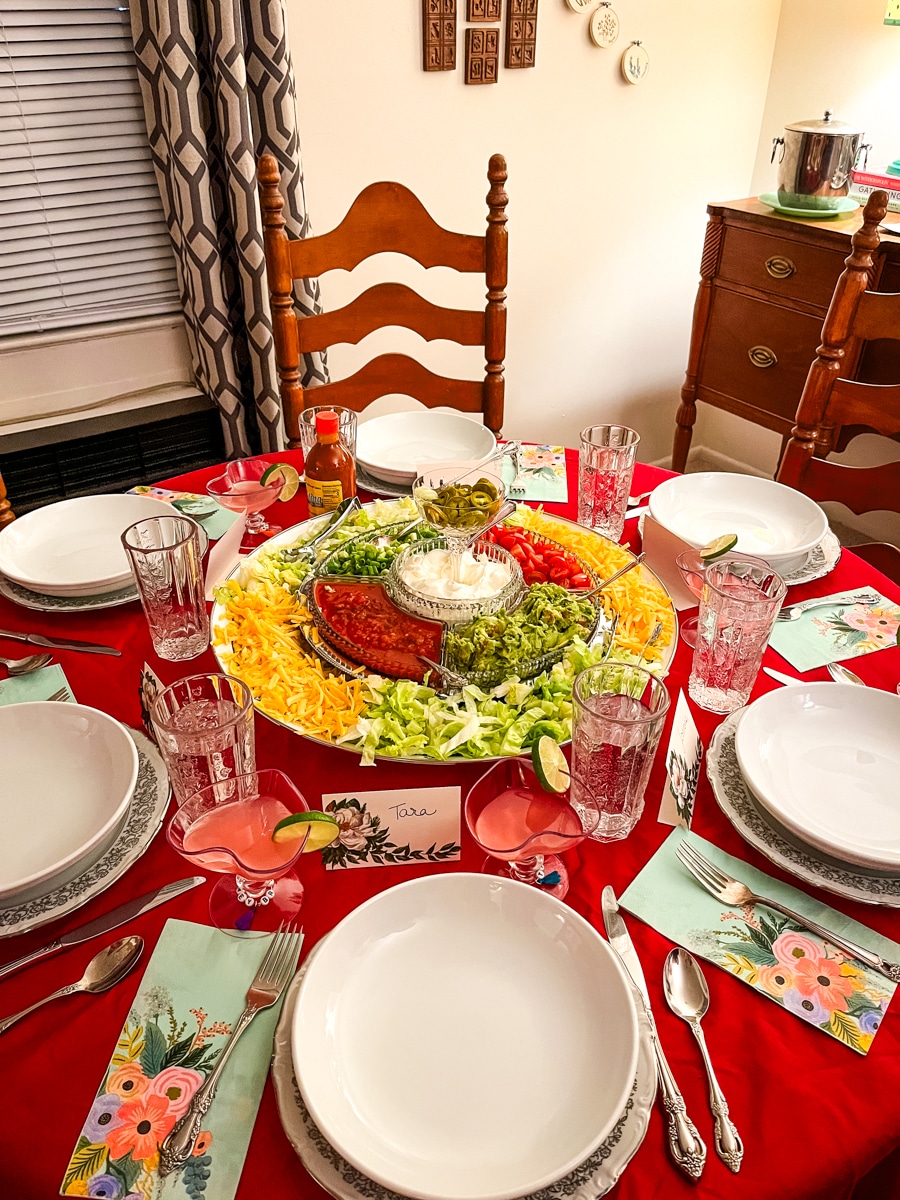
Here she is being used as a menu board for our most recent party.
Right now, it is being used as our Christmas Greeting!
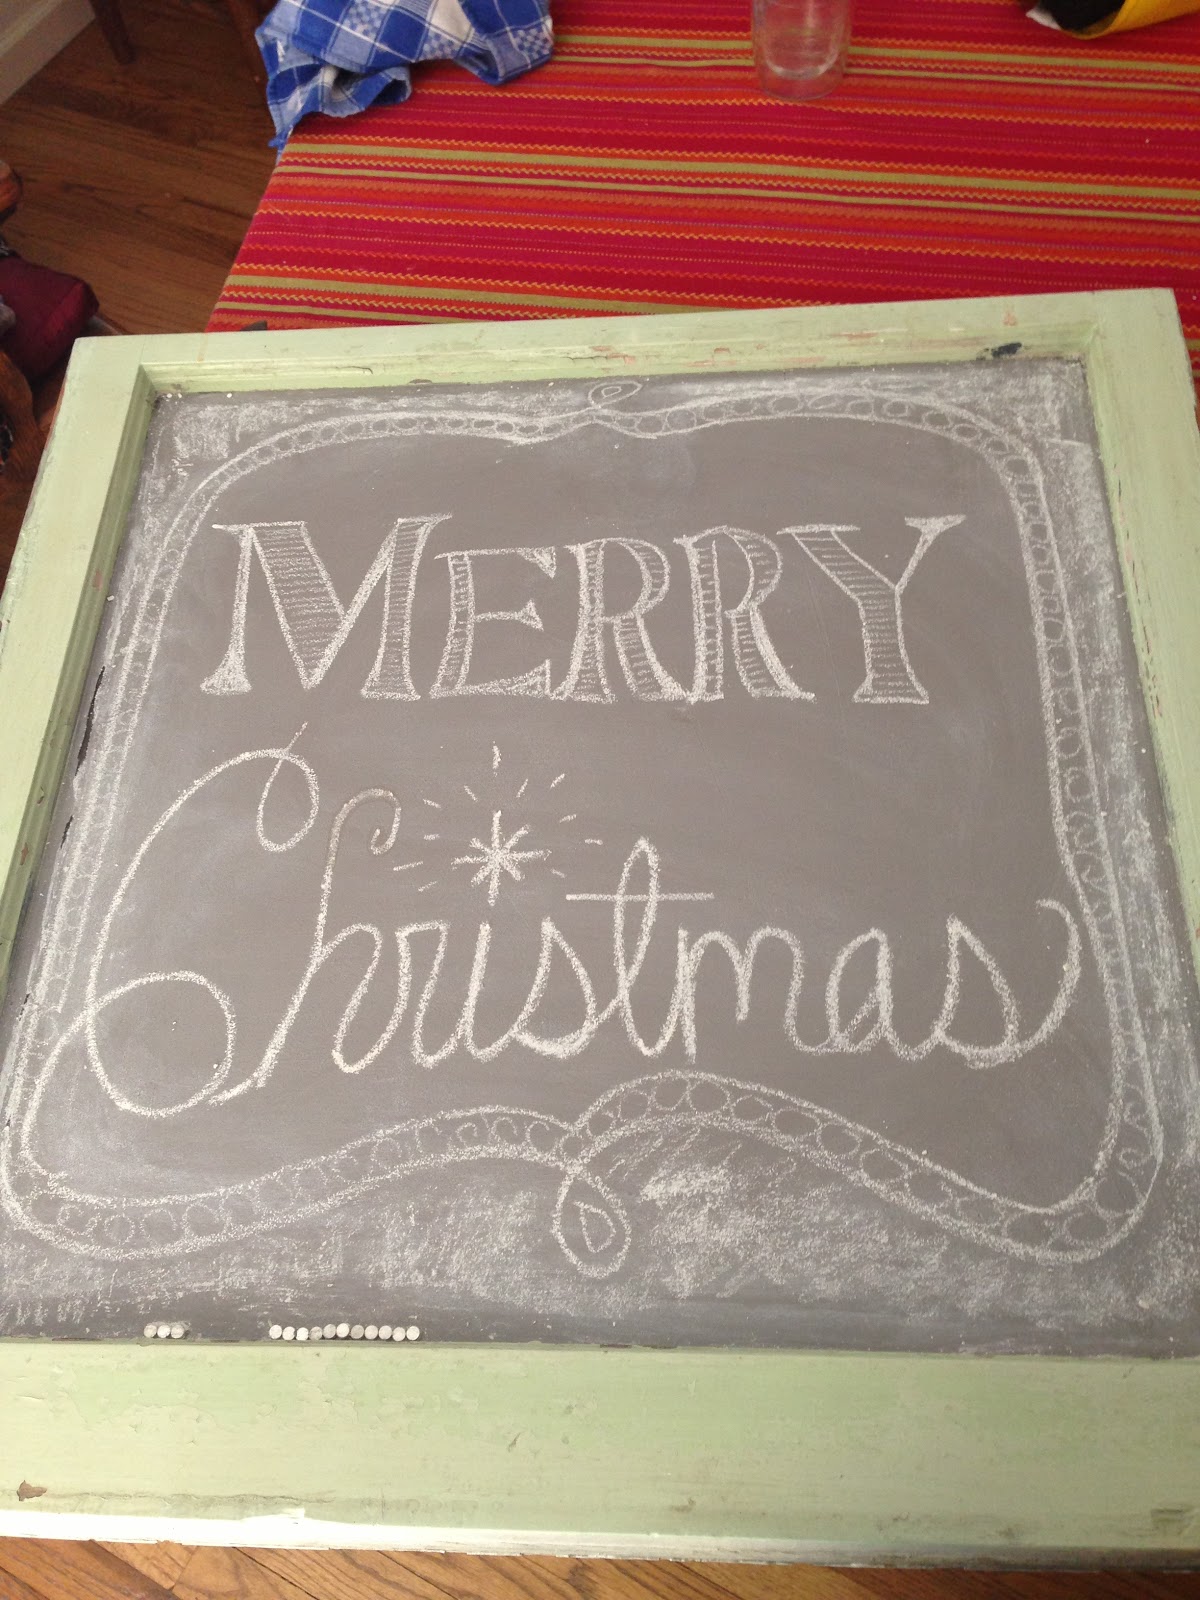 |
| You will notice my Mighty magnets at the bottom! Those suckers don’t want to come off! |
Want to see a how easy it is to make your own magnetic chalkboard!?
Here’s what you will need:
Magnetic paint – I used Martha Stewart’s brand, and I absolutely LOVE it.
Chalkboard paint – Once again, Martha Stewart… In the grey color.
Paint tray
Rolling paint thing – you know those cylinders that put paint on your walls smoothly??
Small paint brush – to use around the edges
 |
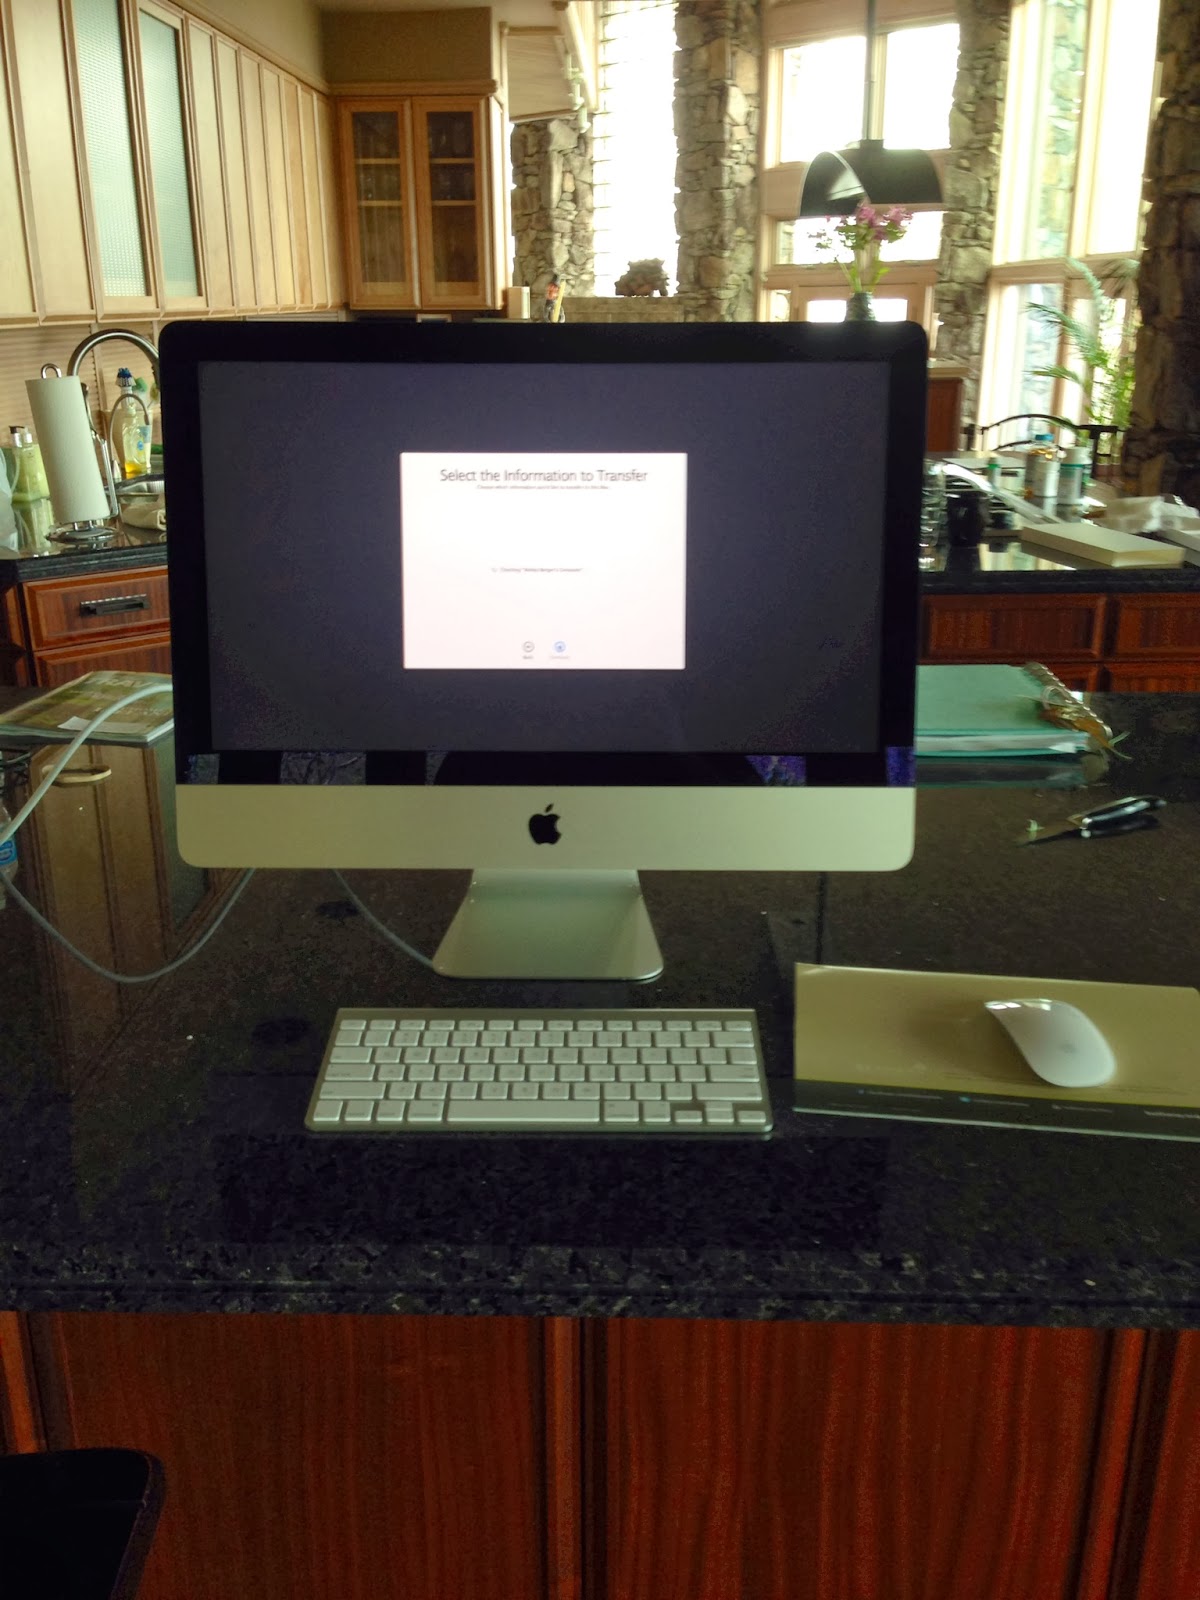
| Yep, I used the iPhone… And it’s blurry! |
Smooth your magnetic paint on to your clean window, or whatever item you are painting. Let this coat dry for 15-30 minutes. Then add a second. Let it sit for a day. One whole day!
 |
| Thanks, iPhone! |
This was during the waiting period….

Add your chalkboard paint in the same manner you did your magnetic paint. I used two layers… I didn’t want it to be so layered in chalk paint that the magnetic-ness didn’t come through? I don’t know if that’s a real thing, but in my mind it was! Let this “cure” for a day.
Then, when you are ready to write on your board, take a piece of chalk on it’s side and cover the entire board. Erase, then let those creative juices flow!
A few tips for writing on chalkboards that I have learned in the {very} short chalkboard writing/drawing career…
1. Draw your design on a piece of paper or on the computer.
2. Use no more than 3 font styles.
3. A border makes it pop.
4. If you wet your chalk before writing, it will go on lighter, but dry darker. I don’t make the rules, I just say “yes ma’am!”
5. If you don’t like what you’ve made, ERASE IT! Yay.
6. Keep a damp paper towel close by for small touch ups.
Good luck with your board!!!