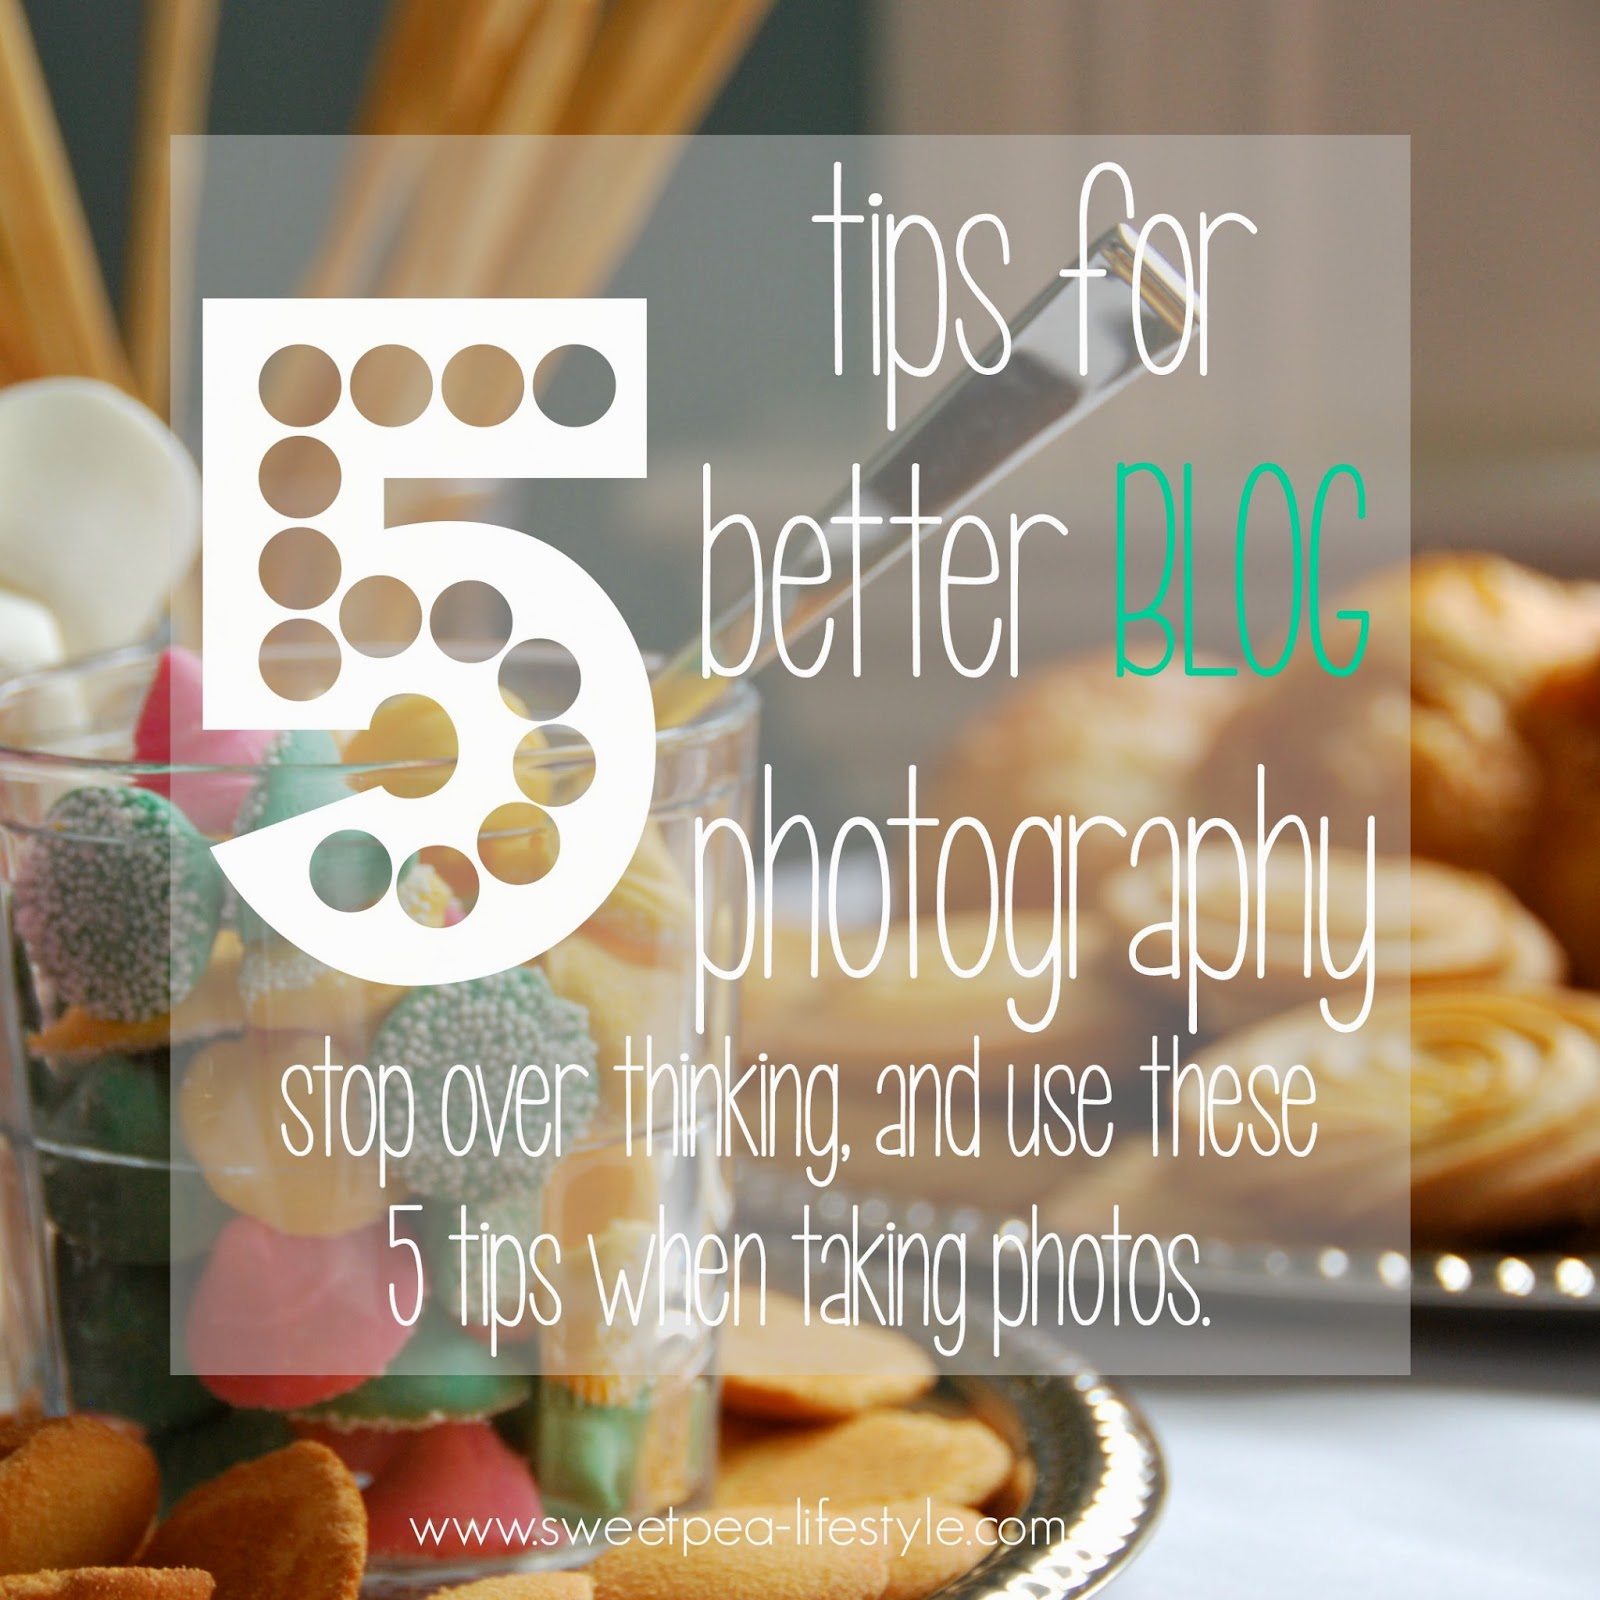
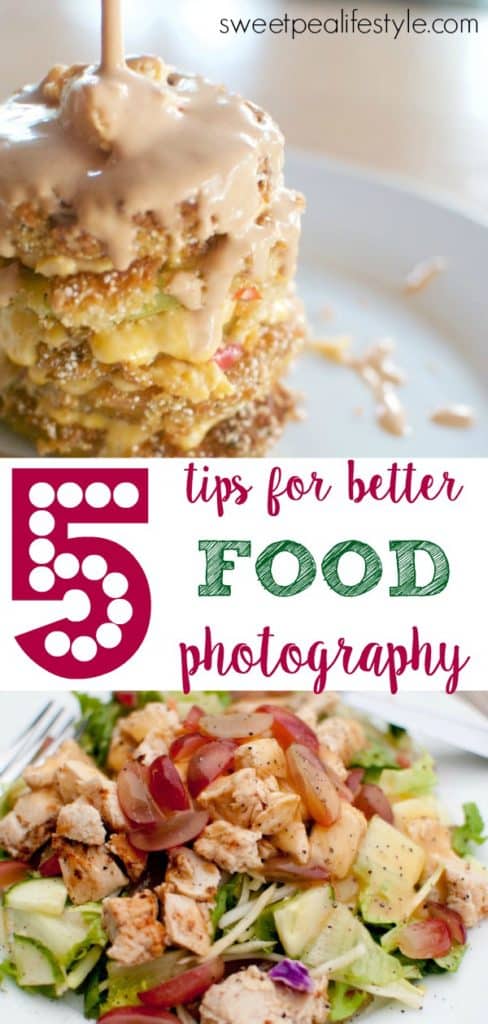
5 Better Food Photography Tips
Here are 5 food photography tips that will help you create deliciously pinnable images, photos that make readers want to eat the recipe right away!
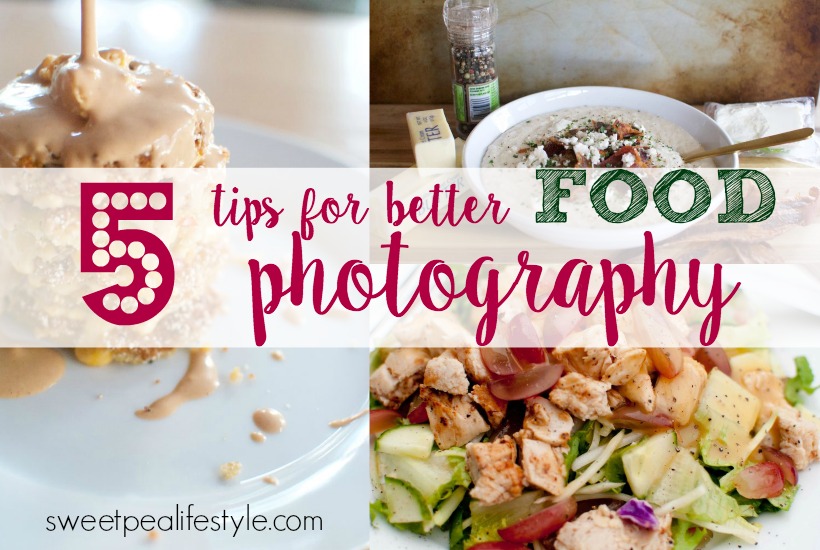
If you’re in the blogging world, you know that photography is of utmost importance. Good photography will sell your blog well, and bad photography will send the readers clicking out in less than a second. These food photography tips for simple techniques will help you take outstanding images, and create pinnable images.
I’m not going to tell you how to use your camera — this post is going to walk you through five photography tips that will help you become a better food blogger.
1. The Rule of Thirds.
That one rule you learned in art class, in grammar school?? It still applies! Naturally the eye starts in a corner, and leads around the perimeter. You’ll want to position your food in one of the four corners of your camera’s frame. This may feel odd at first, but that blank space keeps the eyes on the one corner with your focal point.
2. Turn. The. Flash. OFF.
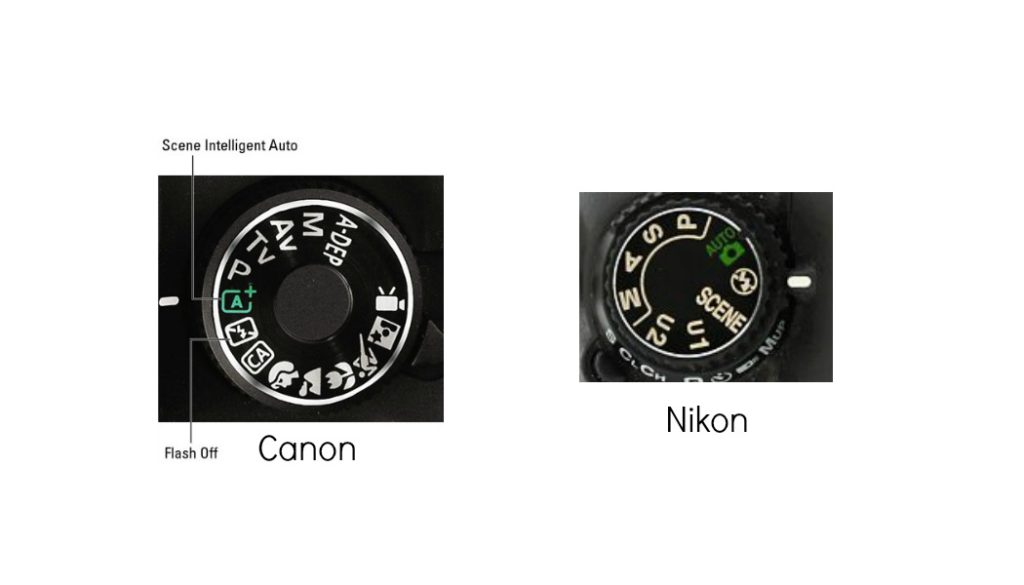
I told you this was going to be easy — so, I’m not going to speak to you about manual mode. If you need help in that area, I would suggest Food Blogger Pro! They are amazing, not only in setting up a food blog, but helping you with your manual camera skills. Join the Food Blogger Pro Waiting List! So, with that turn your DSLR’s settings to the no flash setting. Here’s some screenshots of what a Nikon & Canon’s settings will look like…
One food photography technique I learned many years ago, was to turn off the flash, use good natural light, and snap your pictures during morning light.
3. Take a Step Back.
Don’t get too close. You can always crop in, but not out! When I first started photographing food for my blog, I would get super close… You can only do so much with a close up. They look good for a few photos, but if you want an image that you can use for social media graphics, you need to take a step back.
4. Use Words.
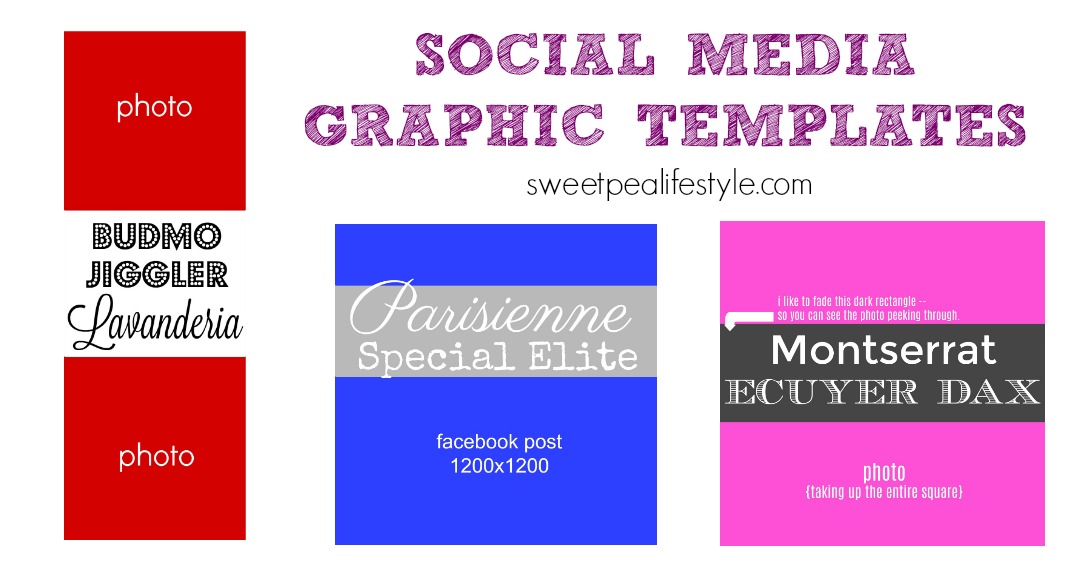
Label your top photo, this helps your readers know they have the correct post. At the end of your post, you can add a pinnable image. You can download my free social graphics templates when you subscribe to my email list!

5. Take Your Time.
Now, I use Adobe Photoshop Elements to edit all my photos. However, Lightroom, Picmonkey are wonderful! I actually use Picmonkey to create all my blog graphics and pinnable photos.
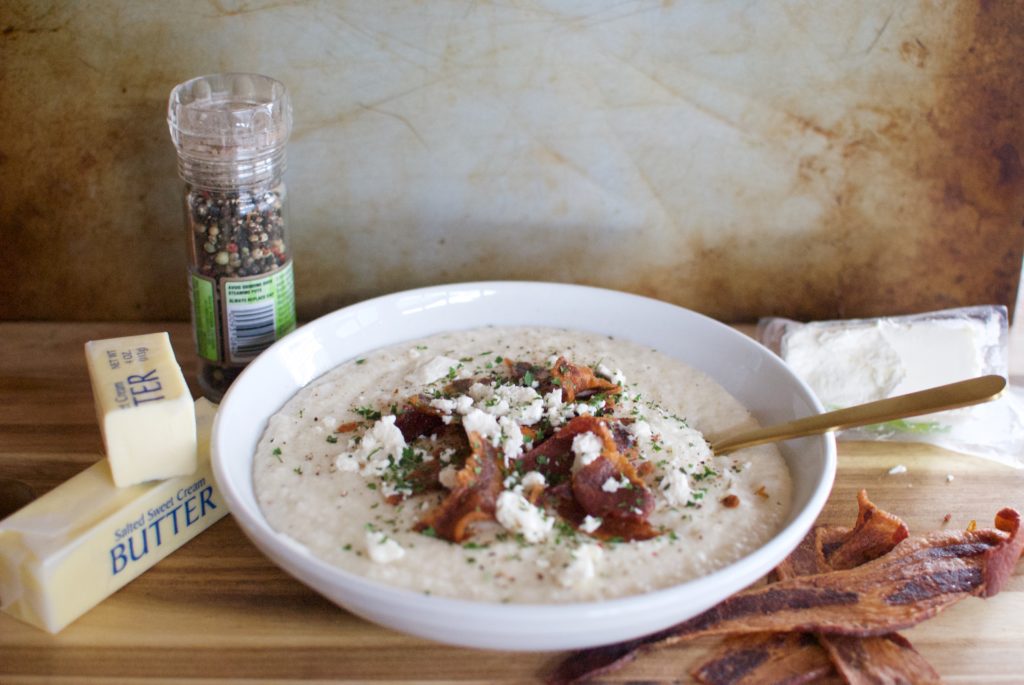
A few suggestions on food photography styling & props! I like using an old (large) sheet pan as a background. I use a large cutting board from Ikea as the base, and spread ingredients from the recipe around the board.
Pin this image to save to your favorite food blogging boards!
Cheers to better food photography, Sweet Friends!
XOXO,