Perfect Chicken Breasts (How to Grill at 400˚)
Perfect Chicken Breasts are way easier to grill than you think! These tips help you grill your tender, juicy chicken to perfection at 400 degrees every time!
This post contains affiliate links.
Welcome to Flawless Grilled Chicken 101
First things first, let’s talk about a subject near and dear to every home cook’s heart: grilling chicken breasts.
Now, you might think you’ve got this down, but I’m here to guide you through the nuances of achieving that perfectly juicy chicken breast at the sweet spot of 400°F.
This temperature, my friends, is not just a number—it’s the secret to elevating your chicken from just okay to oh-my-wow!
Imagine biting into a piece of chicken so succulent and flavorful that you’ll want to grill every single time.
And yes, it’s all about managing that medium-high heat to ensure even cooking without losing a drop of precious juiciness. Whether you’re a seasoned griller or this is your first rodeo, trust me, mastering chicken breast at 400°F is a game changer.
Key Takeaways:
- Crucial Temperature Control: Hitting and maintaining 400°F is key for juicy results.
- Embrace the Grill: Whether gas or charcoal, the right grill setup can make all the difference.
- Patience Pays Off: Taking the time for proper cooking and letting your chicken rest ensures a moist, flavor-packed bite every time.
Preparation is Key
Before we turn up the heat to 400°F to grill those juicy chicken breasts, let’s talk about how crucial preparation is.
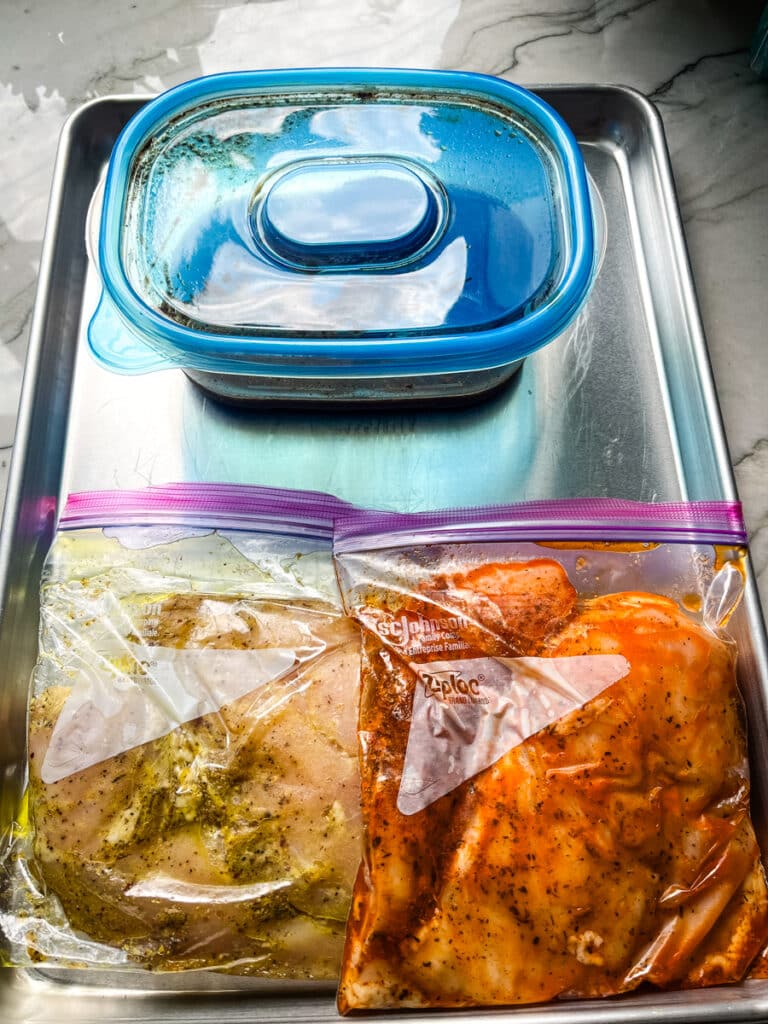
First off, let’s decide on a marinade or a dry rub to enhance the flavor.
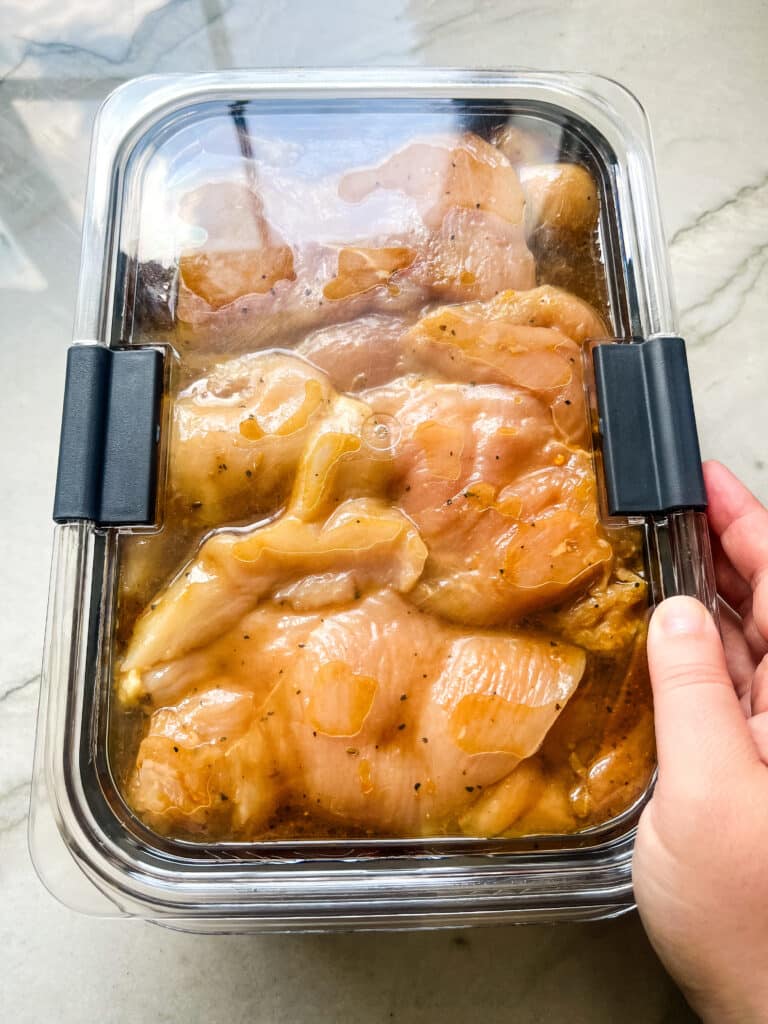
Marinades are great for infusing your chicken with moisture and taste, featuring ingredients like olive oil, garlic powder, and even a splash of soy sauce for that umami kick.
On the other hand, a good dry rub with brown sugar, black pepper, and a pinch of salt can create a deliciously crispy skin that’s hard to resist.
Remember to bring your chicken to room temperature for even cooking; about a half-hour should do the trick.
This simple step makes a big difference, ensuring every bite is perfectly cooked. Now, let’s get those grill grates clean and preheated and our chicken prepped and ready to achieve grilling glory.
Most chicken recipes you find for grilling include a chicken marinade recipe.
If you’re short on time, using a bottled Italian Dressing works wonders! It’s got all the salt, acid, sugar, and herbs boneless skinless chicken breasts need. It’s the easiest way to pack in flavor in a short amount of time!
Marinades vs. Dry Rubs
Deciding between a marinade and a dry rub can feel like a culinary crossroads.
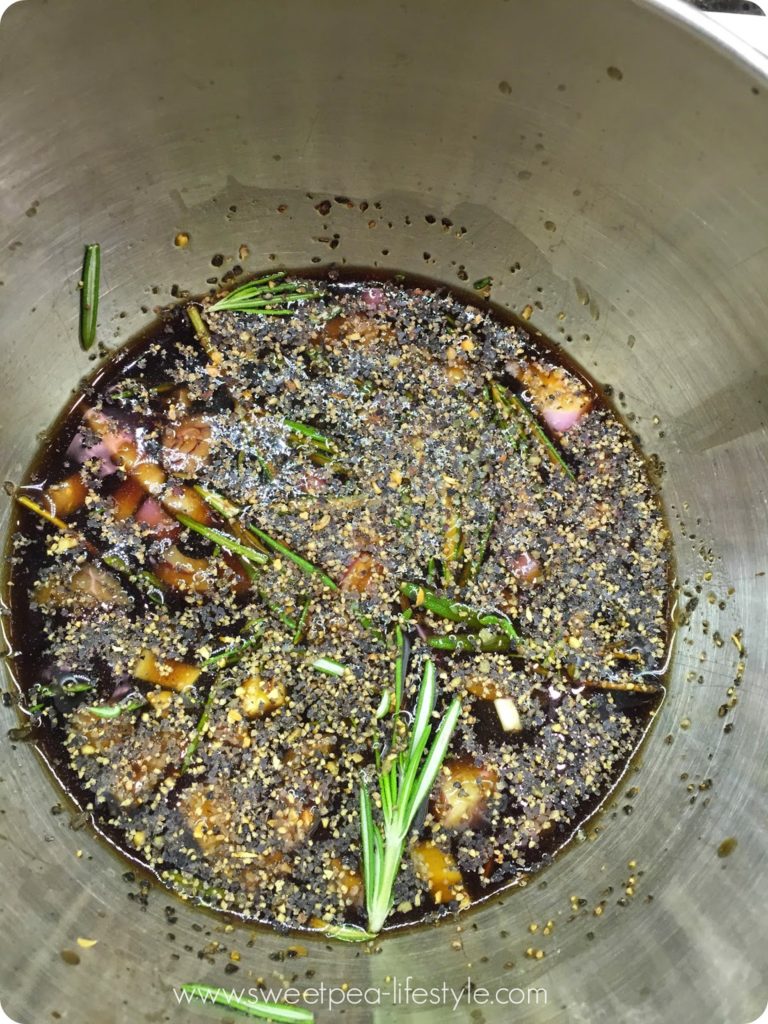
Marinades soak your boneless chicken breasts in a concoction of oil, acid, and spices, tenderizing the meat and bringing every bite to life with moisture and zest; perfect for those who crave that juicy grilled chicken with every forkful. Think of it as a bath of flavor, where your chicken lounges for a half-hour or so, emerging ready to hit the grill grates and sizzle to perfection.
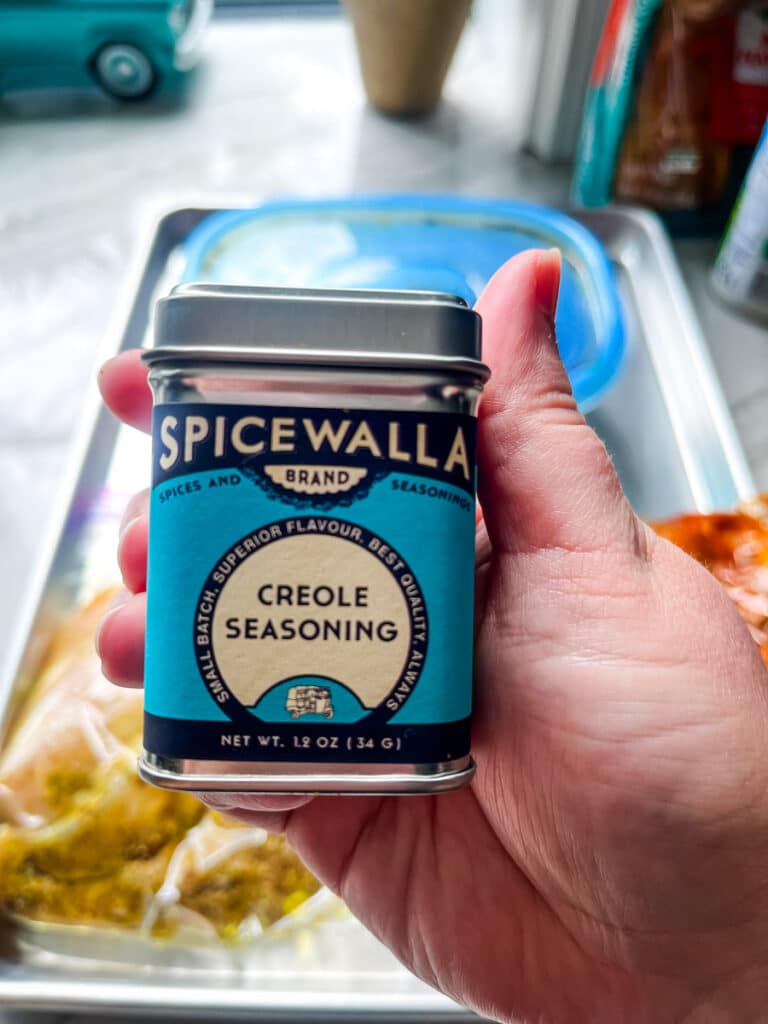
On the flip side, dry rubs are your go-to for creating a savory crust that sizzles to crispy goodness. Mixing garlic powder, brown sugar, black pepper, and a pinch of salt, you pat your chicken pieces, whether they be thighs or boneless skinless breasts, ensuring every nook and cranny is covered. As it grills at that optimal 400°F, the rub morphs into an irresistible caramelized layer, a great way to lock in flavor and achieve that sought-after crispy skin without the wait.
My top tip? Why not sample both methods and decide which sings to your taste buds? Marinate your chicken, then sprinkle a dry rub on top as it grills.
Whether opting for the prolonged richness of a marinade or the immediate gratification of a dry rub, both roads lead to deliciously grilled chicken breasts that’ll have you reaching for a clean plate, ready for seconds.
I’ve got a great marinade for your chicken! This chicken breast recipe is my go-to recipe any time of year! Steakhouse Marinated Chicken is the best way to ensure your chicken is full of flavor.
Tools of the Trade
First off, let’s talk about the essentials: a meat thermometer and a grill brush.
These aren’t just your run-of-the-mill barbecue accessories; they’re your secret weapons to grilling success.
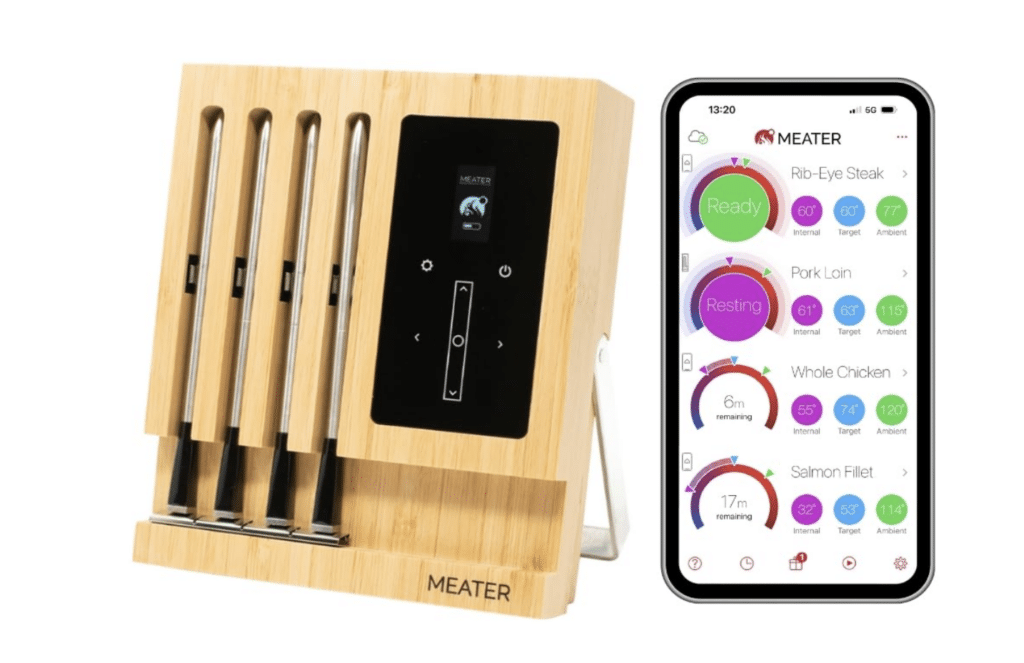
Imagine trying to grill that perfect chicken breast at 400°F without knowing its internal temperature.
Chances are, you’ll end up with something too dry or, worse, undercooked.
That’s where your trusty instant-read thermometer comes in. It gives you the confidence to pull your chicken off the grill at just the right moment, ensuring it’s juicy and safe to eat at that magical 165°F internal temperature.
And let’s not forget about our grill brush.
A clean grill means even cooking and those iconic grill marks we all love. Plus, it prevents last week’s flavors from crashing tonight’s dinner party.
You want something that cleans your grill well without leaving any trace of its bristles. I love Scrub Daddy’s BBQ Daddy and a little CitruSafe.
Together, these tools ensure every chicken breast you grill is a masterpiece.
Grilling Techniques
Let’s dive into the heart of grilling chicken breasts, particularly focusing on the art of maneuvering between those crucial grilling techniques at 400°F— direct and indirect heat.
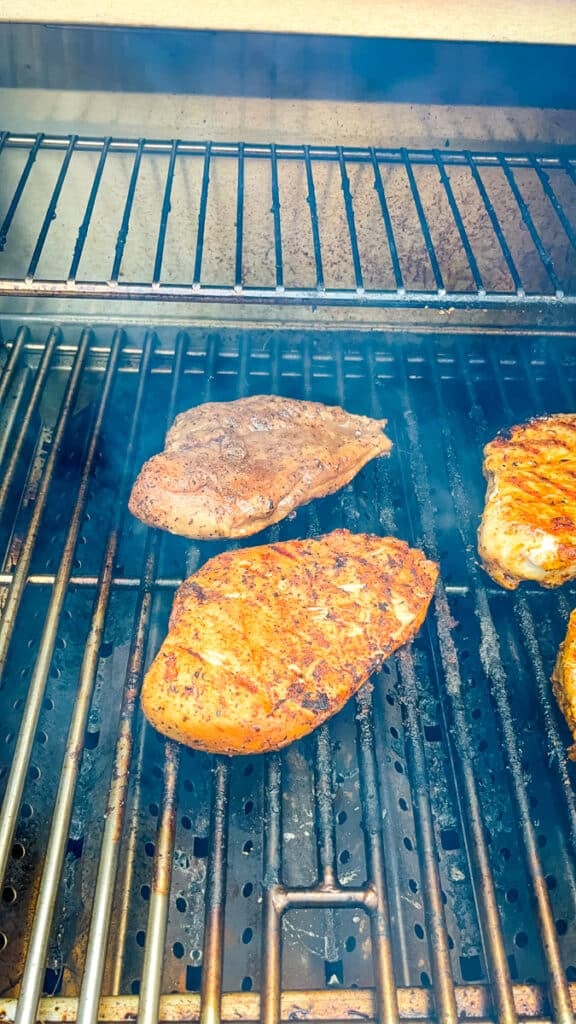
Direct grilling is your go-to for that initial sear.
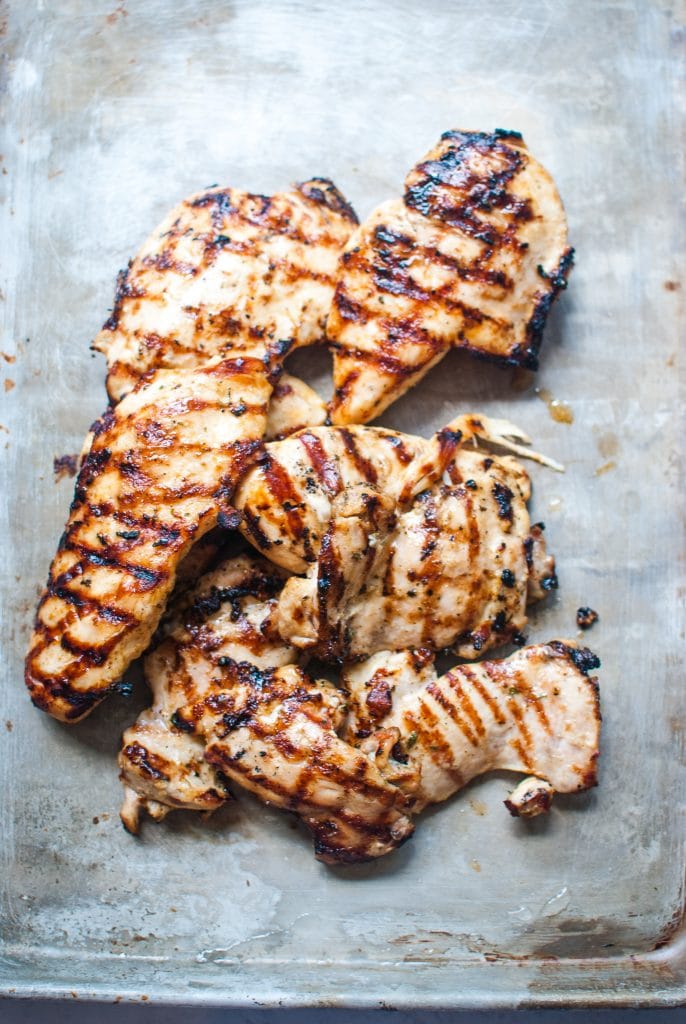
Picture this: the chicken breasts sizzle as they hit the grill grates over the roaring flames, enveloping them in a deliciously crisp exterior. This is where your initial grill marks happen, and you don’t want to disturb them.
My rules for grilling on the first side are this:
Lay the chicken down at either the 10 or 2 position of the “grill clock.” Let it sit there, undisturbed and the grill lid OPEN for 4 minutes. After 4 minutes, turn the chicken to the other 10 or 2 positions and close the grill lid. If the chicken doesn’t immediately release and easily turn, leave it alone.
Let the chicken cook on this other “hand” for an additional 4 minutes, depending on the thickness of your chicken, THEN flip the chicken over to the second side.
But here’s the secret to juiciness—indirect heat.
After searing, you move the chicken off to the side, with no flames directly below, allowing it to finish cooking gently in the ambient heat. This method ensures your chicken doesn’t just cook; it bathes at a temperature perfect for keeping it juicy and succulent.
I like to do this on the second side, especially with thicker chicken breast pieces or bone-in chicken breasts.
On this second side is where you can use a silicone basting brush and start layering flavor onto your chicken without worrying about overcooking the chicken.
Cooking Time and Temperature
So, your grill is fired up to a sizzling 400°F, and those chicken breasts are ready to hit the grates.
But how long do you grill them to achieve that mouthwatering perfection? Well, I’m here to walk you through it, step by simple step.
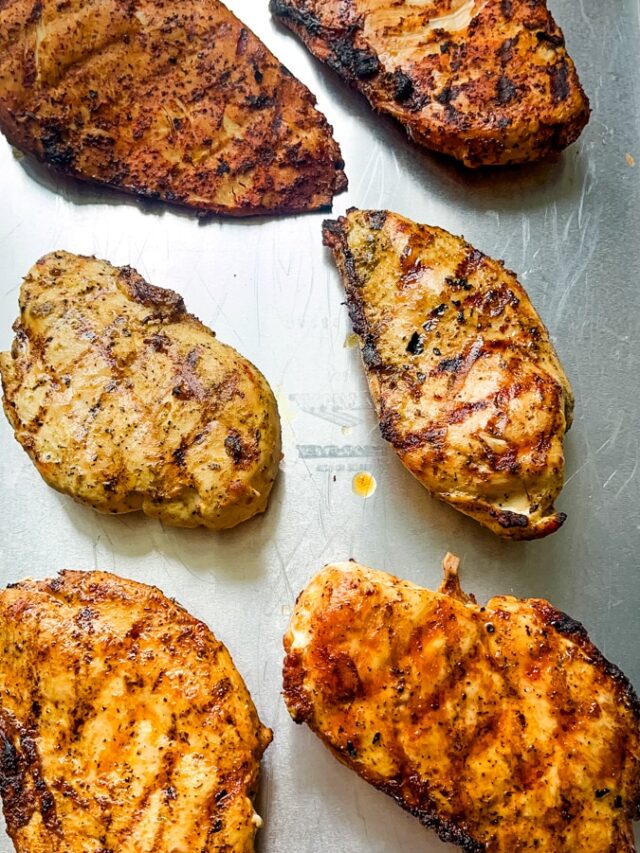
First off, let’s talk about the cooking time. Typically, you’re looking at about 5-10 minutes on each side, depending on the thickness of your chicken breasts.
But here’s the real secret to ensuring you’ve cooked them just right: an instant-read thermometer.
Now, you might be wondering, “What’s the ideal internal temperature for juicy chicken breasts?”
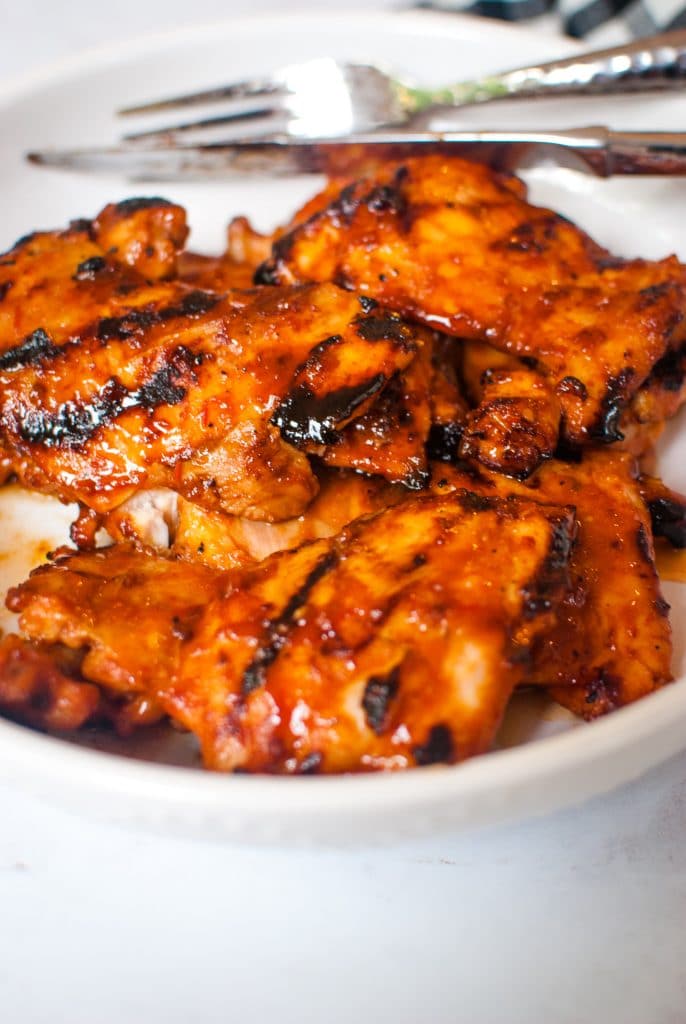
Aim for 165°F.
However, to keep them moist and juicy, pull them off the grill when they reach about 160°F.
Why? Because there’s this magical thing called carryover cooking. As the chicken rests, it will continue to cook, reaching that perfect internal temperature without drying out.
Remember, those few minutes of resting aren’t just good manners; they’re essential for locking in those delicious juices. So, give your beautifully grilled chicken breasts a moment to rest before you slice into them.
Trust me, it’ll be worth the wait.
Letting the Chicken Rest
Let me share with you a secret that’s often overlooked but crucial for achieving juicy chicken breasts every single time.

Once you’ve mastered the art of grilling chicken at 400°F, using a combination of direct and indirect heat, there’s one final step that makes all the difference – letting your chicken rest.
Why, you ask? This downtime allows the juices, which have been bubbling away and getting all excited from the heat, to settle back into the meat.
Imagine cutting into your beautifully grilled chicken breast immediately after it comes off the grill. Instead of staying inside the chicken where they belong, those flavorful juices would end up on your plate, leaving the chicken dry.
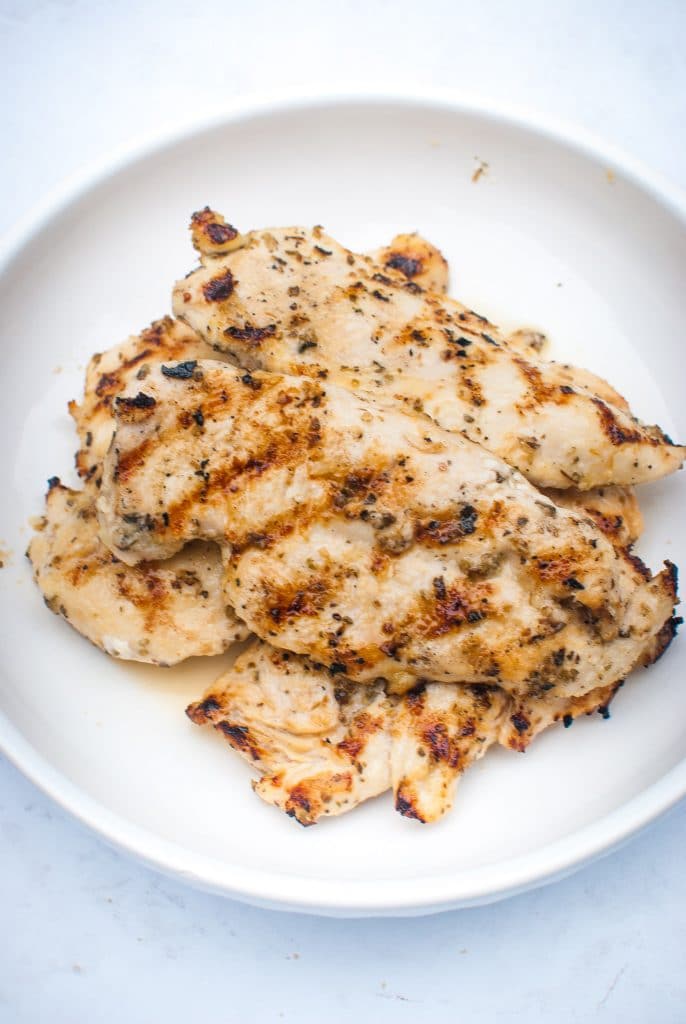
Allowing the chicken to rest for about 5-10 minutes gives it time to reabsorb and redistribute those juices throughout the meat, ensuring each bite is as succulent as the last.
This simple act of patience brings you closer to the juiciest, most flavorful chicken breast you’ve ever had – the cherry on top of your grilling masterpiece.
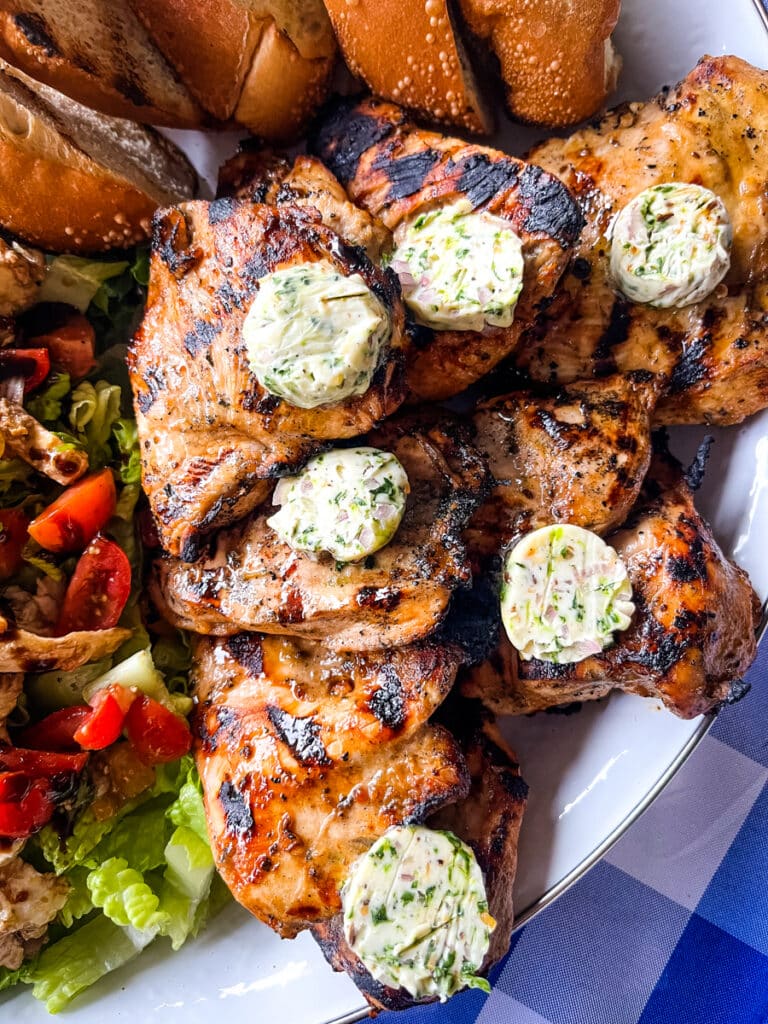
Serving Suggestions
Once you’ve mastered the art of grilling chicken breasts at the perfect temperature of 400°F, the fun part begins: serving your juicy masterpiece.
Whether it’s a casual BBQ or an elevated dinner party, there are endless ways to turn your grilled chicken into the star of the show.
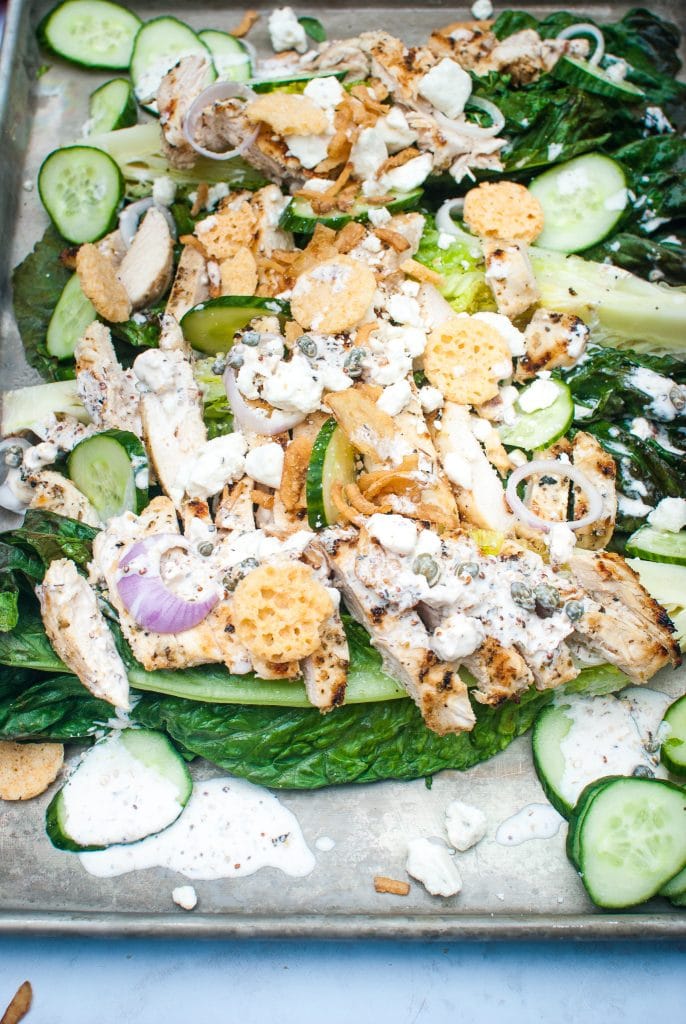
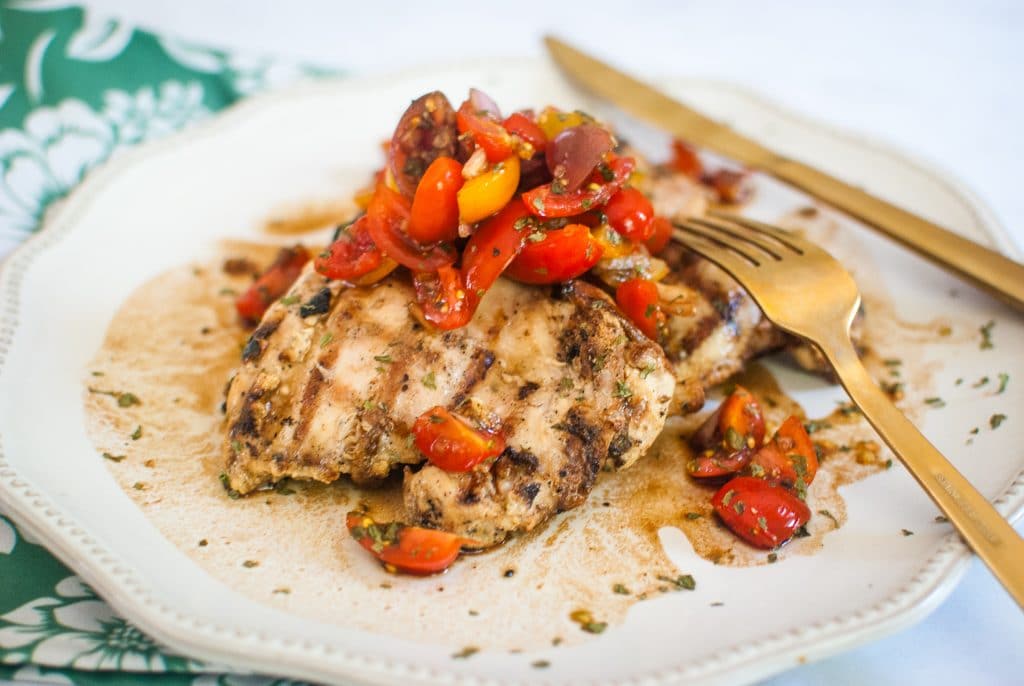
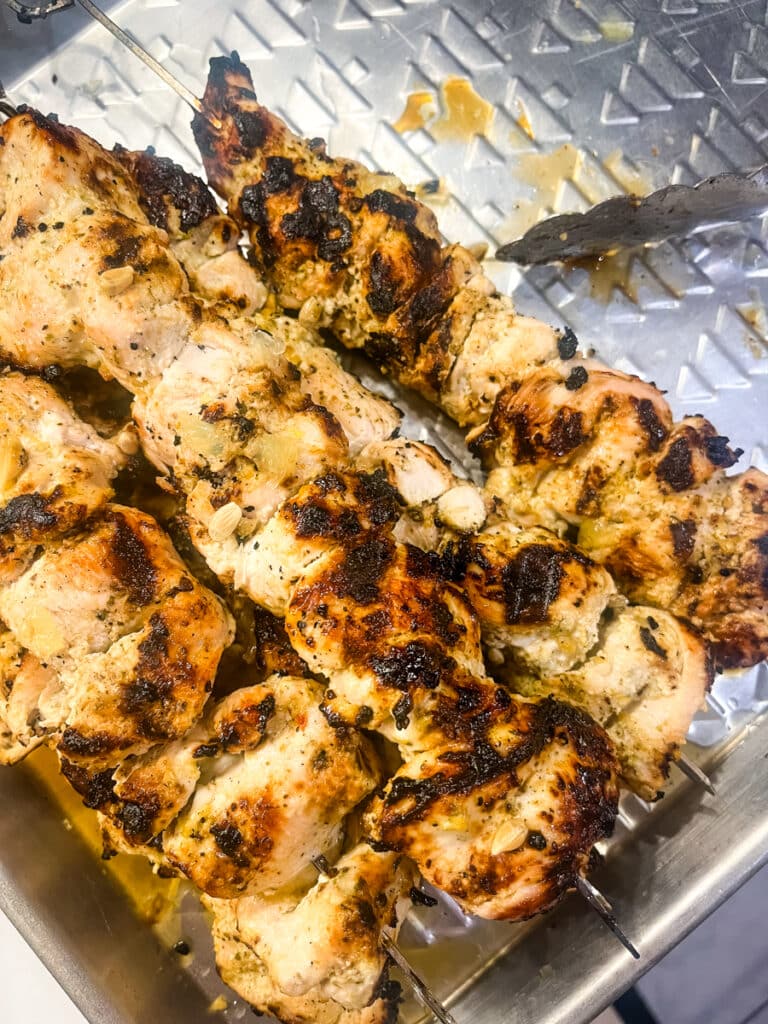
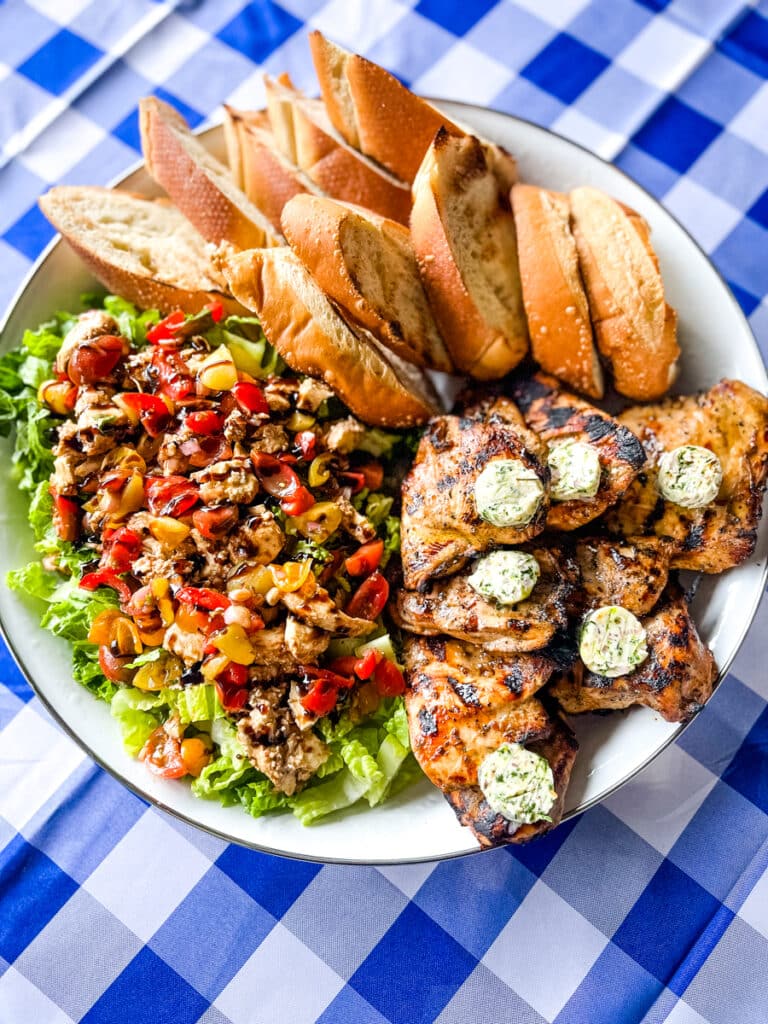
Consider slicing it atop a crisp, green salad for a light, nutritious option, or chop it up for an invigorating addition to a summer pasta dish. I LOVE serving sliced grilled chicken on greek salad!
For those looking to keep things classic, why not pair it with a side of potato salad or a vibrant vegetable medley?
And if there’s any left over—which I doubt—chicken tacos or wraps the next day make for a deliciously smart use of any leftovers, ensuring your grilling efforts extend well beyond a single meal.
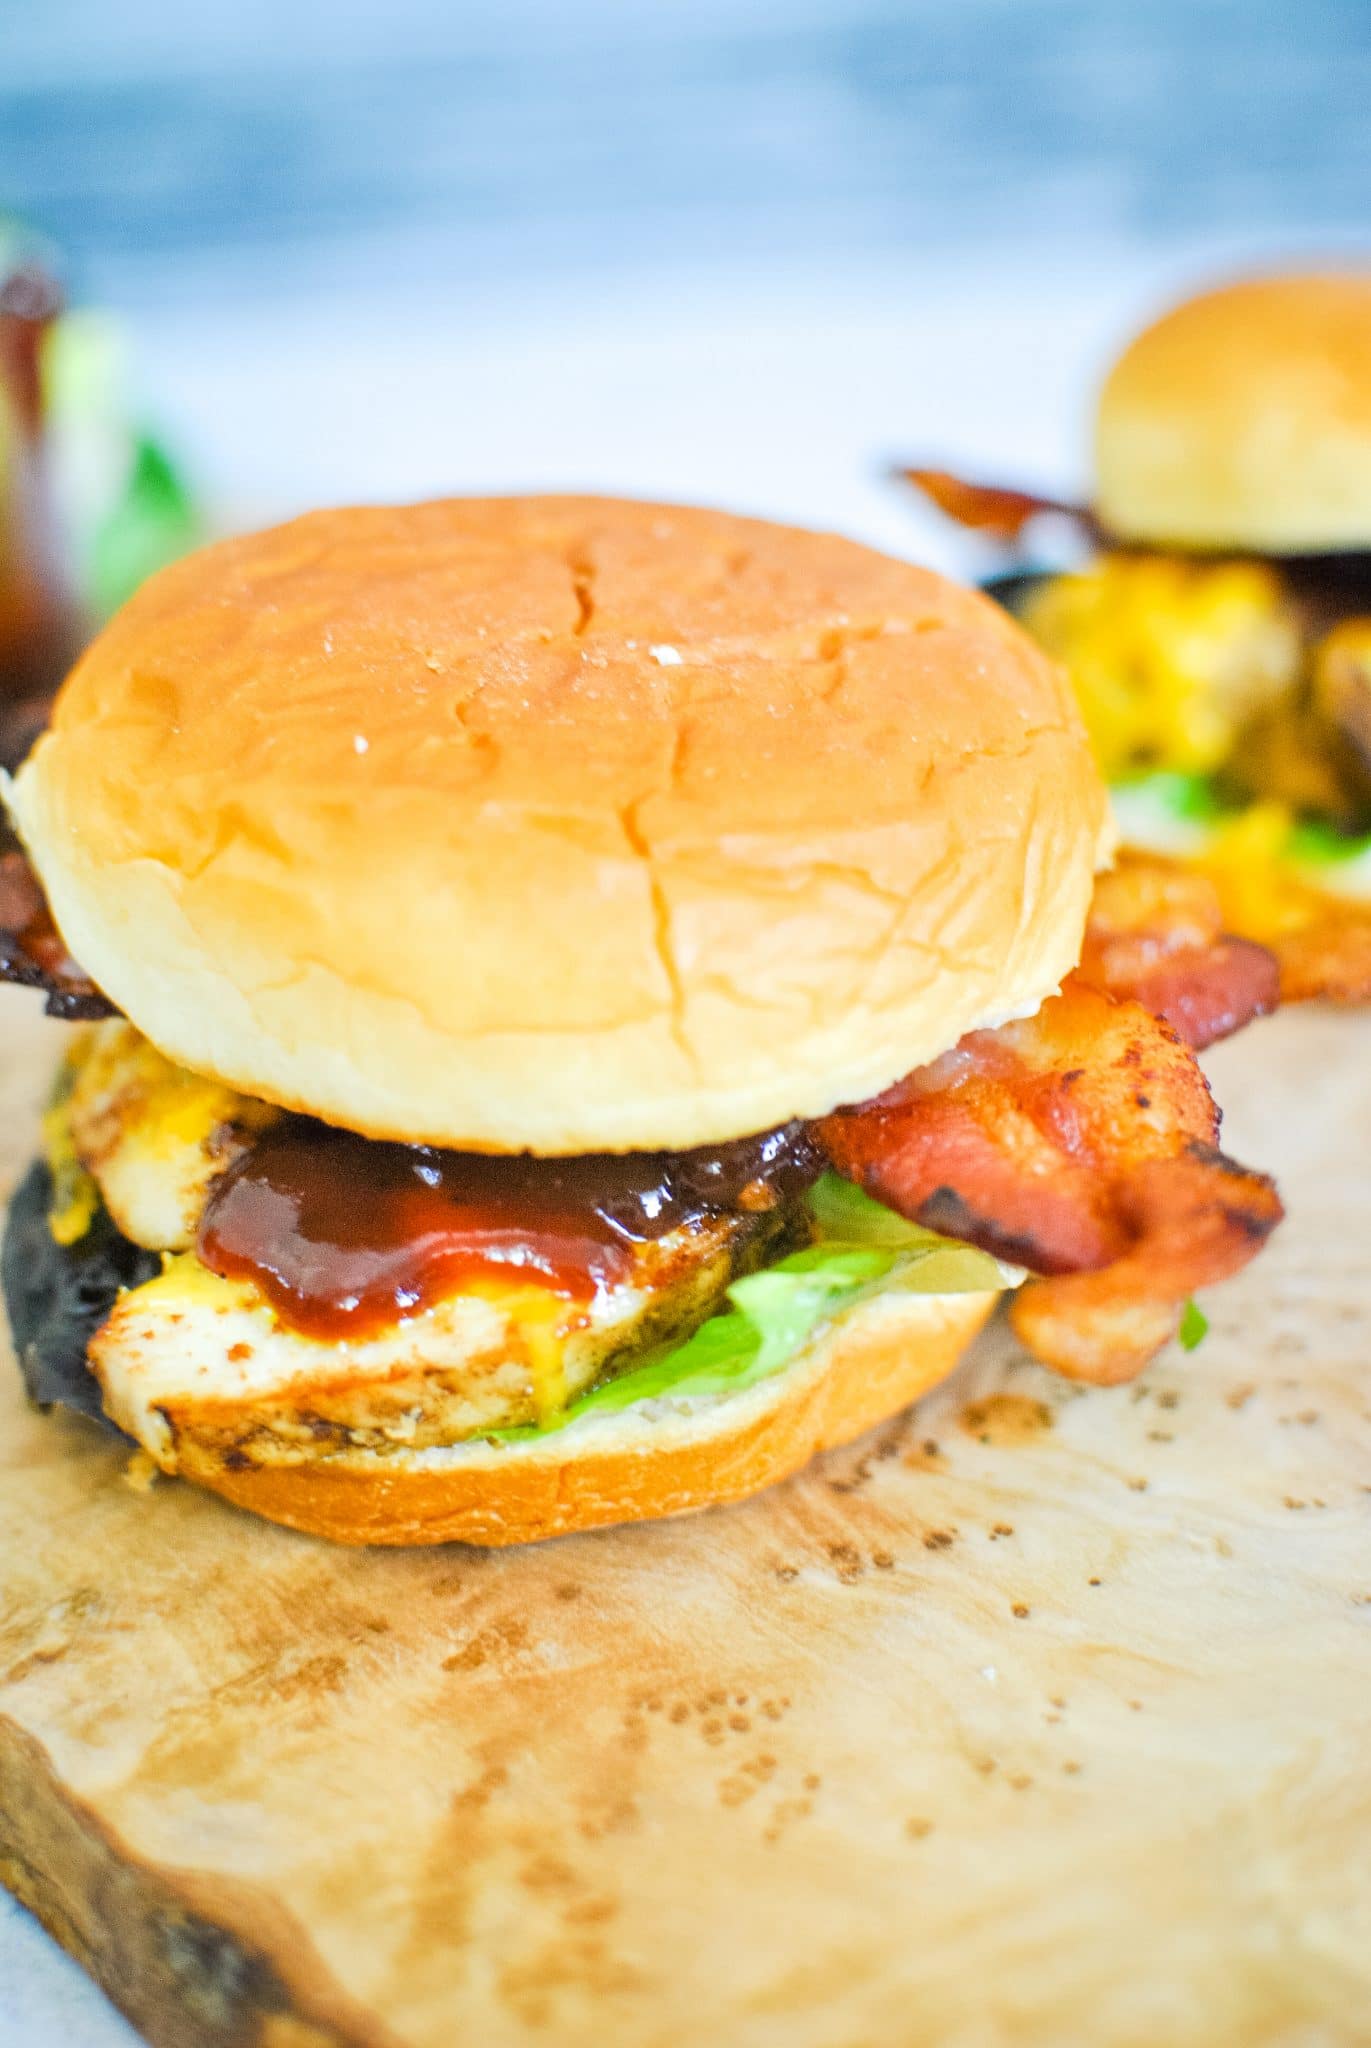
This Monterey Chicken Sandwich is my go-to meal for serving leftover grilled chicken!
Embrace the versatility of grilled chicken by experimenting with different marinades and sides; the possibilities are as limitless as they are delicious.
Your New Go-To for Grilled Delights
So, here we are at the end of our grilling journey, and what a delicious adventure it has been!
Grilling chicken breasts to juicy perfection at 400°F might have seemed daunting at first, but I’m thrilled to have shared with you the simple steps and top tips that make it incredibly manageable.
From the initial preparation with a delicious marinade or a flavorful dry rub to cooking on direct medium heat and then letting those beautiful cuts rest before serving, every detail is crucial.
Using an instant-read thermometer ensures we never miss the mark on achieving the perfect internal temperature, guaranteeing every single time results in the best-grilled chicken breasts you could ask for.
Armed with these pointers, the grill grates are your canvas, and I can’t wait to hear about the incredible dishes you’ll create.
Here’s to many flavorful adventures ahead – happy grilling!