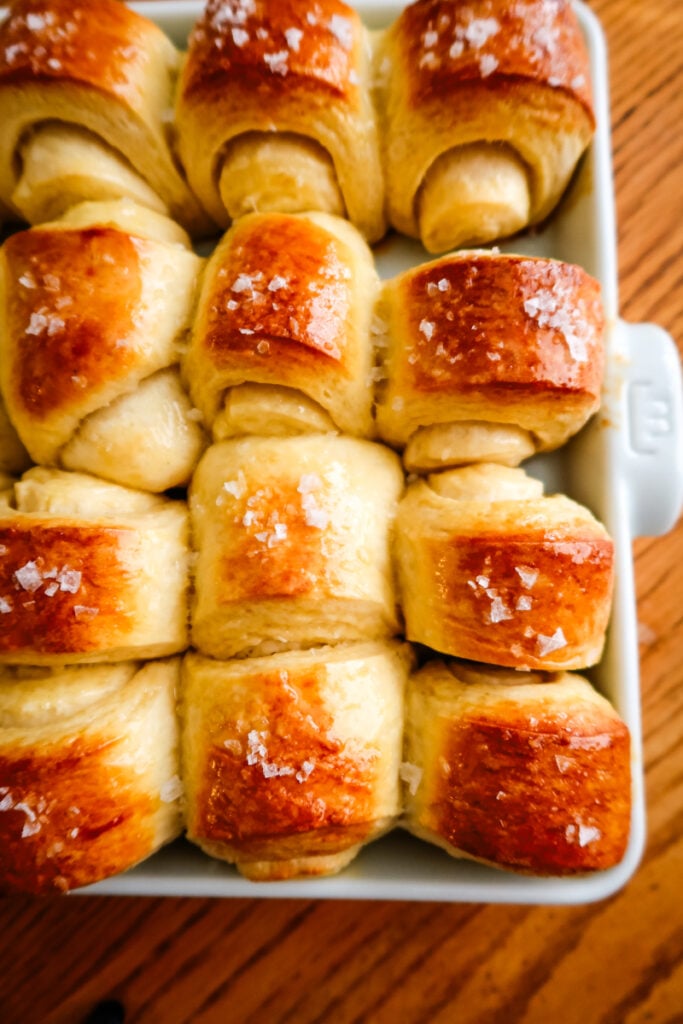
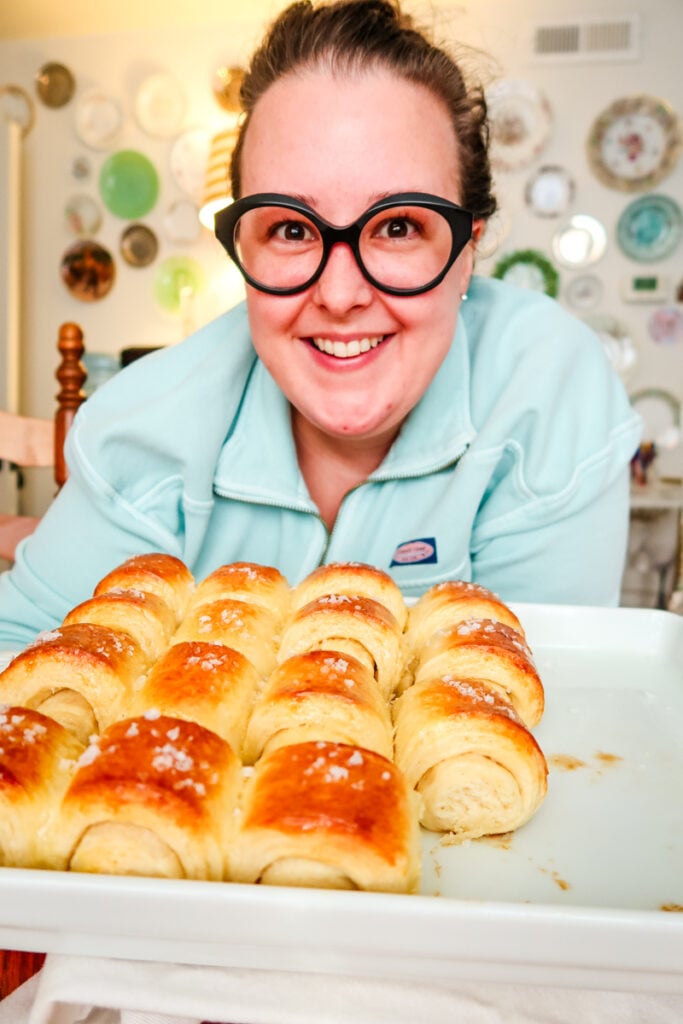
Sweetpea’s Parkerhouse Rolls
Parkerhouse Rolls are homemade, soft, buttery, and lightly sweetened with honey—perfect for dinner parties, holidays, or any cozy meal. Step-by-step instructions, make-ahead options, freezing directions, and beginner-friendly tips included.
If you had told me a year ago that I’d be elbow-deep in dough, testing a Parkerhouse Roll recipe seven times, I would’ve laughed and said, “Bless your heart, I am NOT a baker.”
But here we are — the self-proclaimed non-baker finding so much unexpected joy in a simple, repetitive, almost meditative task like kneading bread. There is something magical about working with warm milk, honey, and flour… watching dough rise… rolling each little pillow by hand.
These rolls reminded me how the most mundane kitchen moments can turn sacred, and how homemade bread has a way of wrapping the people you love in warmth long before it ever hits the table.
You’ll Love This Recipe Because…
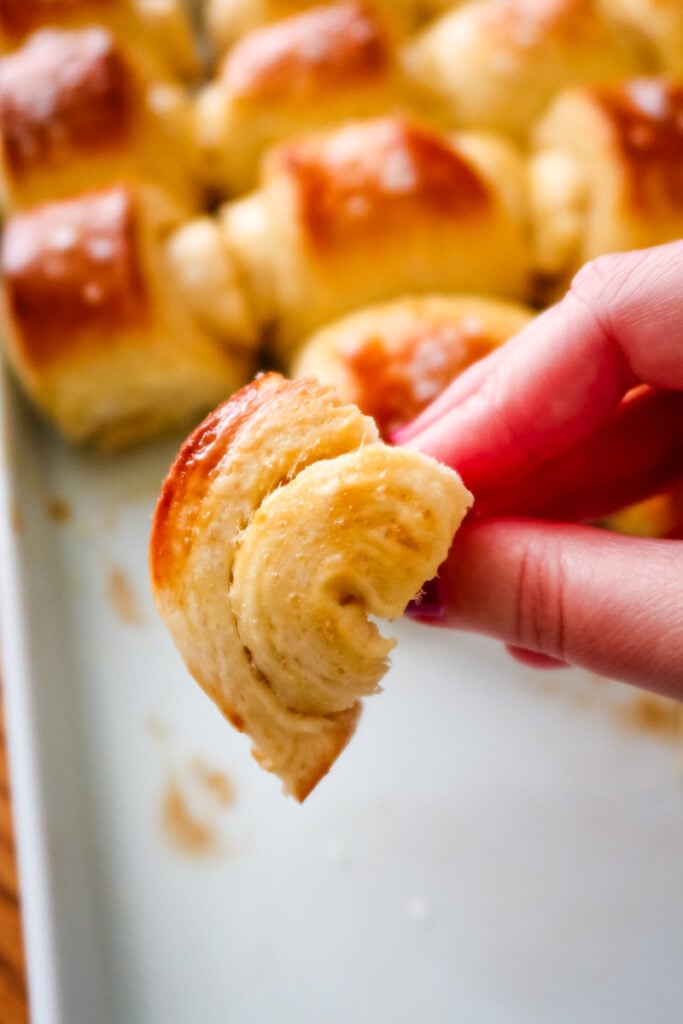
- They’re ridiculously soft and fluffy. The combination of honey, warm milk, and a slow rise creates that signature pillowy texture Parkerhouse Rolls are known for.
- They’re beginner-friendly. If you’ve ever felt scared of baking with yeast, this is the recipe that will change everything. If I (a non-baker!) can perfect them, truly anyone can.
- They’re make-ahead AND freezer-friendly. Hostesses rejoice! You can prep them the night before, freeze the dough, or freeze them baked.
- They’re slightly sweet, perfectly buttery. Honey in the dough + honey butter on top = magic.
- They’re a dinner-table showstopper. Imagine pulling a pan of golden, steaming rolls from the oven… guests swoon.
What Are Parkerhouse Rolls?
Parkerhouse Rolls date back to the 1800s from the Parker House Hotel in Boston. They’re typically folded or rolled, creating a layered, buttery interior and a beautifully golden exterior. They’re known for being light, fluffy, and absolutely addictive.
My version is inspired by the classic shape but simplified—rolled instead of folded—so beginners get consistent results without fuss.
Ingredients You’ll Need
For the Rolls:
- 1 cup whole milk, warmed
- 2 ¼ tsp active dry yeast
- 6 Tbsp honey, divided
- 1 egg
- 1 stick salted butter (4 Tbsp melted, 4 Tbsp softened), divided
- ½ tsp kosher salt
- 3 ½ cups all-purpose flour
Honey Butter Slather:
- 4 Tbsp softened butter
- 3 Tbsp honey
Recipe Instructions (Step-By-Step for Beginners)
1. Bloom the Yeast
In a large bowl, whisk together the warm milk, yeast, and 3 tablespoons honey.
Let sit 10 minutes until foamy.
If it doesn’t foam: your milk may be too hot/cold, or your yeast may be expired.
2. Add the Wet Ingredients
Melt 4 Tbsp butter and let cool slightly.
Whisk the melted butter and egg into the bloomed yeast mixture.
3. Add Dry Ingredients
Add the salt and flour, then stir with a dough whisk until shaggy.
4. Knead the Dough
Turn the dough onto a clean surface and knead exactly 5 minutes until smooth, soft, and stretchy.
- If the dough is sticky → add a dusting of flour
- If the dough feels stiff → wet your hands lightly and keep kneading
Place the dough back in the bowl, cover, and rise for 1½ hours.
5. Shape the Rolls
Roll dough into a 12″ × 18″ rectangle.
Cut lengthwise down the center, then into 2-inch strips.
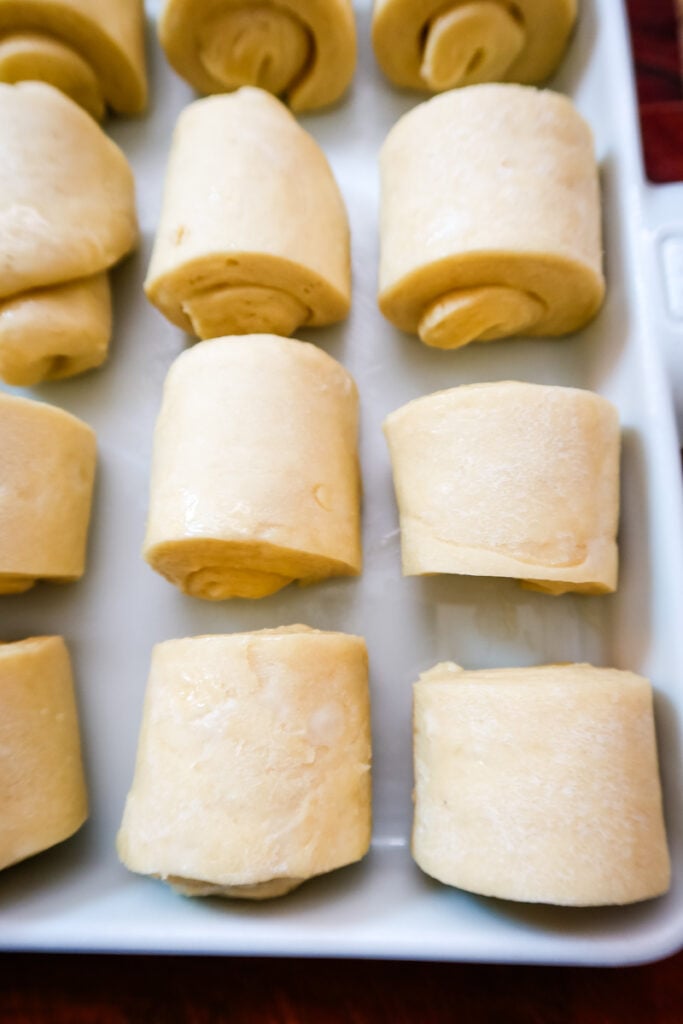
Brush generously with the Honey Butter Slather.
Roll each into a coil shape and place in a buttered baking dish, seam side tucked.
Set rolls 1–2 inches apart so they have room to rise.
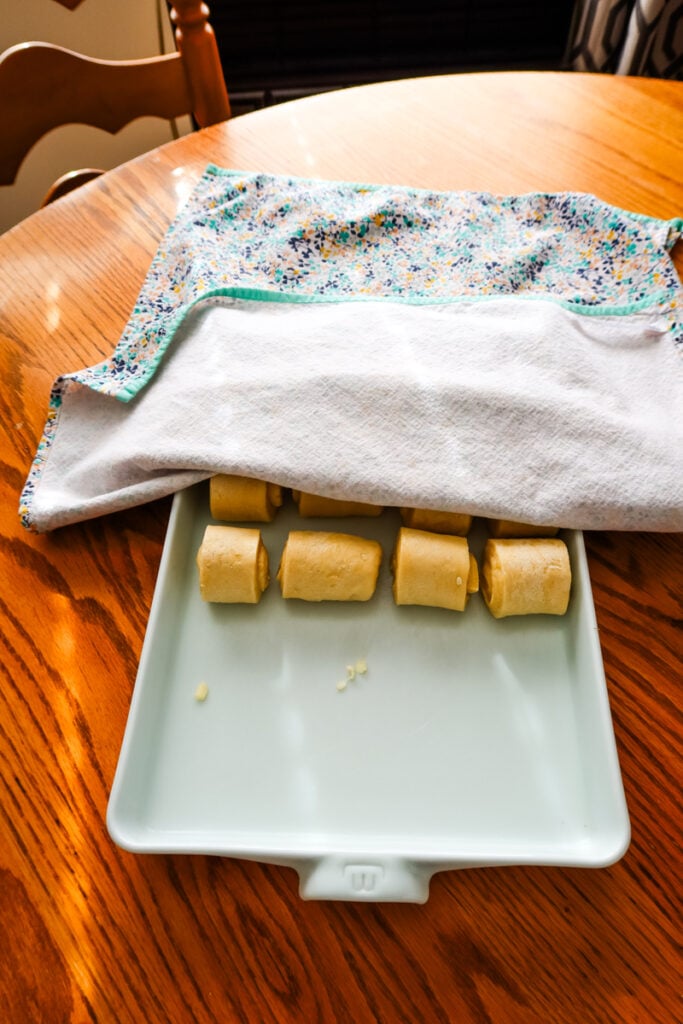
6. Final Rise
- Same-day bake → rise 1½ hours
- Overnight → cover and refrigerate up to 24 hours
Rolls should be puffy and touching.
7. Bake
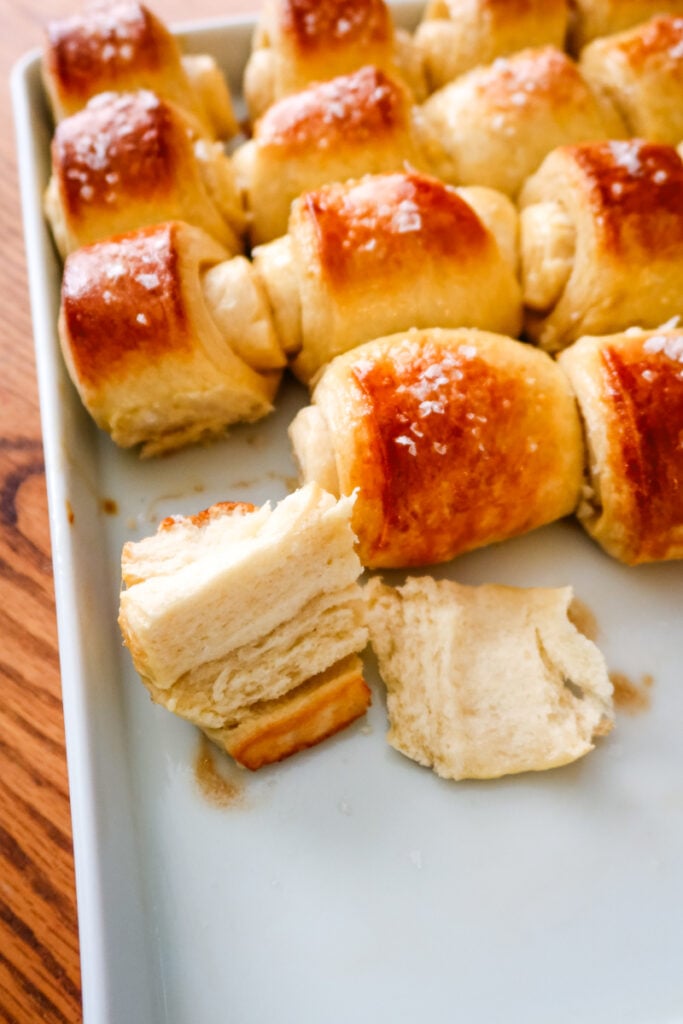
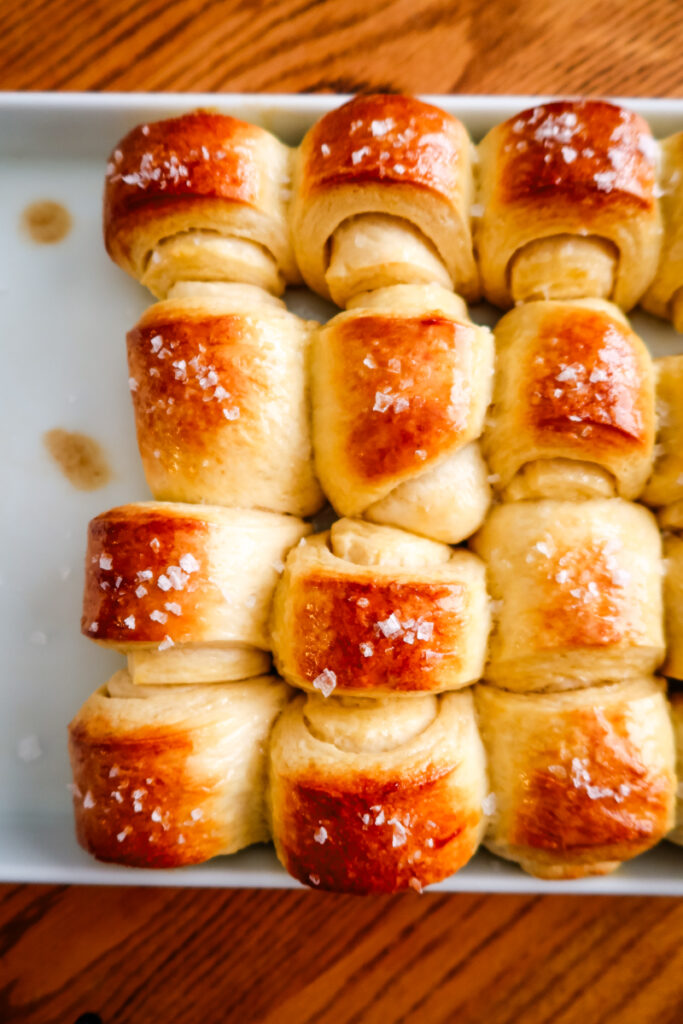
Bake at 350°F for 18–25 minutes until golden brown.
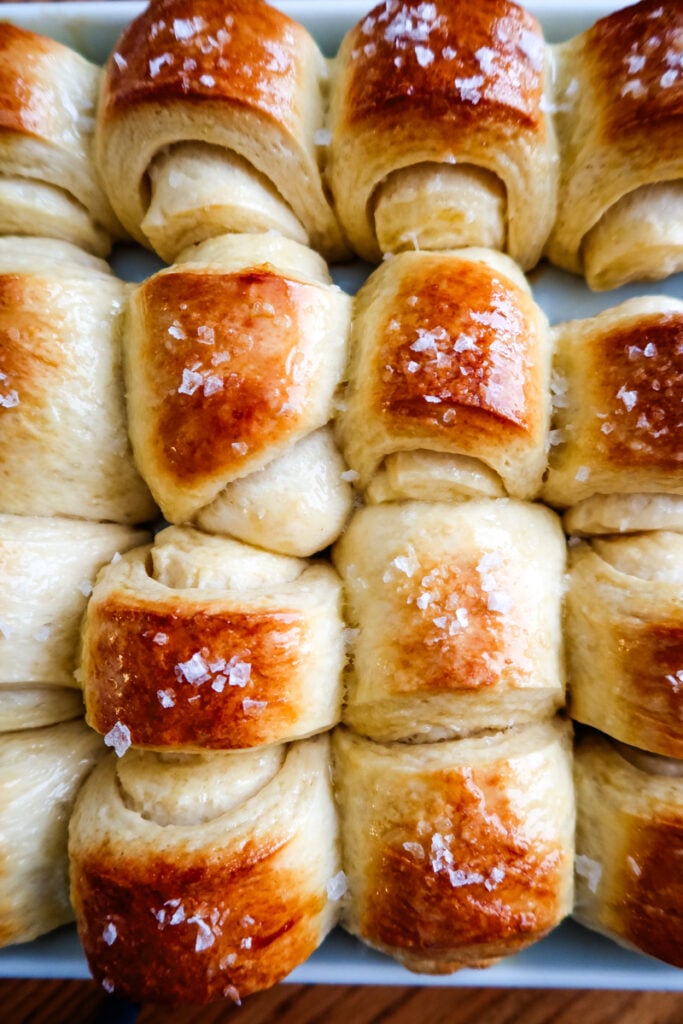
Brush immediately with more Honey Butter Slather, then sprinkle with flaky sea salt.
Tips & Tricks (Especially for Non-Bakers!)
Seven tests, endless butter, and now… perfection.
✔ Warm milk = happy yeast
Aim for baby bath temperature: warm but not hot. Around 100˚-110˚.
✔ Don’t rush the rises
Parkerhouse Rolls get their signature fluff from slow, warm proofing.
✔ Use a metal pan for the best golden bottom
Ceramic works too, but metal gives better browning.
✔ Every oven is different
Start checking at 18 minutes. Rolls should be deep golden on top but not dark brown. In my “standard” electric oven at took exactly 20 minutes.
✔ Brush with honey butter TWICE
Before baking → flavor and softness
After baking → shine, sweetness, and melt-in-your-mouth texture
✔ To avoid dense rolls:
- Make sure your yeast is alive
- Knead for a full 5 minutes
- Don’t overload the dough with extra flour
- Let them rise until touching
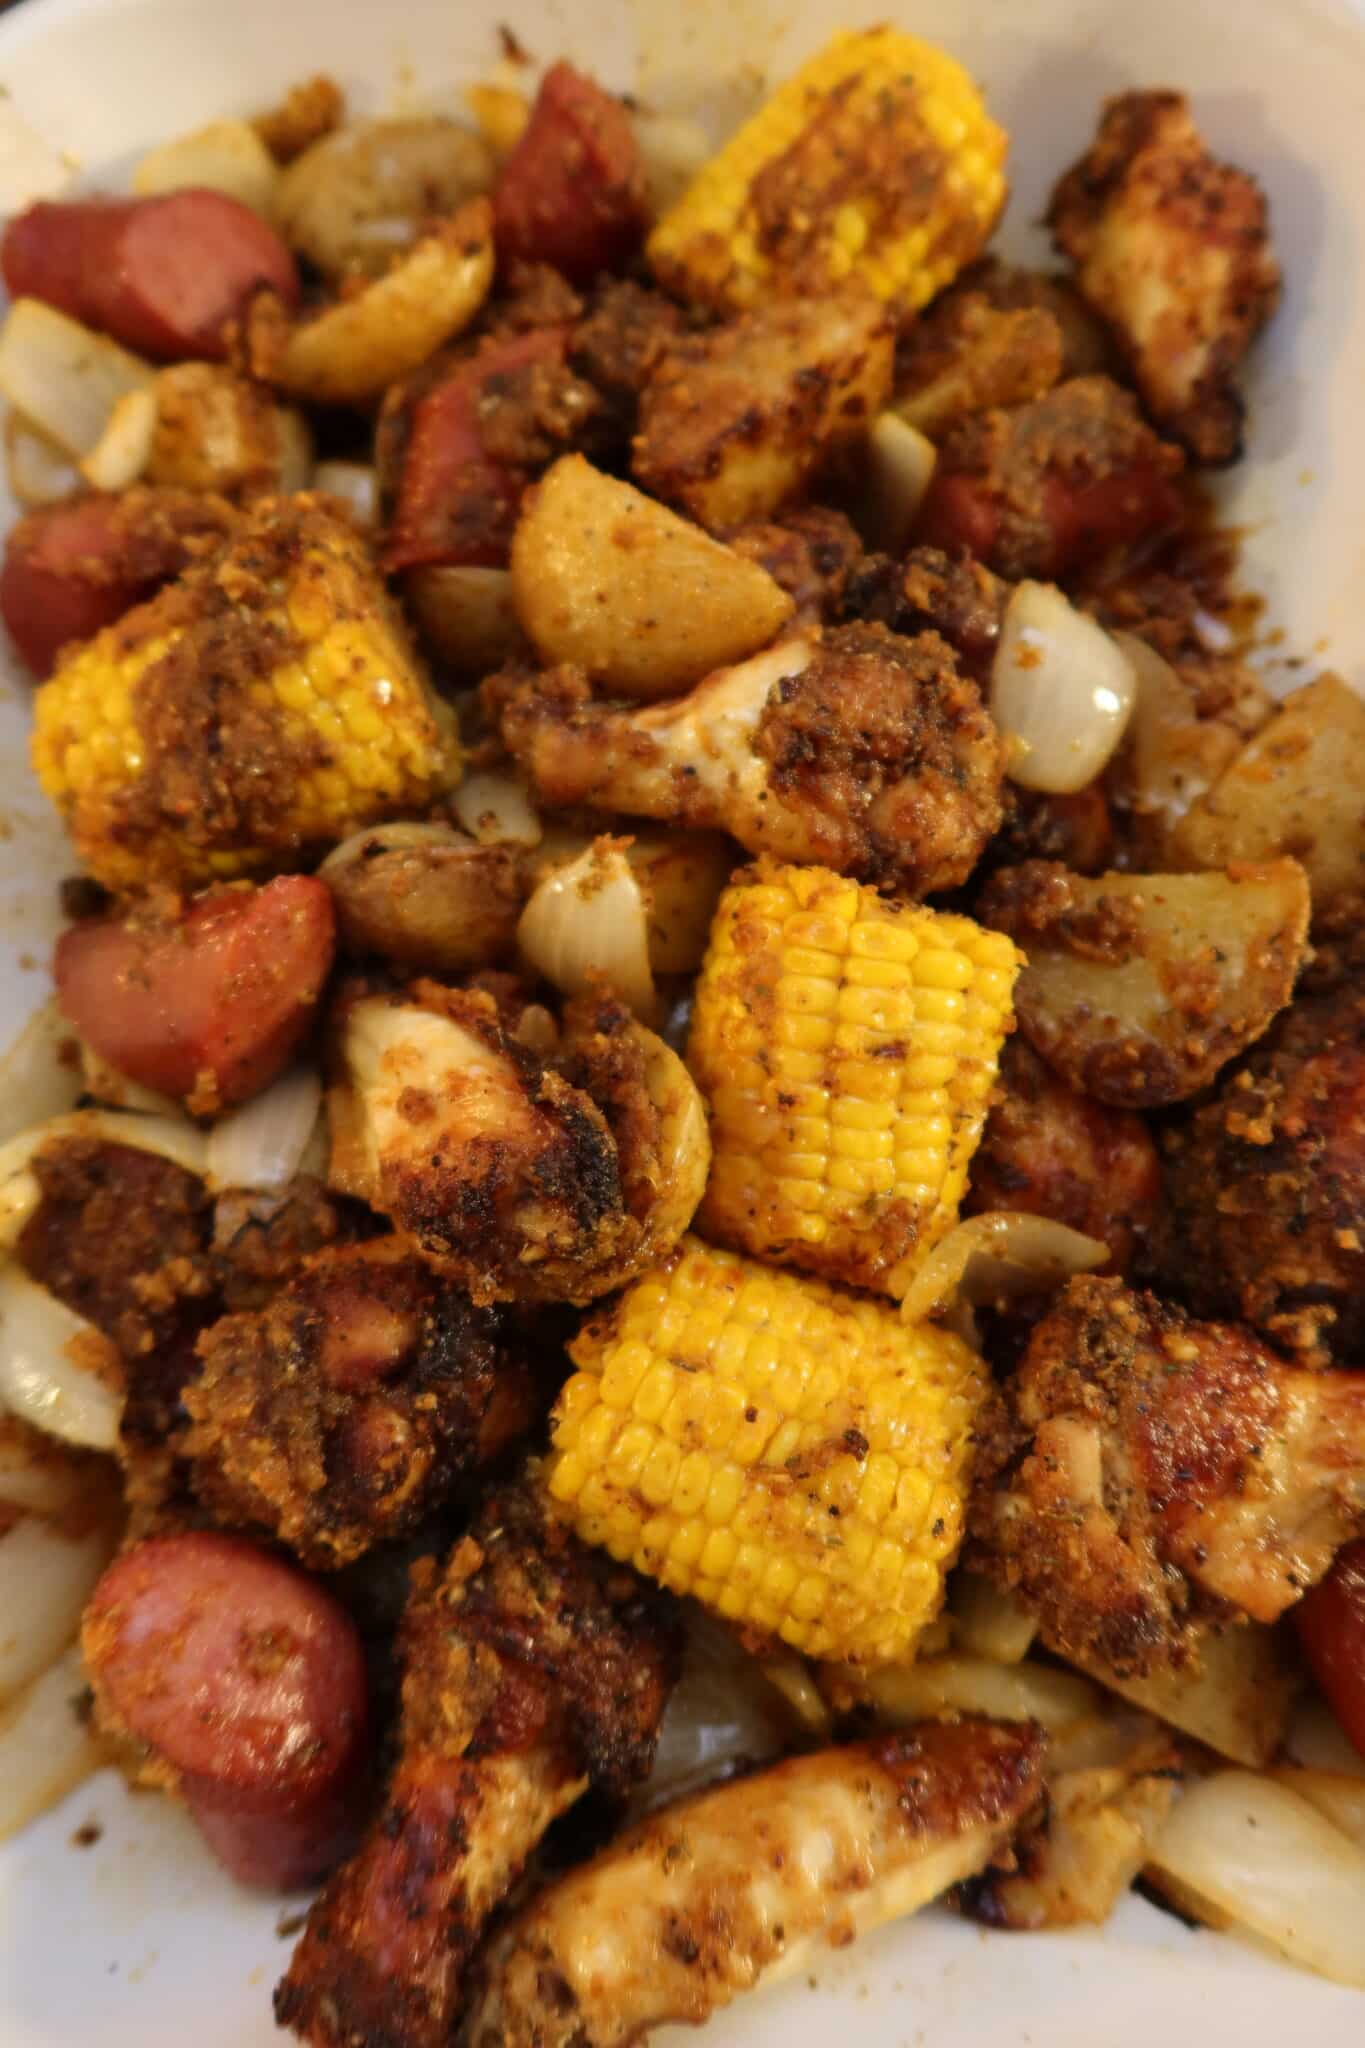
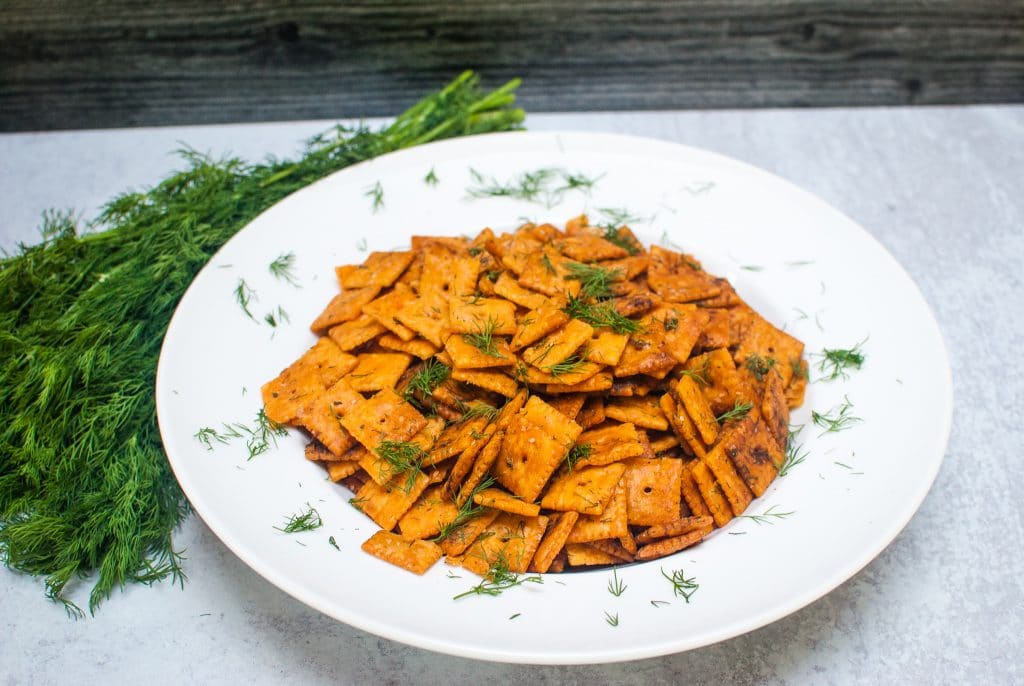
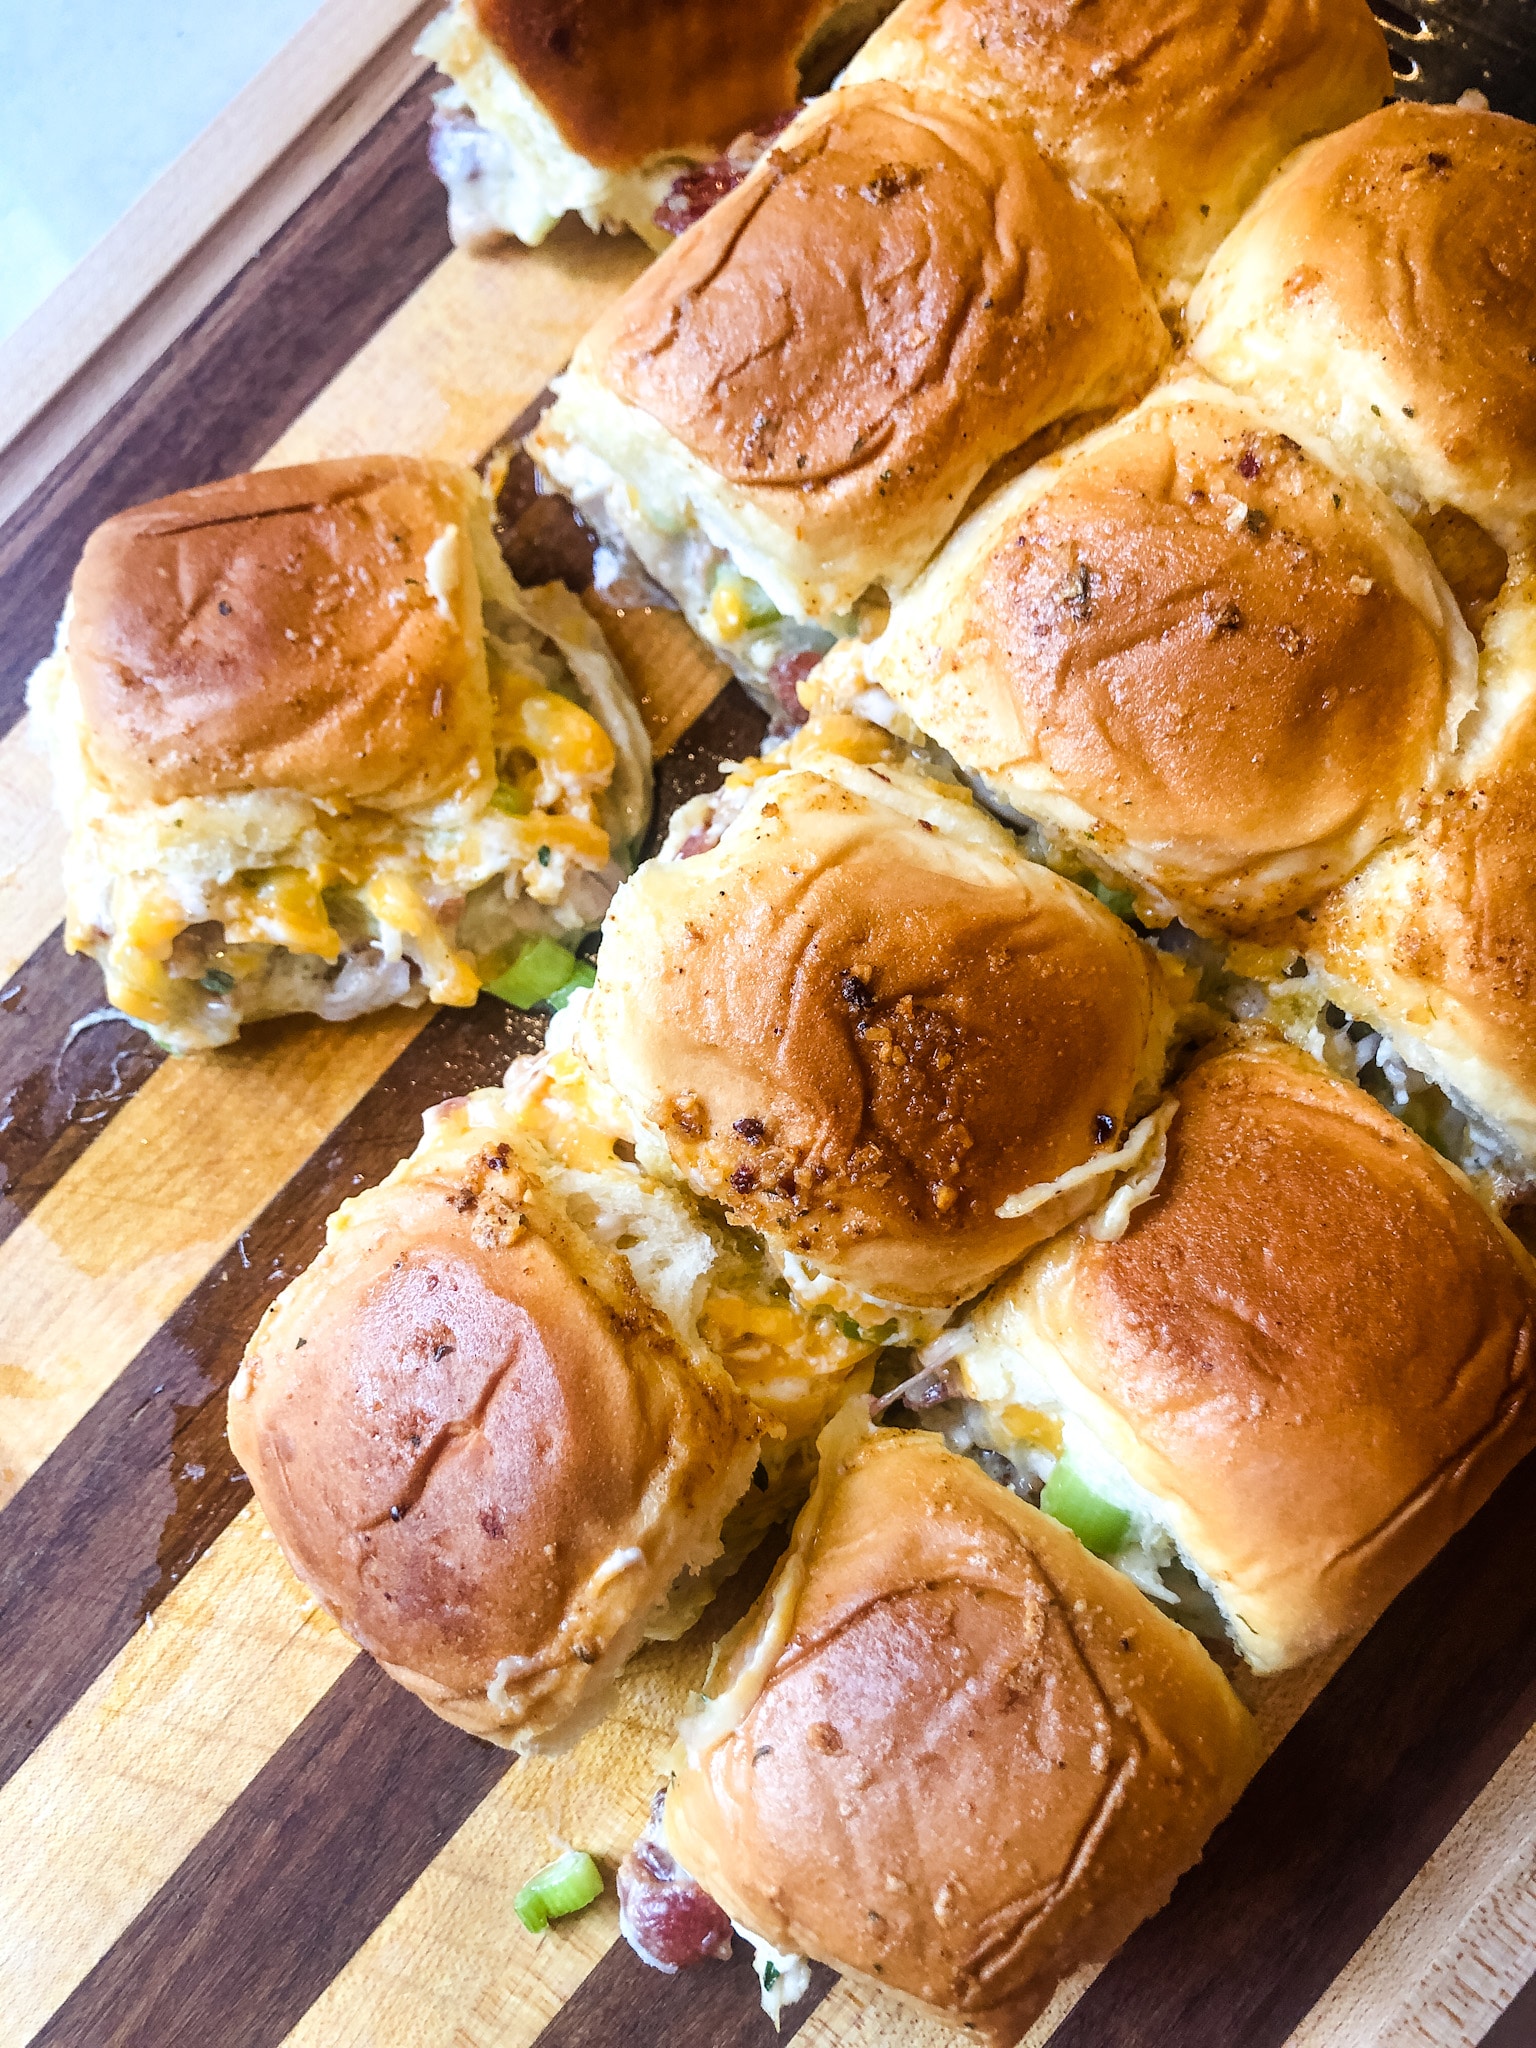
What to Serve With Parkerhouse Rolls
- Thanksgiving Butternaise Roasted Chicken
- Sugar Daddy Thighs
- BBQ Chicken Legs in the Oven
- Beef stew
- Holiday ham or turkey
- Sunday supper soups
These rolls play well with everything.
Tools & Equipment
- Large mixing bowl
- Dough whisk (helpful but optional)
- Rolling pin
- Measuring cups + spoons
- 9×13 baking dish (or similar), I used the Made In Cookware Baking Slab.
- Pastry brush
- Plastic wrap
Make-Ahead, Freeze, & Reheat Guide
To Make Ahead (Overnight)
Assemble rolls, cover, and refrigerate up to 24 hours.
Let them sit at room temperature 30 minutes before baking.
To Freeze Unbaked Rolls
Freeze whole pan OR flash-freeze individually.
Thaw overnight in the fridge or at room temperature for 2–3 hours.
Bake as directed.
To Freeze After Baking
Cool completely, wrap well, freeze up to 3 months.
Warm in the oven at 300°F until soft and steamy.
Troubleshooting Sweetpea’s Parkerhouse Rolls
My dough didn’t rise!
- The yeast was dead
- Milk was too hot (kills yeast). Be sure to heat your milk to around 100˚-115˚.
- Kitchen too cold (move to a warmer spot) I have to move my rising doughs to my dining table, and sometimes I’ll use my heating pad on low underneath!
My dough is too sticky to knead.
Lightly flour your hands and counter—but don’t add too much flour to the dough.
My rolls baked together too tightly.
This is actually good! Parkerhouse Rolls love to “hug.”
My rolls are pale on top.
Bake longer or move your pan to the upper third of your oven.
My rolls are dry.
You may have added too much flour or overbaked. But good news—honey butter fixes everything.
FAQ
Can I use instant yeast?
Yes! Skip the blooming step and mix everything except flour in the bowl, then add flour and proceed.
Can I use unsalted butter?
Yes—just add an extra pinch of salt to the dough and honey butter mixture.
Can I make these in a stand mixer?
Absolutely. Use the dough hook for 4–5 minutes on medium-low.
Are Parkerhouse Rolls sweet?
Lightly sweet—not dessert-level sweet, just beautifully balanced. Feel free to lower the honey if you would like!
Can I double the recipe?
Yes, but use two pans and rotate halfway through baking. And on this note: I would not double, I would just make another batch. As a self-proclaimed “Non-Baker,” do yourself the headache and make two batches.

After seven rounds of tweaking, rolling, rising, and buttery brushing, these Sweetpea’s Parkerhouse Rolls have become one of my proudest “I’m-not-a-baker-but-look-at-me-go!” creations.
They’re soft, golden, slightly sweet, and practically beg to be shared. Whether you’re hosting a dinner party, dropping off a meal, or just wanting to bring a little extra love to your table, these rolls are the kind of thing that make people feel cared for.
I hope they bring you the same joy they brought me — and maybe even inspire you to try something you once thought wasn’t “your thing.” After all, the best recipes are the ones that change us a little, too. ✨
PrintSweetpea’s Parkerhouse Rolls

A soft, buttery, slightly sweet roll that rises tall, bakes golden, and melts in your mouth.
- Prep Time: 20 minutes
- Rising Time: 3 hours
- Cook Time: 18-25 minutes
- Total Time: 0 hours
- Yield: 16 rolls
- Category: side dish
- Method: oven-baked
- Cuisine: american
Ingredients
- 1 cup Whole Milk, warmed
- 2 1/4 tsps Yeast
- 6 TBS Honey, divided
- 1 Egg
- 1 stick, Salted Butter, divided (4 TBS melted, 4TBS softened)
- 1/2 tsp Kosher Salt
- 3 1/2 cups of All Purpose Flour
For the Honey Butter Slather:
Mix together 4 T softened butter and 3 T honey and set aside. You’ll use this to be used on the rolls before and after baking.
Instructions
- In a large bowl, whisk the warmed 1 cup of whole milk with the 2 1/4 teaspoons of yeast and 3 tablespoons of honey. Set a timer, and let this bloom for 10 minutes.
- While your yeast blooms, melt your 4 tablespoons of butter, and set aside to cool slightly.
- After 10 minutes, whisk in your 4 tablespoons of melted butter and one egg. Using a dough whisk, give these a good whisk.
- Add in the half teaspoon of salt, and 3 1/2 cups of flour. Using your dough whisk, turn the dough until quite shaggy.
- Flip your bowl over onto a clean work surface, and using clean hands, knead the dough for exactly 5 minutes. It should come together in a nice, supple dough ball. If it’s still a bit dimply, knead for another couple of minutes.
- Place back into your large bowl, cover, and set in a warm place to rise for 1.5 hours.
- After 1.5 hours, remove the dough, and roll out into a large rectangle. The rectangle should measure 12” x 18” to get 16 rolls.
- Cut a line through the center of the long side (see video!), then cut into 2 inch portions from there.
- Brush the Honey Butter Slather over all the dough, then roll up each roll, and place in a buttered baking dish. Place each rolls about 1”-2” apart. ((I personally like to set the seam side on the side, or on the bottom. As they rise, they will kind of flip and flop, just adjust as needed.))
- If you are baking the same day, let these rise 1.5 hours. If you are making the night before, cover with plastic wrap and refrigerate overnight (up to 24 hours). See notes for baking later directions.
- You want every roll to be touching. Like humans, rolls need each other to rise up! When they’ve risen and are touching, they are ready to bake.
- Preheat your oven to 350˚, and bake the rolls for 18-25 minutes, depending on your oven. When the rolls are golden brown on top, remove from the oven, and brush more Honey Butter Slather on top! I also like to give a little sprinkle of flaky sea salt.
Notes
To Make Ahead: Prepare the dough up until the final rise. Cover the rolls and place in the fridge (up to overnight). When ready to bake, remove the rolls from the fridge 30 minutes prior to baking, then bake as directed.
To Prepare and Freeze: Assemble the rolls up until you are ready to bake, then cover the pan with plastic wrap, and freeze for up to 3 months. Thaw the rolls overnight in the fridge or on the counter for a few hours. Once thawed, bake as directed. You can also flash freeze the rolls on a piece of parchment paper, with lots of room between each one. Pop the frozen unbaked rolls into a freezer safe container, then when you need a couple of rolls for dinner time, pull some out. Let them thaw and rise, covered, at room temperature for a few hours before baking as instructed.
To Bake and Freeze: Make the rolls, then let them cool completely. Cover well and freeze for up to 3 months. Thaw and warm before serving.