Sweetpea’s Macaroni and Cheese (Ultra Creamy, Crowd-Pleasing Classic!)
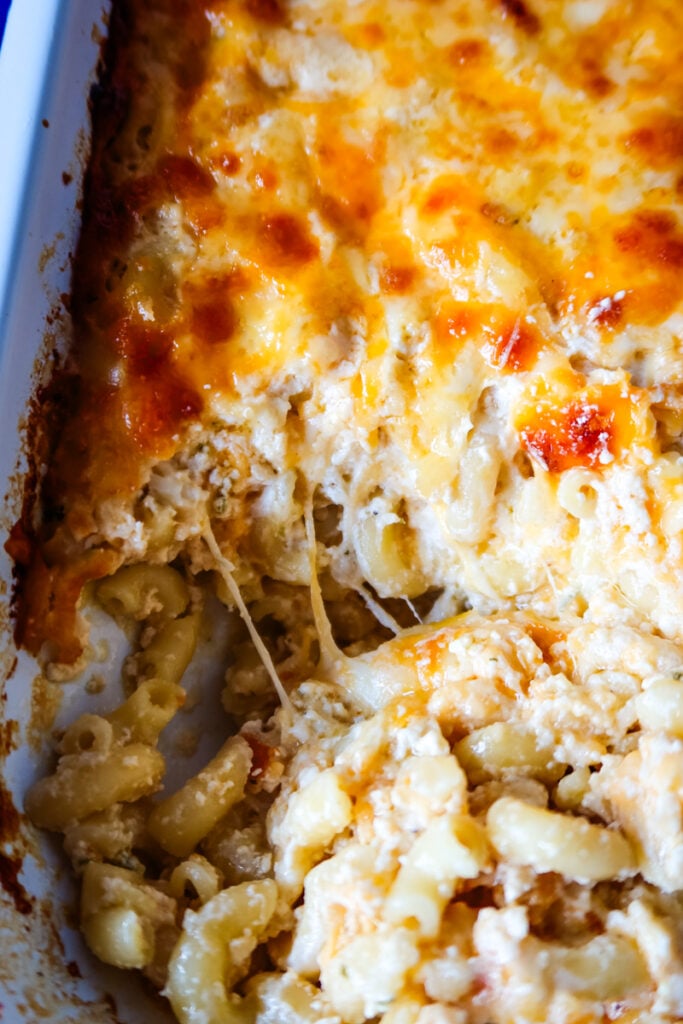
Sweetpea’s Macaroni and Cheese is ultra creamy, made with five hand-grated cheeses, evaporated milk, and sour cream for the richest, dreamiest baked mac and cheese ever.
A Cozy Classic for Every Occasion
Macaroni and cheese is one of those beloved, memory-filled dishes that shows up at just about every gathering worth attending. You’ll find it bubbling away at holiday dinners, holding its own next to turkey or ham. It’s a must-have at summer picnics, riding alongside ribs and barbecue.
It shows up at Sunday suppers, potlucks, church homecomings, weeknight meals, sleepovers, and the kind of casual get-togethers that stretch late into the evening.
It’s comfort food in every sense — nostalgic, dependable, creamy, and universally adored. And this version? This is the mac and cheese people will ask you for every time you bring it.
You’ll Love This Recipe Because…
- Includes five cheeses hand-grated for the smoothest melt
- Creamy without making a roux
- Perfectly tender pasta (never mushy)
- Great for holidays, potlucks, or stocking the freezer
- Beginner-friendly and basically foolproof
- Freezes and reheats like a dream
A Little History: Macaroni, Cheese & Thomas Jefferson
Though macaroni and cheese feels deeply Southern now, its earliest American chapter begins in the late 1700s with — unexpectedly — Thomas Jefferson.
Jefferson fell in love with macaroni dishes during his time in France and even had special pasta-making equipment sent back to the States. But the true hero in this story is James Hemings, Jefferson’s enslaved chef, who was trained in French cooking while abroad.
Hemings mastered dishes like macaroni au gratin and brought that knowledge home, influencing early American cuisine in a profound (and often uncredited) way. While recipes evolved over time — from baked puddings to stovetop versions — the heart of the dish remained the same: pasta, cheese, and comfort.
This recipe honors that storied history while keeping things delightfully modern, rich, and beginner-friendly.
What Makes This Recipe Different? (No Roux Needed!)
Most traditional macaroni and cheese recipes rely on a roux-based cheese sauce — butter and flour cooked together with milk to create a base.
But here’s the secret:
You don’t have to make a roux to get macaroni and cheese that’s creamy, silky, and luscious.
This version uses:
- Evaporated milk for a naturally thicker, stable base
- Whole milk for moisture
- Sour cream (or New Ranch!) for richness and tang
- Five cheeses that melt beautifully without curdling
The result is a casserole-style mac and cheese that’s unbelievably creamy, never grainy, and much easier for beginners.
How to Make Sweetpea’s Macaroni and Cheese (Step by Step)
If this is your first time making homemade baked macaroni and cheese, don’t worry—I’ve broken it down step by step so you can see exactly how it should look at each stage.
Step 1: Hand-Grate All the Cheese
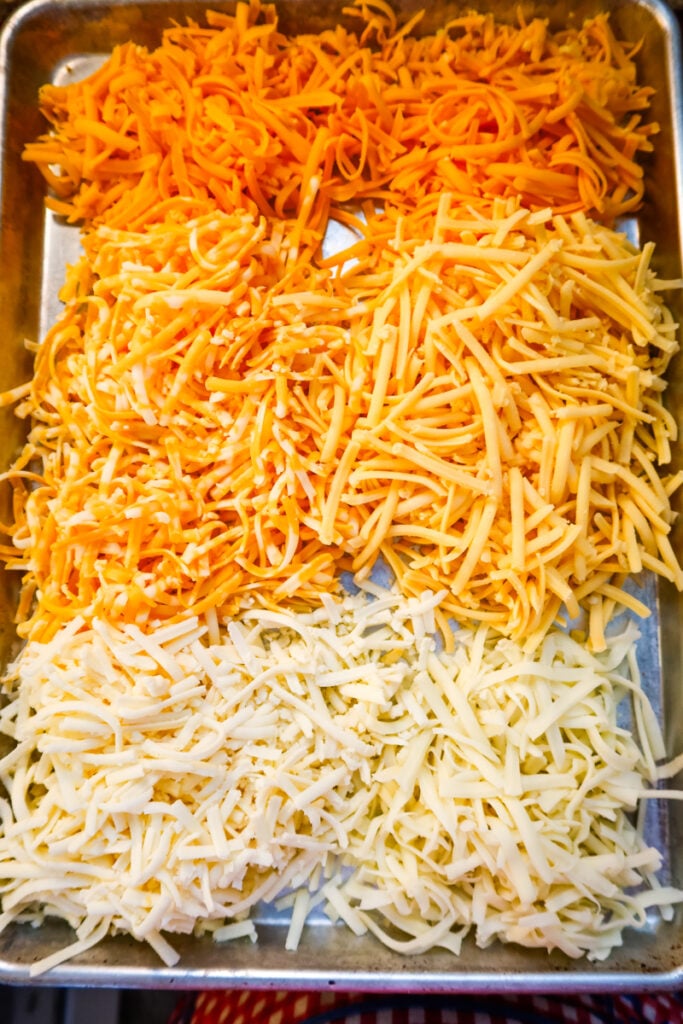
Start by shredding all of your cheeses: sharp cheddar, gouda, colby jack, muenster, and mozzarella. Pile them onto a sheet pan or into a large bowl and gently toss to combine.
Why this matters: Pre-shredded cheese is coated with anti-caking agents, which can make your sauce grainy and keep it from melting smoothly. Hand-grating (I love a rotary grater!) gives you a soft, fluffy cheese that melts like a dream. Let the shredded cheese sit at room temperature while you prep everything else.
Step 2: Cook the Pasta Just Shy of Done
Boil the elbow macaroni in well-salted water, but stop 3 minutes before the package says it’s done. Drain the pasta and return it to the warm pot or a large mixing bowl.
Why this matters: The pasta will keep cooking in the oven. Undercooking it slightly keeps the noodles tender instead of mushy.
Step 3: Coat the Warm Pasta in Sour Cream
While the pasta is still warm, stir in the sour cream (or New Ranch). Make sure every noodle gets a light coating.
Why this matters: The warmth of the pasta helps the sour cream loosen and blend, making it easier for the cheese and milk mixture to cling to every nook and cranny.
Step 4: Add the Cheese and Seasonings
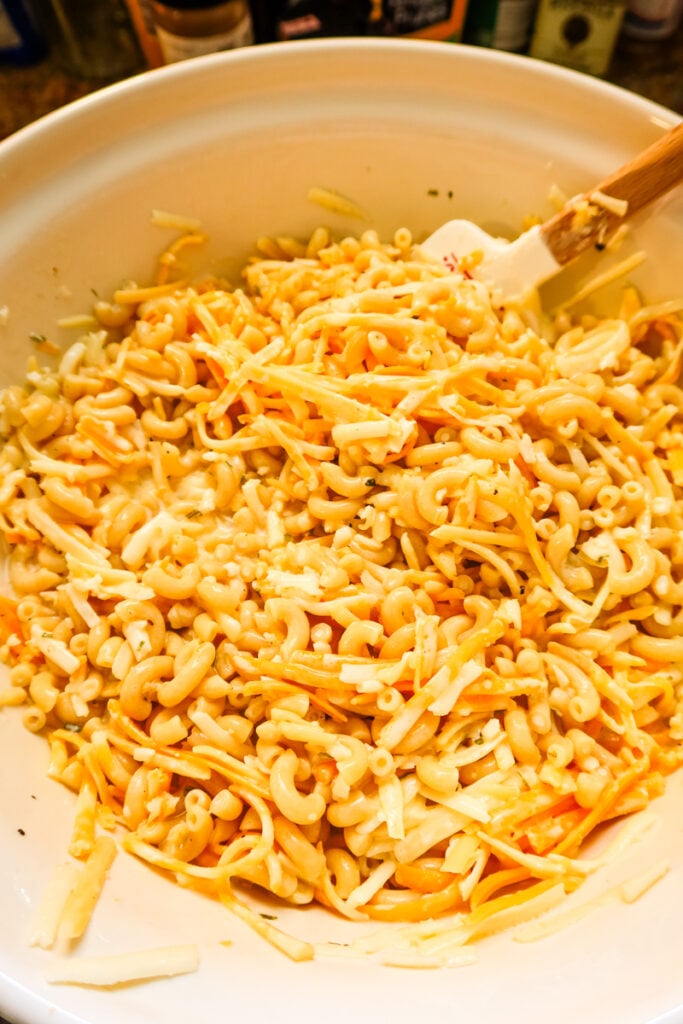
Add most of the shredded cheese to the bowl of pasta, reserving about 1½ cups for the topping. Sprinkle in the seasoned salt and black pepper. Gently toss everything together until the cheese is evenly distributed.
Tip: Because the cheese is at room temperature, it will start to soften and melt slightly into the warm pasta—this is exactly what you want for a creamy, cohesive casserole.
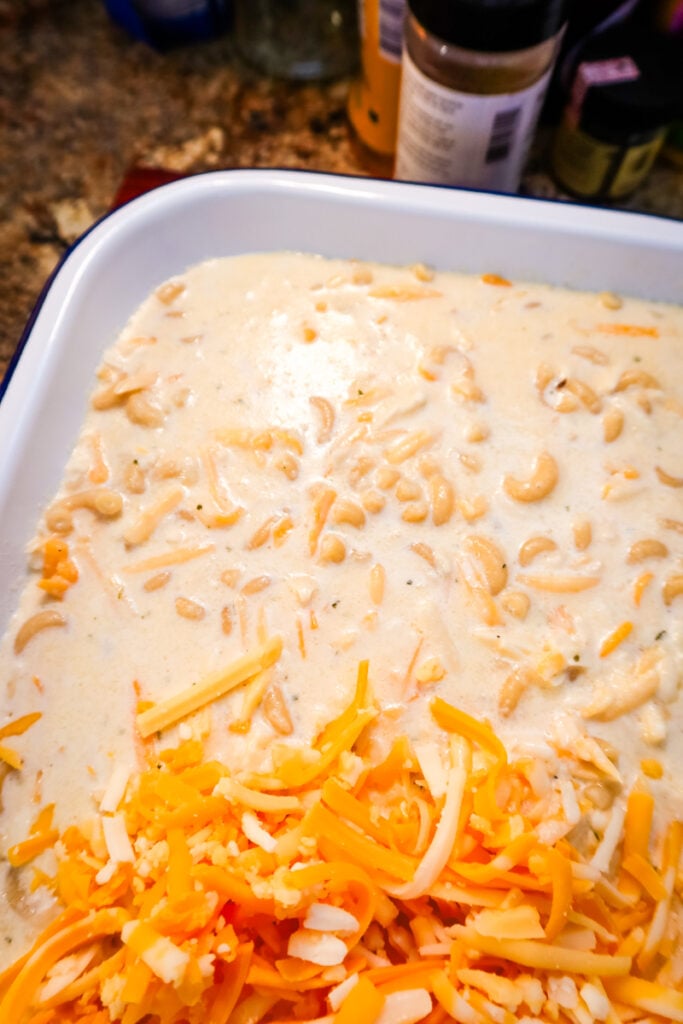
Step 5: Stir in the Evaporated Milk and Milk
Pour the evaporated milk and regular milk over the cheesy pasta mixture and stir well. At this point it will look quite loose and “soupy.”
Don’t panic: That extra liquid is what turns into a luxurious, creamy sauce in the oven. If it looks dry now, it will be dry later.
Step 6: Transfer to the Casserole Dish
Grease a large 9×13 (or larger) baking dish. Pour the macaroni mixture into the dish and spread it out into an even layer, making sure the pasta and cheese are distributed from corner to corner.
Tip: Give the dish a gentle tap on the counter to help everything settle and remove any big air pockets.
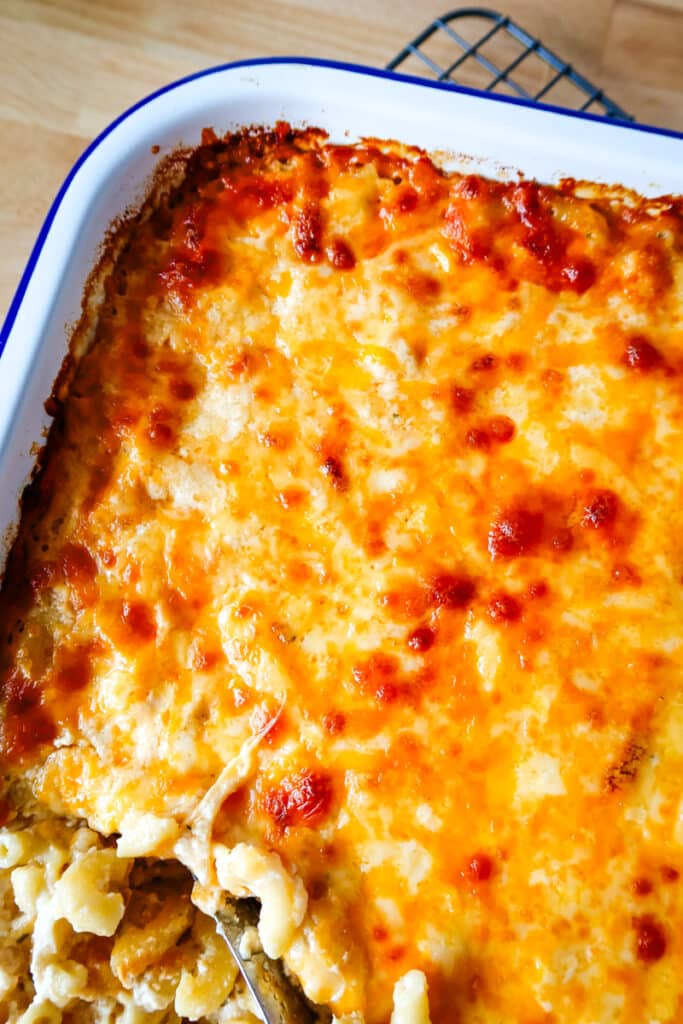
Step 7: Add the Cheesy Topping

Sprinkle the reserved 1½ cups of cheese evenly over the top. This creates that gorgeous, bubbly, golden crust.
Pro move: Make sure the cheese goes all the way to the edges so you get those crispy, caramelized bits around the rim.
Step 8: Bake Until Creamy and Golden
Cover the dish tightly with foil and bake at 350°F for 20 minutes. Remove the foil and bake for another 10–15 minutes, or until the top is deeply golden and the edges are bubbling.
Creamy-casserole tips:
- Don’t over-bake—too much time in the oven can cause the cheese to split.
- If the top is browning too fast, loosely tent with foil again for the last few minutes.
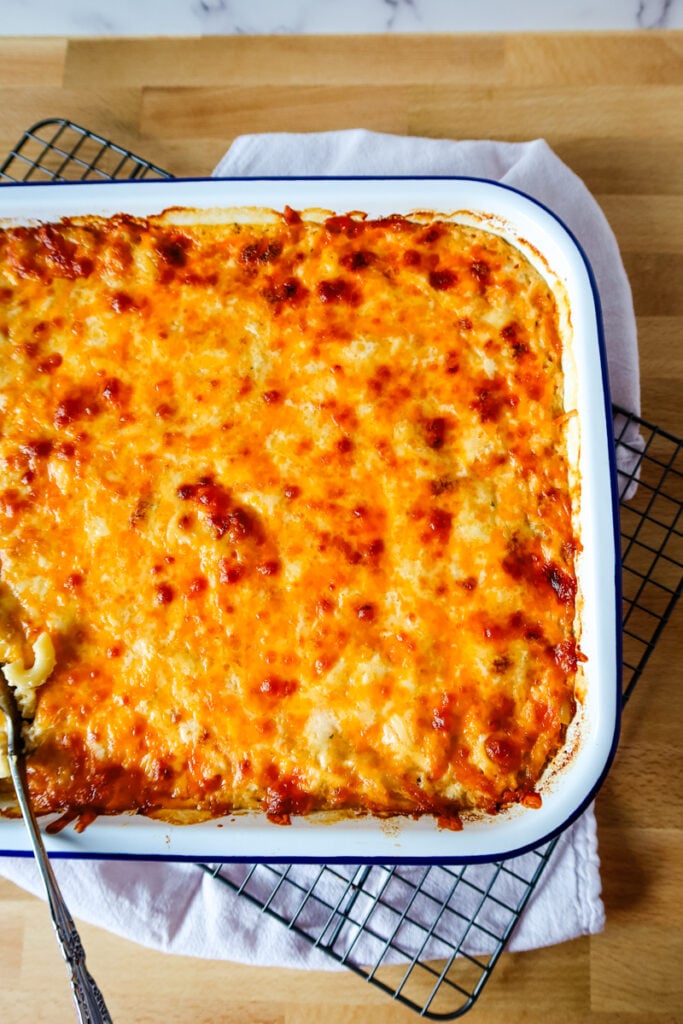
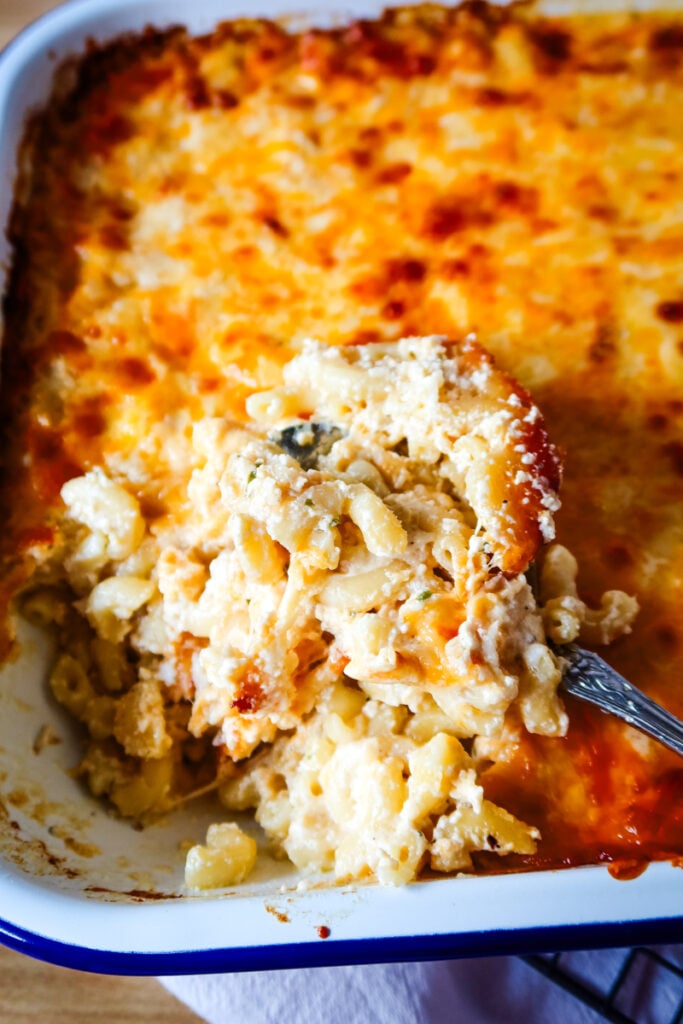
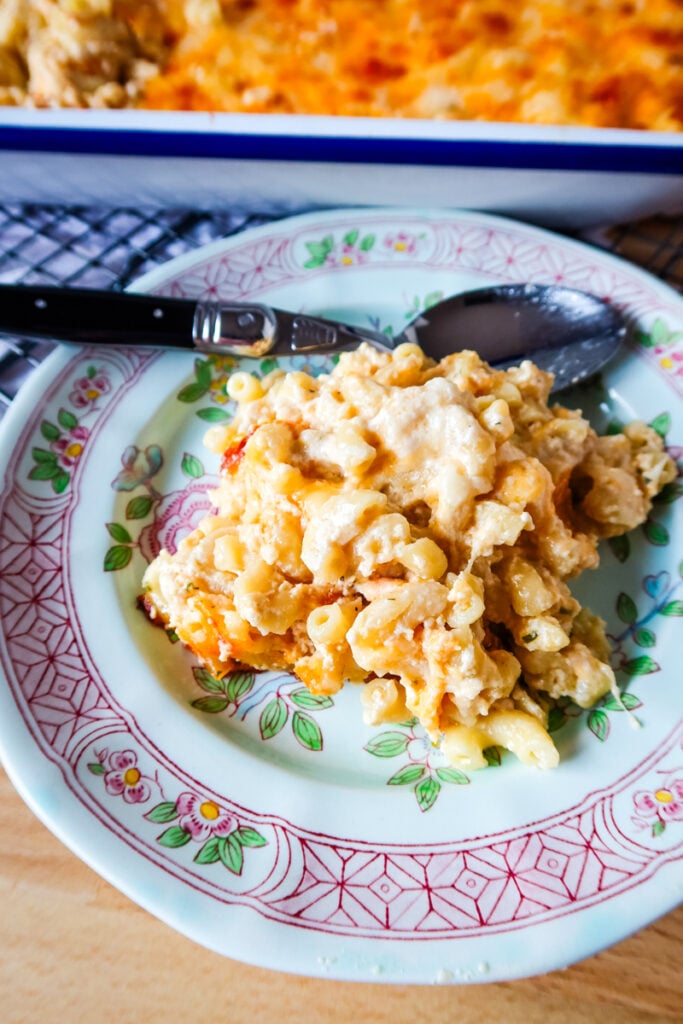
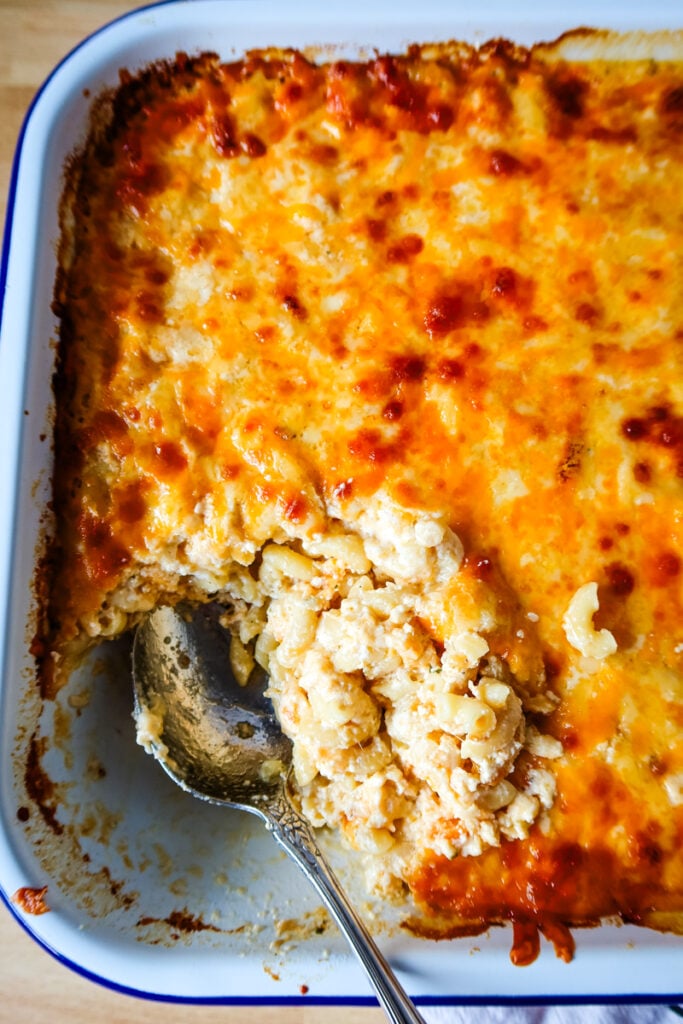
Step 9: Rest, Scoop, and Serve
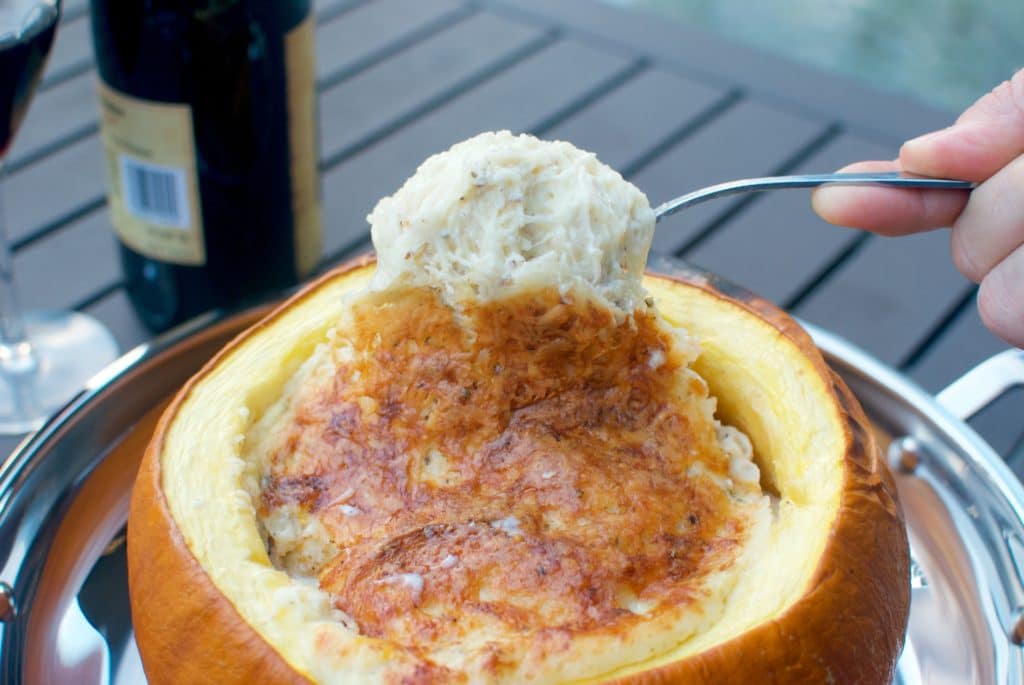
Let the casserole rest for about 5 minutes after it comes out of the oven. This gives the sauce a chance to thicken and cling to the pasta. Then scoop big, cozy spoonfuls onto plates and serve hot.
Perfect alongside holiday ham or turkey, Sunday roast, barbecue, or a simple green salad.
Tips for Creamy Macaroni & Cheese (That Never Splits or Gets Grainy)
These tricks make the difference between “good” and restaurant-level creamy:
✔️ Let the cheese come to room temperature
Cold cheese doesn’t melt well and can shock the sauce, causing it to seize or become grainy.
✔️ Hand grate all the cheese
Pre-shredded cheese contains anti-caking agents that prevent smooth melting.
✔️ Don’t overcook the pasta
Boiling the macaroni 3 minutes under package directions keeps it from turning mushy in the oven.
✔️ Avoid over-baking
Too much time in the oven causes the proteins in cheese to tighten and separate.
Bake covered to heat gently, and only uncover at the end for browning.
✔️ Stir everything together while the pasta is warm
Warm noodles help melt the cheese mixture smoothly without overheating it.
✔️ Use a blend of melty + flavorful cheeses
Gouda, mozzarella, muenster = creamy melt
Cheddar + Colby Jack = flavor
✔️ Let it rest before serving
Five minutes allows the sauce to thicken and cling to every noodle.
These small steps produce a perfectly smooth, velvety texture every time.
What to Serve With Macaroni and Cheese
This dish shines anywhere it appears:
- Holiday gatherings
- Easter, Thanksgiving, and Christmas tables
- Summer cookouts and BBQs
- Church potlucks or community dinners
- Sunday suppers
- Birthday parties
- Weeknight comfort meals
- Graduation lunches
- Picnics and tailgates
Pair it with ham, turkey, pulled pork, fried chicken, roasted vegetables, green salads, or anything grilled.
Southern BBQ Chicken Dinner Menu:
Baked Ham Dinner Menu:
This post contains affiliate links.
Tools You’ll Need
- Rotary cheese grater
- Box grater
- Large bowl
- Big casserole dish
- Silicone spatula or wooden spoon
- Aluminum foil
FAQ
Why doesn’t this recipe use a roux?
Because it doesn’t need one! The evaporated milk + sour cream + hand-grated cheese create their own silky sauce.
Can I prep it ahead?
Yes — assemble up to 24 hours ahead, refrigerate, then bake as written.
Does it freeze well?
Beautifully. The evaporated milk keeps it creamy.
Can I swap cheeses?
Yes — stick to melty varieties for the creamy base and sharper ones for flavor.
A Dish Everyone Comes Back For
People don’t just like this mac and cheese — they remember it. They talk about it at holiday dinners, request it for potlucks, and scrape the dish clean every time. It’s the kind of recipe that becomes a family tradition: simple, comforting, and always reliable.
Whether you’re feeding a crowd, stocking the freezer, or making a cozy Sunday supper, Sweetpea’s Macaroni and Cheese brings everyone back to the table.
Sweetpea’s Macaroni and Cheese (Ultra Creamy, Crowd-Pleasing Classic!)

This ultra creamy macaroni and cheese is made with five hand-grated cheeses, evaporated milk, and sour cream for the richest, dreamiest baked mac and cheese ever.
- Prep Time: 30
- Cook Time: 30-40
- Total Time: 0 hours
- Yield: 12+
- Category: side dish
- Method: oven-baked
- Cuisine: southern
Ingredients
-
16 ounces elbow macaroni (boiled 3 minutes shy of package directions)
-
8 ounces sharp cheddar, shredded
-
8 ounces gouda, shredded
-
8 ounces colby jack, shredded
-
4 ounces muenster, shredded
-
4 ounces mozzarella, shredded
-
2 cans evaporated milk
-
1 cup milk
-
1 cup sour cream (or New Ranch)
-
1 tsp seasoned salt
-
½ tsp black pepper
Instructions
-
Preheat oven to 350°F and grease a large casserole dish (9×13 or larger).
-
Cook the macaroni 3 minutes under package instructions; drain.
-
Shred and mix all cheeses, reserving 1½ cups for topping.
-
Combine warm pasta with sour cream (or ranch) until coated.
-
Add the cheese mixture, evaporated milk, milk, salt, and pepper. Stir until everything is well combined.
-
Pour into the baking dish and top with the reserved cheese.
-
Cover with foil and bake 20 minutes.
-
Uncover and bake 10–15 minutes more, until the top is golden and bubbly.
-
Let rest 5 minutes, then serve warm.
Notes
Freezing & Reheating
This is an excellent make-ahead mac and cheese.
To freeze:
Bake completely → cool → wrap well → freeze up to 3 months.
To reheat:
Thaw overnight → bake at 350°F for 20–25 minutes.
Texture stays creamy and smooth!